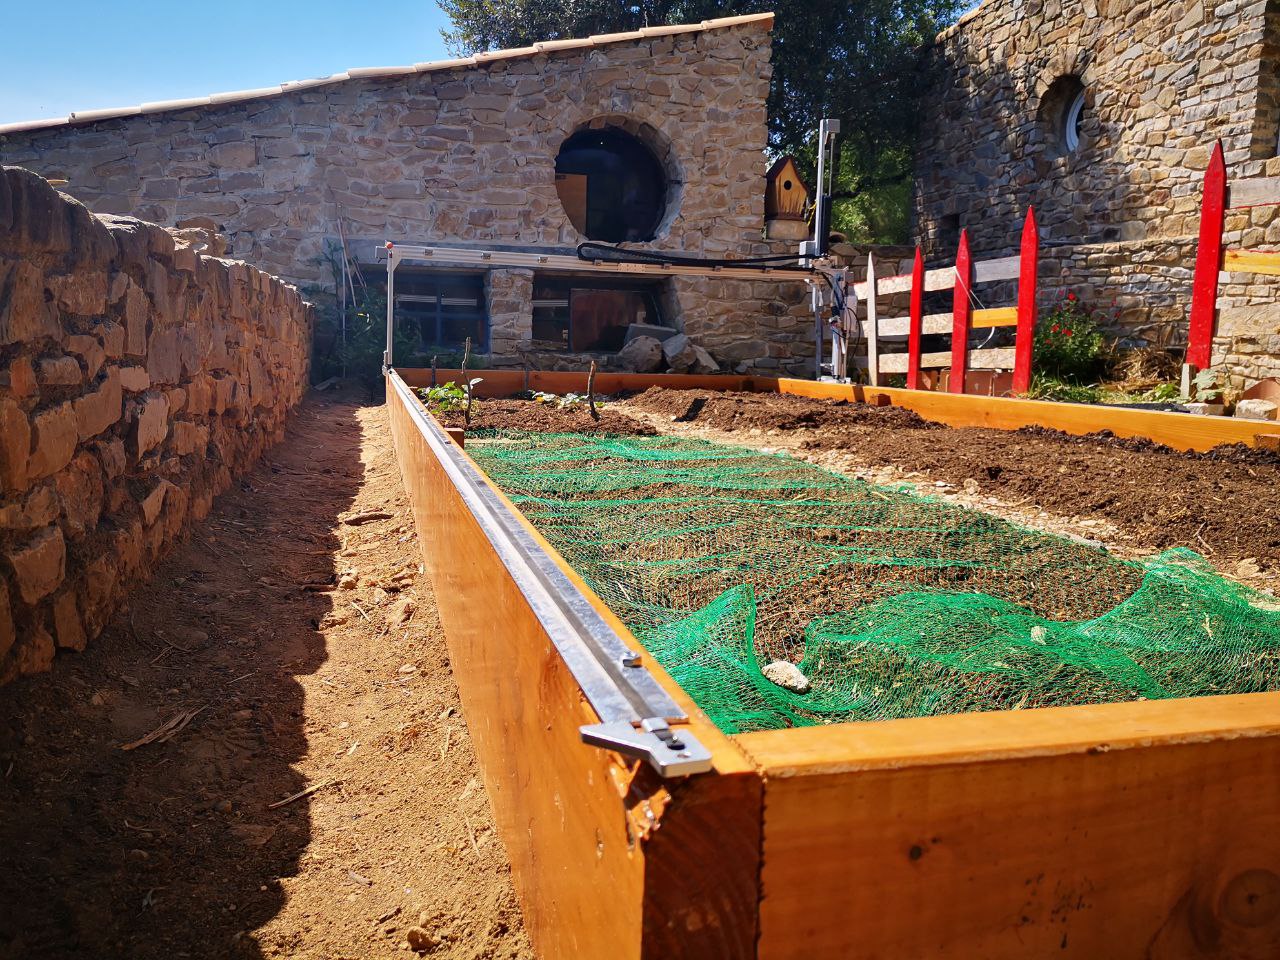
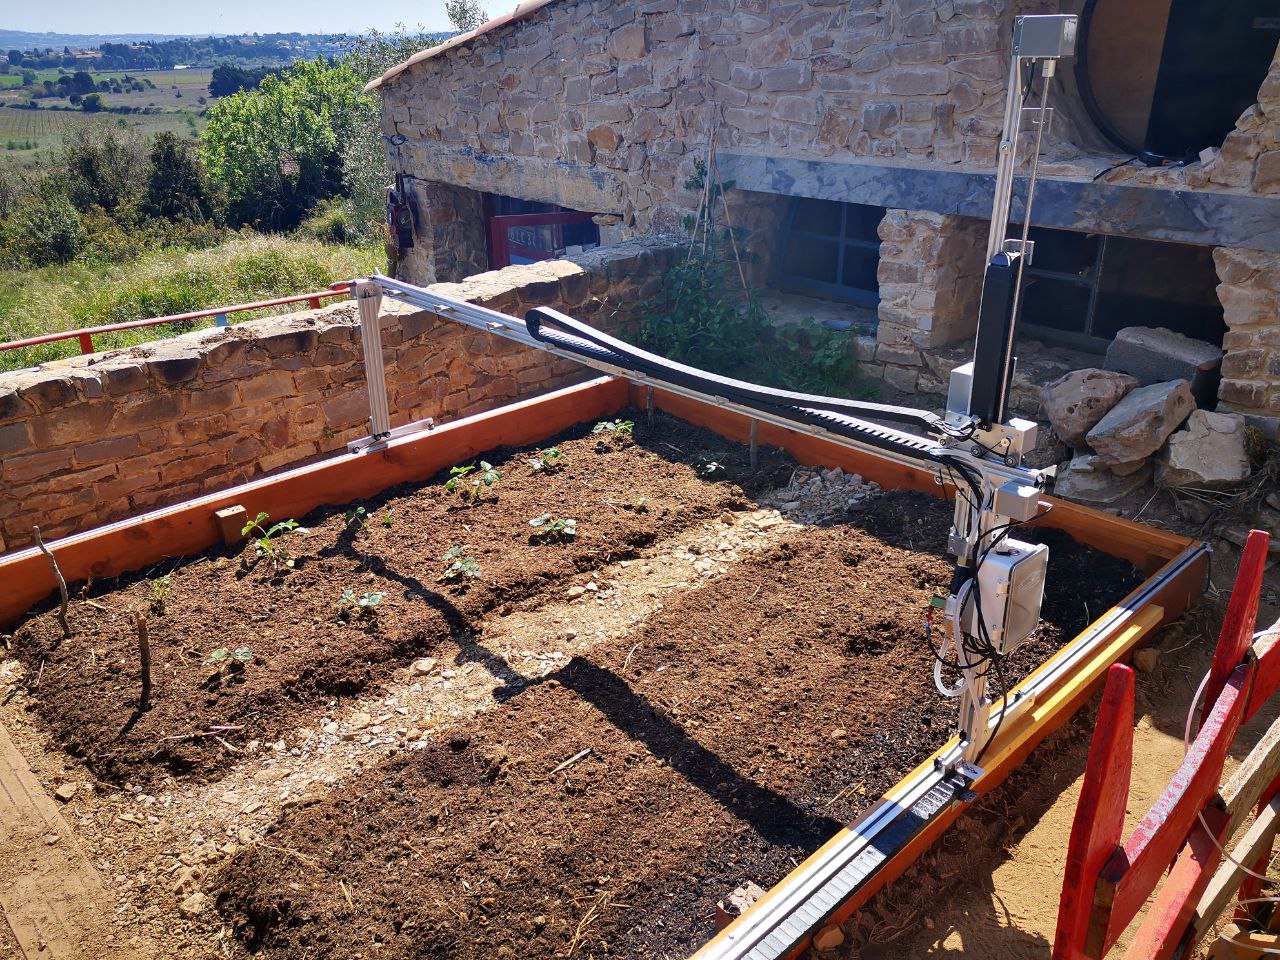
I would like to share a bit of our experience on the Catfarm with the Farmbot so far
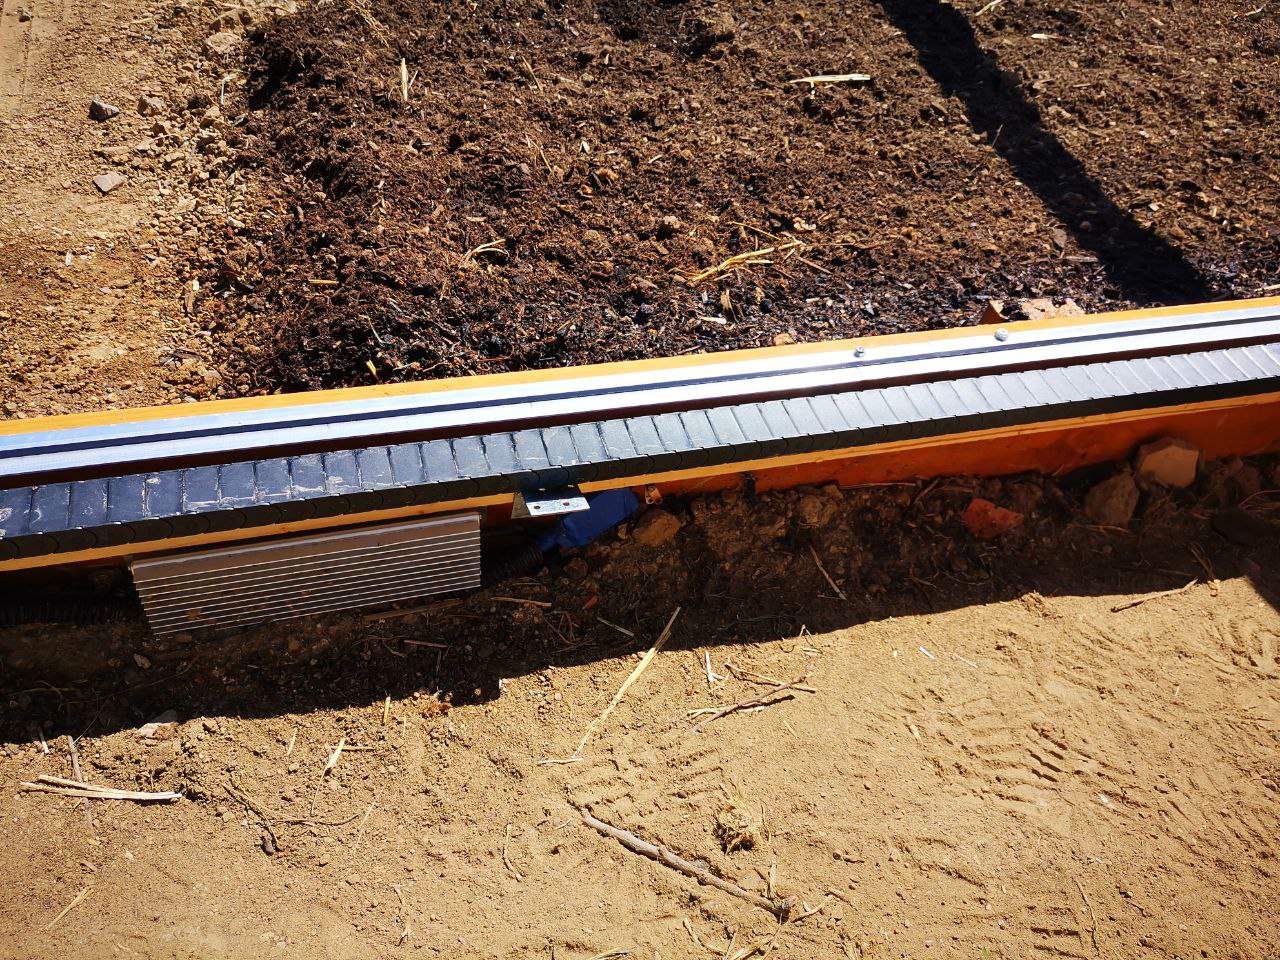
We have installed an aluminium rail with the community for the Farmbot XL
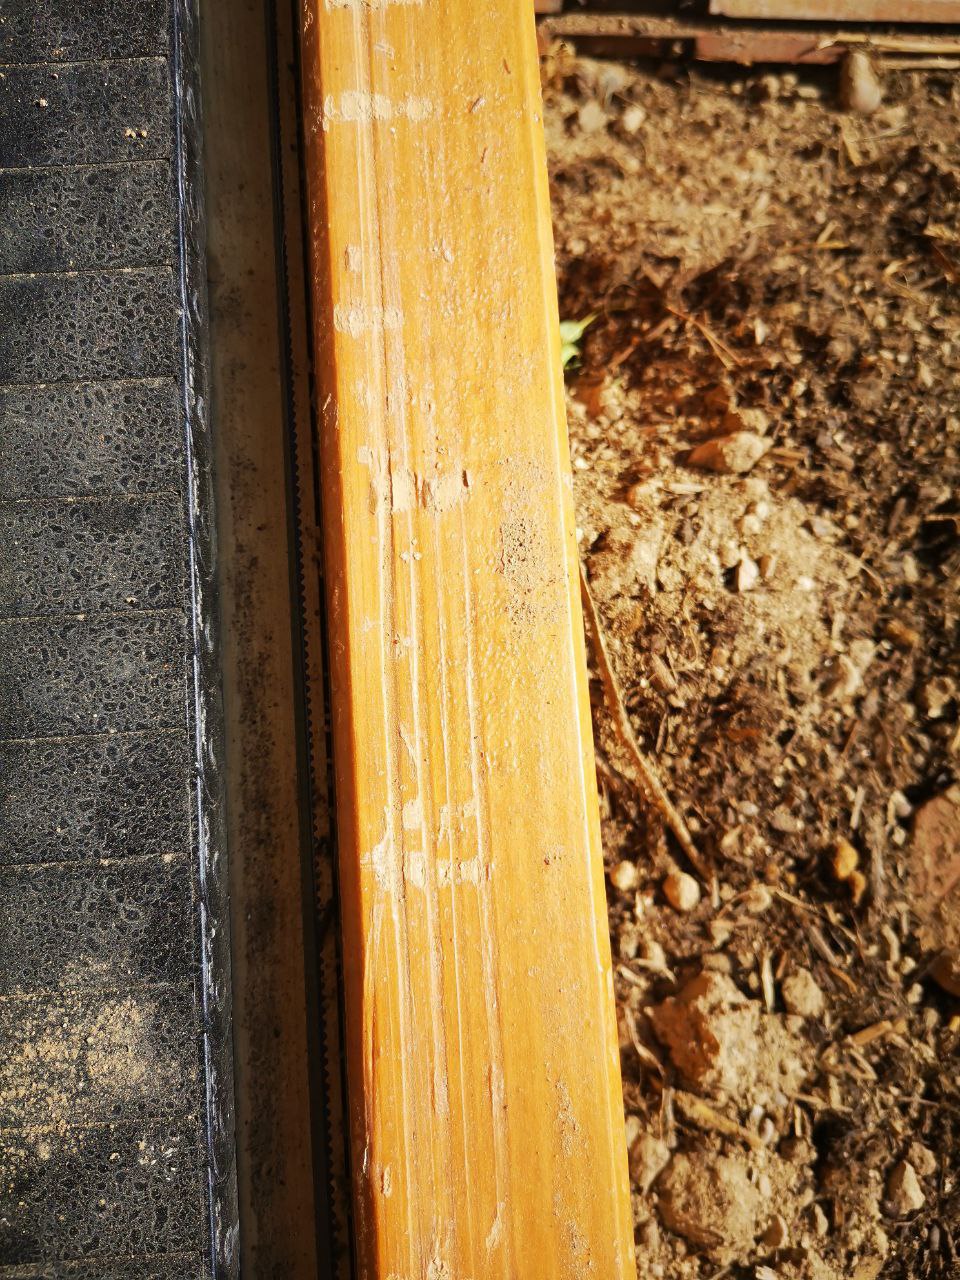
This we have decided after already after just a few tries the wood started to wear and **
** have a track.
Since the coefficiency of wood is different then of aluminium its important to make sure the track can expand a little bit. ( we have found this out the hard way, the tracks where bend and it looked like a roller coaster rail.)
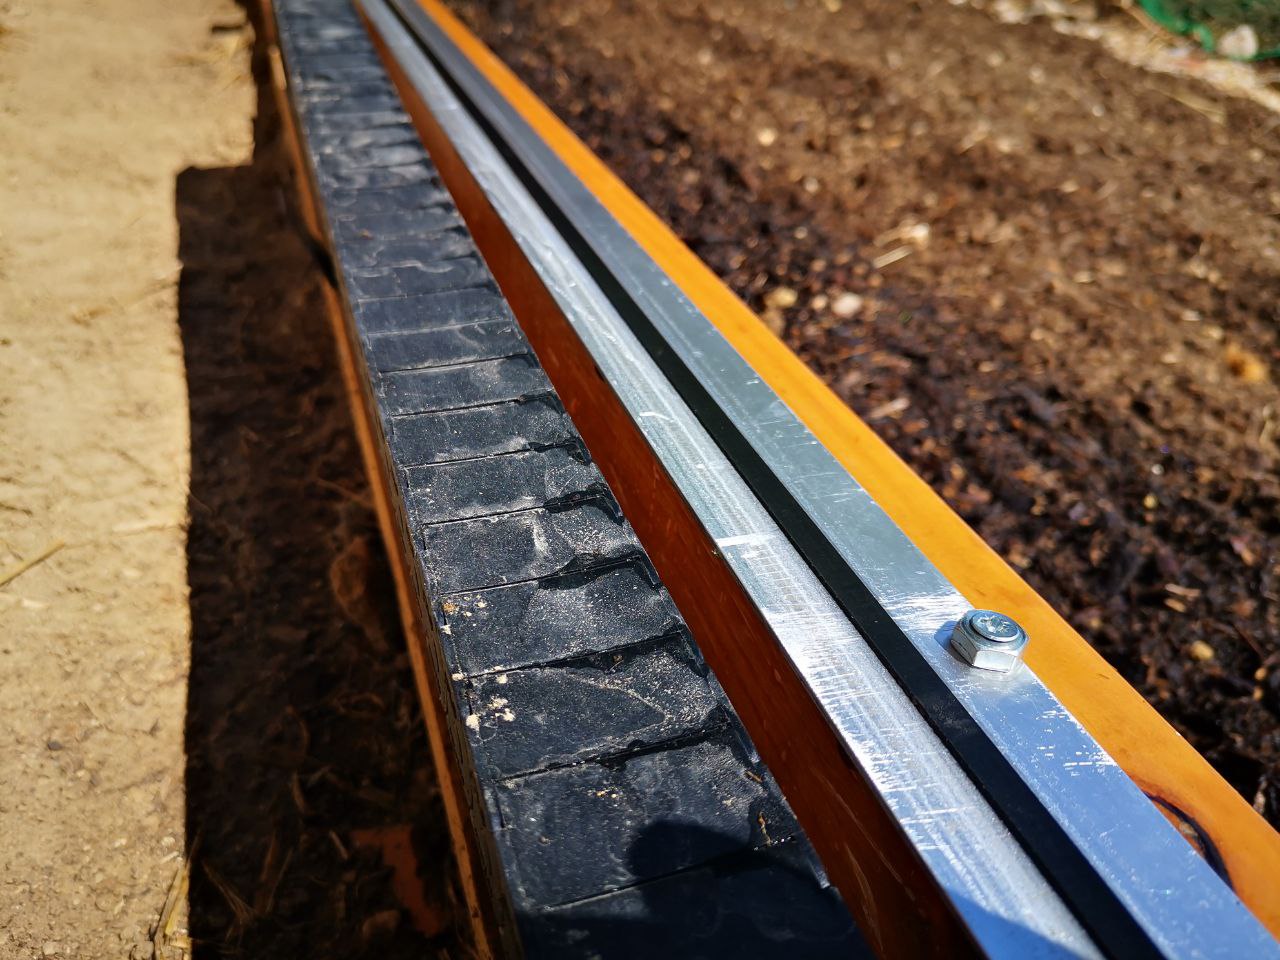
Between every track part, we used 1 mm of space.
At the end, before the stop, we have about 3-5 mm of space
We drilled the holes in ovals.
( you can do this by holding the drill sideways)
We have max 3 mm of difference on the Y axle from end to end.
To lubricate the track a bit better we have started to use candle wax. More romantic and it made the Farmbot crash a lot less.
Your build looks great @Catfarm, you are a long way away from me, but somehow your environment seems closer with some photos.
Keep em coming!
Dave from Australia
Make sure you keep one mm space so that the rail can expand
Best to use lengths of two meter and also label the spot where the farmbot its 0 is for all axles. (with paint, or isolation tape)
Make sure to put a bit of candle wax on the aluminium(full length), that makes a world of a difference and takes you just two minutes.
I would like to thank @Catfarm for pointing out this issue: I was able to think about a solution while waiting for the robot to arrive. I appreciated also the idea of @aronrubin for his garden: I came out with a fairly similar solution. My idea is based on a “floating frame” made out of aluminium straight edges: below is a report I wrote about it. Hopefully it will be useful for future costumers, before they set up their Farmbot.
Question on the wax, could I use Surfboard wax since it’s made for use in the Water and the Farmbot is exposed to the environment candle wax seems very inconsistent with many types, unless your talking about just beeswax?
I used a normal tea light candle and it lasted about 9 months before needed a reapplication - my farmbot is in a polytunnel so not quite so exposed - hope that helps