Develop new functions to trigger entering AP mode

Hello,

I’ve recently been experiencing issues with unstable Wi-Fi, resulting in communication issues, and frequent resets requiring a card, which is quite troublesome! I’d like to develop a function based on FarmbotOS that can reset the Wi-Fi by triggering a GPIO pin, allowing the AP hotspot to reappear.

However, I’ve noticed that the RPi3 image compiled with fresh installation is very small, only 77MB, while the official one is over 300MB. Are there significant differences between the image compiled at GitHub - FarmBot/farmbot_os: The operating system and all related software that runs on FarmBot's Raspberry Pi. and the official one?

I recompiled the system and burned it to the SD card using Mix, but after booting, the farmbot-xxx hotspot doesn’t appear.

Has anyone else done this before? Could you provide some tips?

The 77MB file is just the raw FBOS firmware but that needs to be expanded to a disk image file before copying onto a SDHC flash card.
The fwup utility can do that.

Check the FarmBot OS Developer documentation . . as the first paragraph states, you should become familiar with the Nerves - Getting Started guide

Hello, jsimmonds

Thanks for your reply. I’ve now been able to compile and flash the firmware to the Raspberry Pi correctly. I can also access the hotspot and configure it to connect to Wi-Fi.

1 Like

After a few days of learning about FarmbotOS, I’ve come up with a rough idea for a hard switch to enter AP mode. By monitoring GPIO26, I can automatically enter AP mode by shorting a jumper between GPIO26 and gnd. Use the following function:

def handle_info({:circuits_gpio, _pin, _timestamp, 0}, state) do
Logger.info("GPIO trigger: entering AP mode...")

# Option 1: Force reset to the default AP mode
FarmbotOS.System.factory_reset("GPIO trigger")

# Option 2: Directly enter AP mode without clearing the configuration
# :ok = VintageNet.configure("wlan0", FarmbotOS.Platform.Target.Network.host())

{:noreply, state}
end

This is the idea for now, but actual testing is needed..

I’ve also discovered a discrepancy between burning the Raspberry Pi firmware to an SD card using the Mix Burn method and using fwup to generate an image and then burn it to the SD card.

The Mix Burn method won’t automatically burn the FarmDuino firmware upon initial system entry, while the Fwup method will automatically burn the firmware normally. I’ve tested this several times and I’m unsure if this discrepancy is actually true.

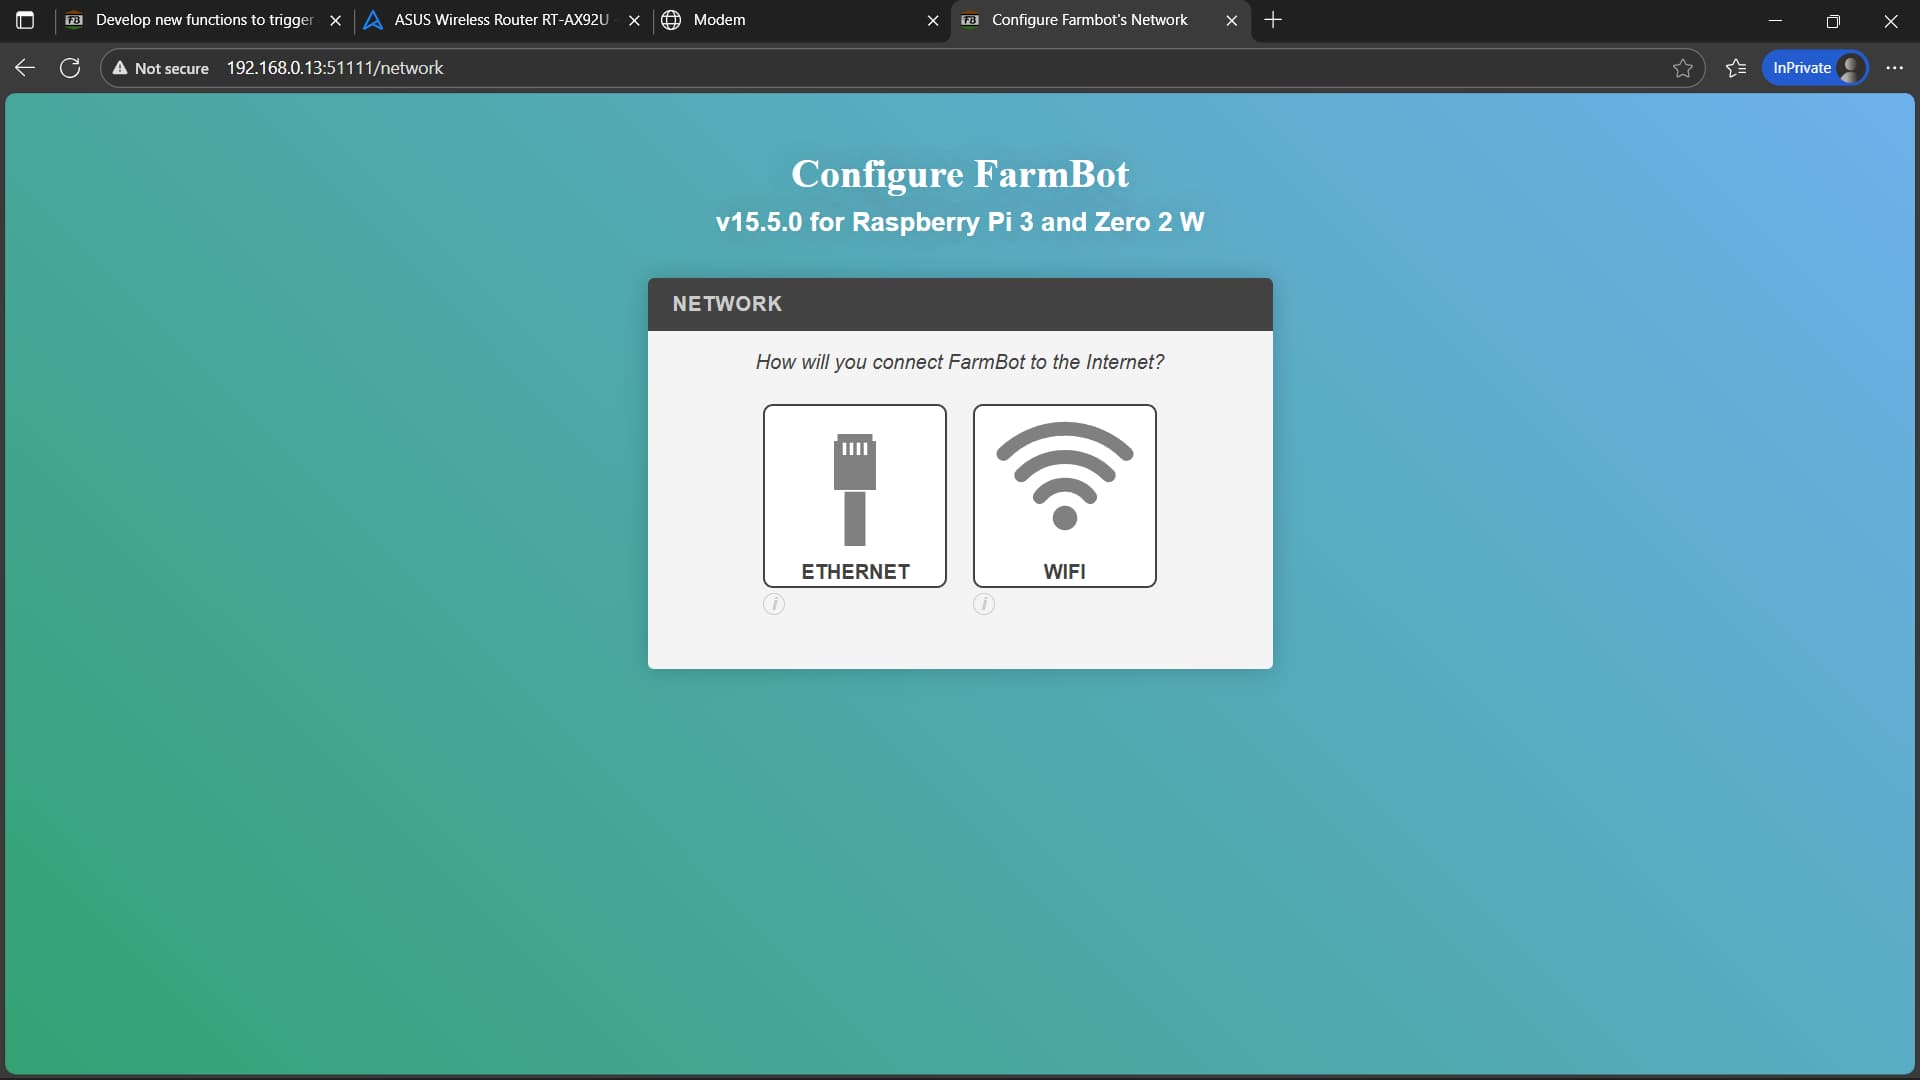
After multiple verifications, it has been completed to reset the network back to AP mode and reconfigure the WiFi information by connecting GPIO26 and GND through a jumper cap or switch.

You can quickly re-enter Wi-Fi configuration in the following situations:

  1. Incorrect Wi-Fi configuration, resulting in a long wait for the reset timer to expire

  2. Unstable Wi-Fi, resulting in an inability to connect to my.farm.bot

  3. Changing Wi-Fi requires reconfiguration to avoid reflashing the system

  4. Changing location requires reconfiguration to avoid reflashing the system

/lib/os/ext/ap_trigger.ex code as below:

defmodule FarmbotOS.APTrigger do
  @moduledoc """
  通过 GPIO 引脚触发进入 AP 模式。

  - 默认使用 GPIO26 (BCM 编号),可在 @gpio_pin 修改。
  - 检测到按键低电平(falling edge)时,进入 AP 模式。
  - LED 闪烁表示触发。
  - 防止重复触发。
  """

  use GenServer
  require FarmbotOS.Logger

  @gpio_pin 26
  @led_flash_ms 500

  # 启动 GenServer
  def start_link(_args) do
    GenServer.start_link(__MODULE__, %{}, name: __MODULE__)
  end

  @impl true
  def init(_state) do
    # 打开 GPIO 输入模式
    {:ok, gpio} = Circuits.GPIO.open(@gpio_pin, :input)
    # 设置上拉
    :ok = Circuits.GPIO.set_pull_mode(gpio, :pullup)
    # 设置下降沿触发
    Circuits.GPIO.set_interrupts(gpio, :falling)

    IO.puts("APTrigger: 监听 GPIO#{@gpio_pin},低电平触发进入 AP 模式。")
    FarmbotOS.Logger.debug(1, "APTrigger: 监听 GPIO#{@gpio_pin},低电平触发进入 AP 模式。")

    # first 表示第一次触发
    # processing 表示正在处理
    {:ok, %{gpio: gpio, first: true, processing: false}}
  end

  # 防止重复触发:如果正在处理,忽略新消息
  @impl true
  def handle_info({:circuits_gpio, pin, ts, 0}, %{processing: true} = state) do
    IO.puts("GPIO #{pin} 触发被忽略,正在处理上一条触发,ts=#{ts}")
    {:noreply, state}
  end

  # 第一次正常触发
  @impl true
  def handle_info({:circuits_gpio, pin, ts, 0}, %{first: true} = state) do
    IO.puts("GPIO #{pin} 触发消息到达 APTrigger, 第一次!, ts=#{ts}")
    FarmbotOS.Logger.debug(1, "APTrigger: GPIO #{pin} 触发 → 进入 AP 模式。")

    # 设置正在处理标记
    new_state = %{state | first: false, processing: true}

    # 异步执行 factory_reset,同时闪烁 LED
    Task.start(fn ->
      # LED 闪烁一次
      FarmbotOS.SystemLed.on()
      Process.sleep(@led_flash_ms)
      FarmbotOS.SystemLed.off()

      # 执行出厂重置
      FarmbotOS.System.factory_reset("GPIO trigger", true)

      # 通知 GenServer 完成处理
      GenServer.cast(__MODULE__, :done)
    end)

    {:noreply, new_state}
  end

  # 处理完成后,清除 processing 标记
  @impl true
  def handle_cast(:done, state) do
    {:noreply, %{state | processing: false}}
  end

  # 其他 GPIO 消息
  # @impl true
  # def handle_info(msg, state) do
  #   IO.inspect(msg, label: "APTrigger 收到其他消息")
  #   {:noreply, state}
  # end
end

/lib/os/ext/system_led.ex code as below:

# 定义 LED 控制模块
defmodule FarmbotOS.SystemLed do
  @led_path "/sys/class/leds/ACT/brightness"

  # 点亮
  def on, do: File.write!(@led_path, "1")

  # 熄灭
  def off, do: File.write!(@led_path, "0")

  # 闪烁
  def blink(ms \\ 500) do
    on()
    Process.sleep(ms)
    off()
  end
end

/lib/farmbot_os.ex add # GPIO Trigger :

    children = [
      FarmbotOS.Asset.Repo,
      FarmbotOS.EctoMigrator,
      FarmbotOS.BotState.Supervisor,
      FarmbotOS.Bootstrap,
      {FarmbotOS.Configurator.Supervisor, []},
      {FarmbotOS.Init.Supervisor, []},
      FarmbotOS.Leds,
      FarmbotOS.Celery.Scheduler,
      FarmbotOS.FirmwareEstopTimer,
      {FarmbotOS.Platform.Supervisor, []},
      FarmbotOS.Asset.Supervisor,
      FarmbotOS.Firmware.UARTObserver,
      {Task.Supervisor, name: FarmbotOS.Task.Supervisor},
      # GPIO Trigger
      {FarmbotOS.APTrigger, []}
    ]
1 Like

Hi @ncnynl You don’t really need all this.

While the FarmbotOS is running it keeps a little configuration web server active on port 80.
You can browse directly to it once you know the IPv4 address that it’s currently using.

E.g. (I need port forwarding on my home network to reach the Farmbot LAN)

Yes, if you’re at home, you can find the IP address by connecting an Ethernet cable and looking at the Farmbot’s address on the router. However, if you move and don’t have an Ethernet cable, or if you misconfigure your settings and can’t access the website and don’t know the IP address, reflashing the SD card seems to be the only option.

Triggering the reset switch will restore the AP configuration. This solves these problems without reflashing the SD card. My Farmbot sometimes gives presentations at school, and moving around and switching Wi-Fi networks can be a real hassle.

Even at home, I frequently disconnect and shut down the device, and this can happen. Even if I connect a wired connection, I still don’t know the corresponding IP address. So this method is still very convenient for me. :slight_smile:

2 Likes

This topic was automatically closed 30 days after the last reply. New replies are no longer allowed.