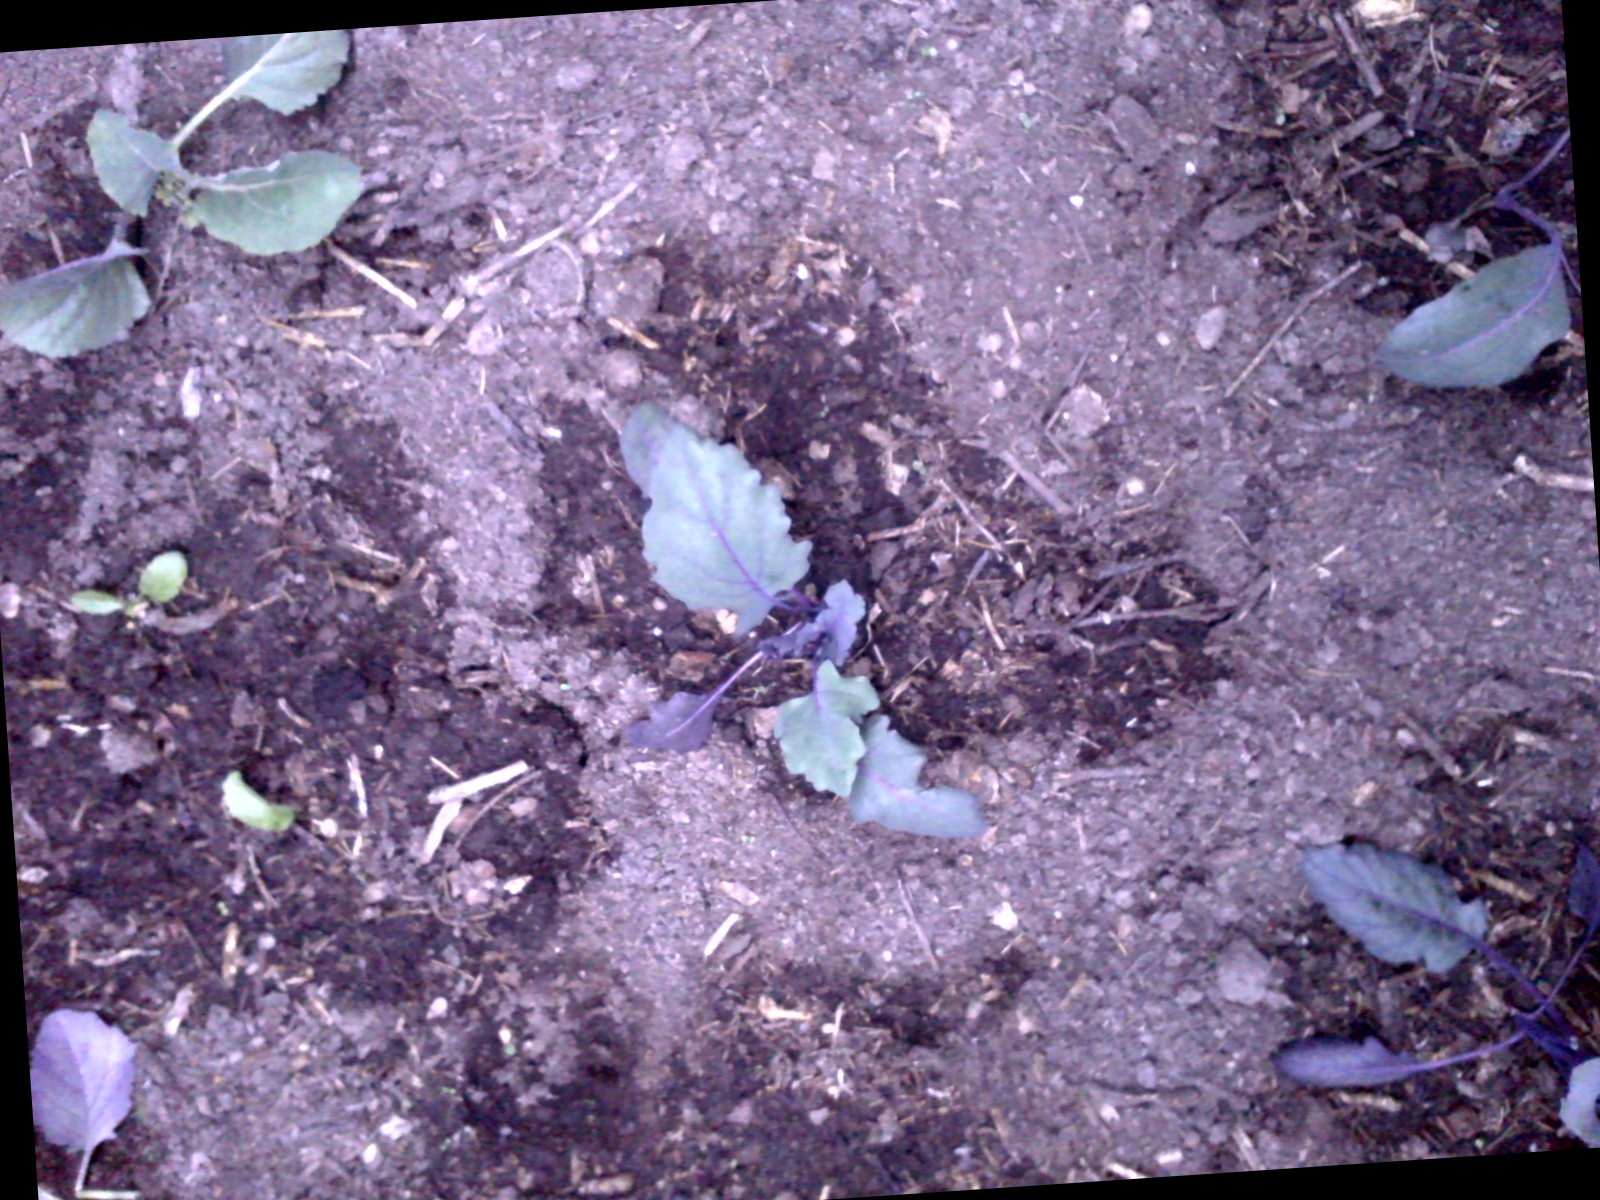
As the borescope camera was not in stock in the FarmBot shop I ordered a similar USB camera with the same dimensions. It worked in principle bit the pictures had a very low resolution, darkened to the corers and were very blurry.
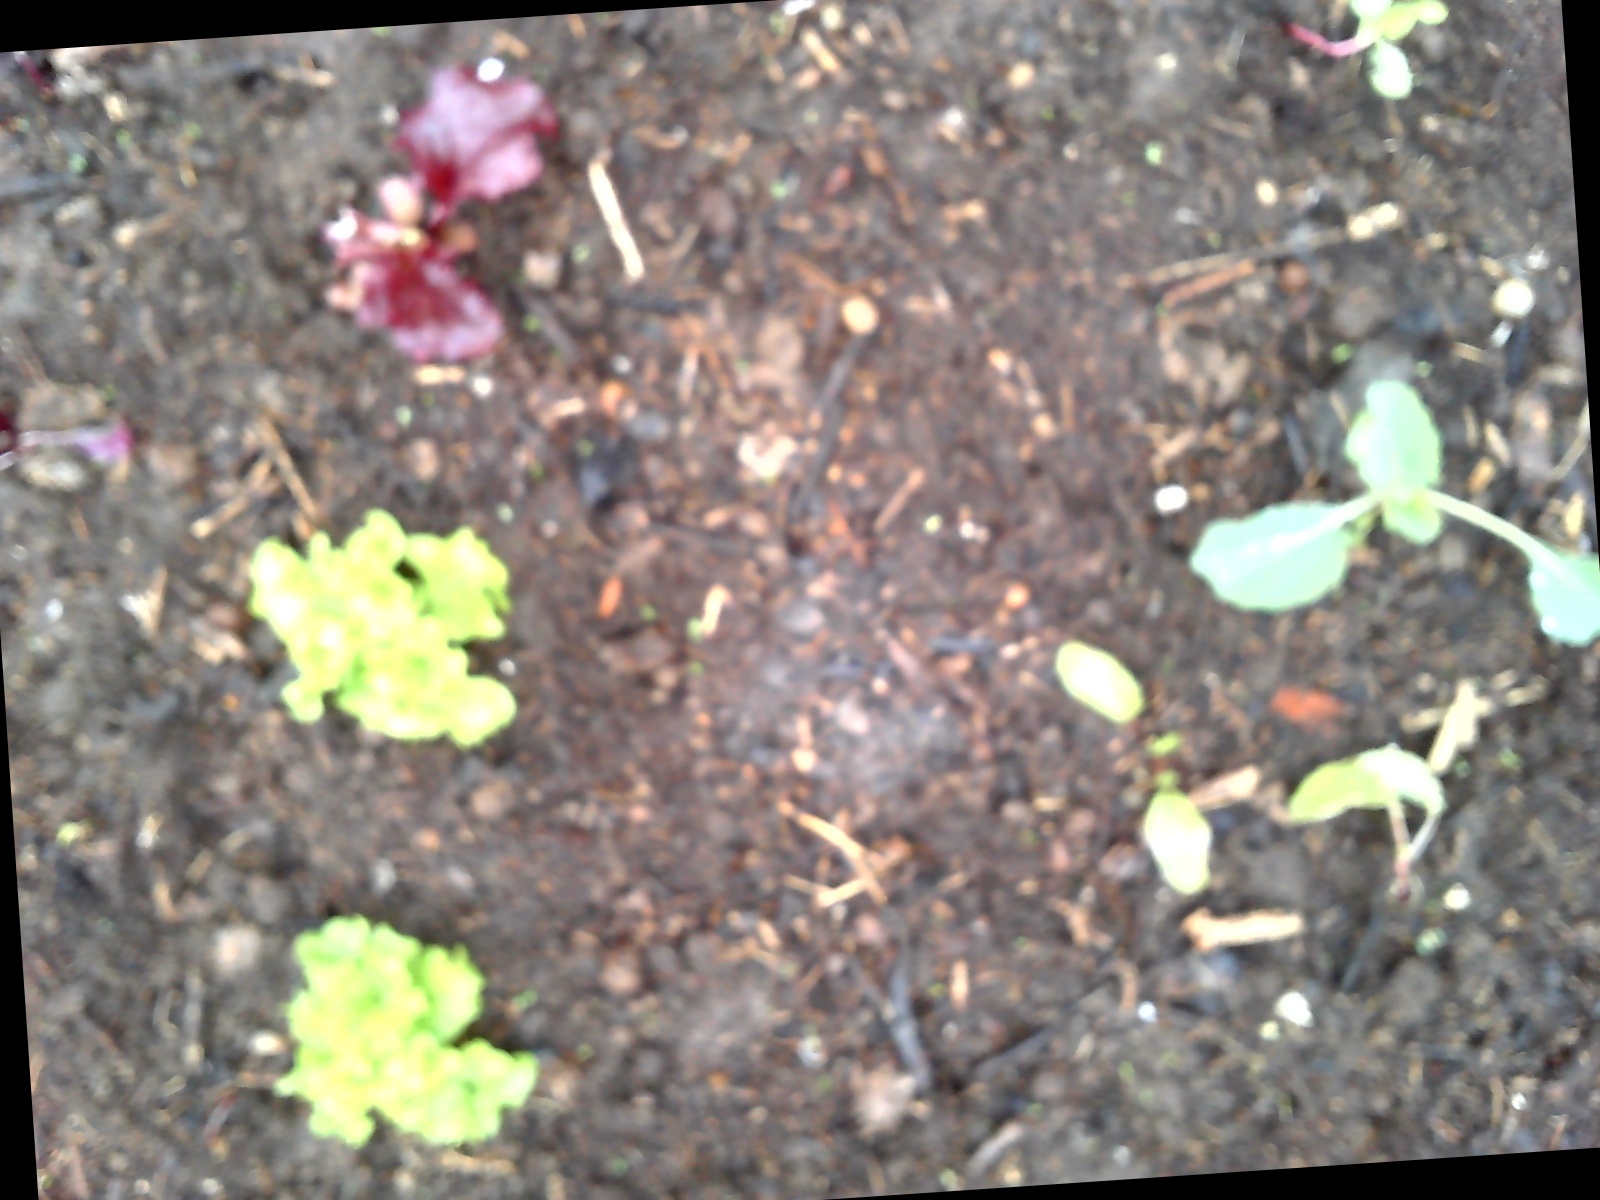
However the camera greatly struggles with daylight. During the whole day it always takes very blurry photos which are overexposed. I believe this is because it is designed to inspect small dark spaces and photos during the day are out of the range of expectations for the automatic mode. Here is an exaple of a photo during daylight:
My Question: Is there any way to manually set camera settings?
USB borescope cameras connect like normal webcams to Linux. You can access the via v4l2 which includes tools to manually set the settings:
The command v4l2-ctl --list-devices will list all the attached camera devices. At a FarmBot there should be only one: /dev/video0. The command v4l2-ctl -d /dev/video0 --list-ctrls will print out which settings can be set for the attached camera model and prints out most of the set values. Each can also be read with --get-ctrl (Example: v4l2-ctl --get-ctrl=white_balance_temperature).
The best part is that all the settings can also be written with --set-ctrl. Here is an example: v4l2-ctl -d /dev/video0 --set-ctrl=exposure_absolute=166
The FarmBot could improve the quality of beet scans by setting the exposure after the first image to manual mode and resetting it after the last image. In my case manually setting focus, exposure, gain and white balance would allow me to take much better photos during the day. With therse better photos the weed detection would also work more reliably.
If there was an easy way to connect to the Linux on the Raspberry Pi via SSH I would have tested this myself. As I understand that’s not possible with FBOS. So an alternative solution would be to integrate some manual controls in the web interface which run the v4l2-ctl commands on the Pi. I hope this is not hard to implement.
Not a direct answer to your question about camera settings.
I take photos early morning or late afternoon, when there is only indirect sunlight on my FarmBot. This has a couple of benefits:
Photos are not overexposed.
The wooden raised garden bed frame does not reflect too much yellow / orange / brown into the photo, which otherwise shifts the white balance (this messes with your plant detection calibration). When I took photos in direct sunlight, photos that included the garden bed frame were white balanced differently to photos of the centre of the garden bed.
Photos are not sensitive to clouds passing in front of the sunlight, which also messes with your plant detection calibration.
Photos do not include the shadow of the gantry.
Try taking your photos in “bright twilight” so you get the most evenly lit garden without any cast shadows. Calibrate plant detection using these photos and lighting.
Then schedule a sequence to photograph your garden during these times every day (or however often you need).
This looks great! Thanks for sharing your camera mount design. We have been considering replacing the current design of the camera in future versions, but we often find that alternatives are not quite right for our use case. The camera shown in your link is new to me and I have passed it along to the rest of the team for further investigation.
Is there any way to manually set camera settings?
Currently, there is not, but you bring up a valid use case. This could be very useful for advanced developers.
If there was an easy way to connect to the Linux on the Raspberry Pi via SSH I would have tested this myself. As I understand that’s not possible with FBOS. So an alternative solution would be to integrate some manual controls in the web interface which run the v4l2-ctl commands on the Pi. I hope this is not hard to implement.
It is possible to SSH into a FarmBot but there are a few things to keep in mind:
You must enter an SSH key at configuration time. If you did not add one, you must re-flash your SD card and start over.
When you SSH into a device, you will not get a standard shell. Instead, the system shell is iex, an interactive Elixir programming environment (similar to Ruby’s pry or the Javascript debug console).
When you enter SSH, you can use Toolshed which will enable the Toolshed utility. Toolshed exposes a cmd("echo 'hi'") utility.
It is still possible run system commands from iex. I have included an example below.
SSH exists for FarmBot employees and Elixir programmers modifying FBOS. Many things are not expected to behave like a normal Linux SSH session. I mention this because we occasionally get feature/update requests for SSH and our intent is not to provide an SSH environment for advanced users. It is there to help employees debug system problems.
Thanks for post @pinae. I’m trying to troubleshoot why my camera only takes black photos, so I learned some useful things. I had been wondering whether ssh into the pi would help. (It is not a camera issue or connection issue; it could be due to low voltage on the Farmduino and on the GPIO pins - I haven’t ruled this out.)
From what you and @RickCarlino say, it sounds like I’m not going to learn much from what I’d be able to see via iex.
@zmek Can you review this video regarding the camera connection, also check to make sure that the connector ring is tight. Double check and make sure that there isn’t any evidence of corrosion in the connector pins.
Also please review the camera troubleshooting page on our website:
Hi @Marc thanks for getting back to me on this. The connection is not the problem. I can connect the camera to a different computer or rasbperry pi via this connector (ie by disconnecting the cable inside the box that goes into the Farmbot pi and connecting it to another pi) and the camera works fine. I have had this issue with black photos from the beginning of setting up Farmbot, so corrosion is not an issue. I have tested the power across the GPIO pins and this is low.
I sent you an email about this GPIO voltage issue on 2 May, and you kindly sent me another camera but that has not solved the issue. Is there anything else I can try?
Quick Update: My FarmBot was powered down during the winter and since powering it up my fancy HD camera does not work anymore. If I connect it to a laptop it does not work either, so I do not think the FarmBot software is the problem. I guess the hardware proofed itself not to be winter-proof.
Has anyone a suggestion for a better camera? It would be nice to have one with a high resolution which is able to focus correctly during daylight.
it wasn’t my intention to complain about the original camera. When I ordered the components for my FarmBot (the kit was sold out at that time) the camera was sold out. So I ordered a boroscope camera with very similar dimensions. This camera which was probably similar to the original one or maybe different had a very poor image quality. The images were blurry and mostly over-exposed. Weed detection did not work with this camera. So I ordered a expensive HD camera (see my first post) and designed a different camera mount for this camera. The image quality was very good with the artificial light of the LED strip. However the camera produced over-exposed and blurry images during daytime. This was not much of a problem because I mostly wanted the weed detection to work and this was OK if scheduled after dawn.
The replaced camera seems to be broken now. So no component of the official kit broke but a seemingly superior replacement part I sourced myself. I wanted to post this information here because I no longer recommend the camera model.
I might be interested in using the official camera model since it is better tested than any camera I buy at amazon or ebay. There were some complaints about the image quality of the official camera here in the forum. What image quality is to expect from the part you are offering?