last year i’ve replaced the borroscope with a simple USB Webcam to make pictures from a higher position so that less pictures are needed to scan the whole bed. I mounted the camera to the cross slide plate instead of the z-axis itself.
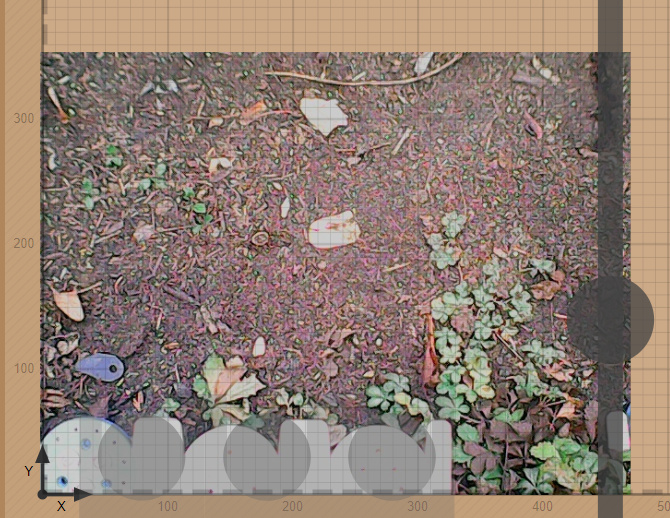
Now I’m facing issues to get the position properly calibrated so that farmbot coordinates match to the pictures. Here you can see, that the tools don’t match if they are on the other end of the picture.
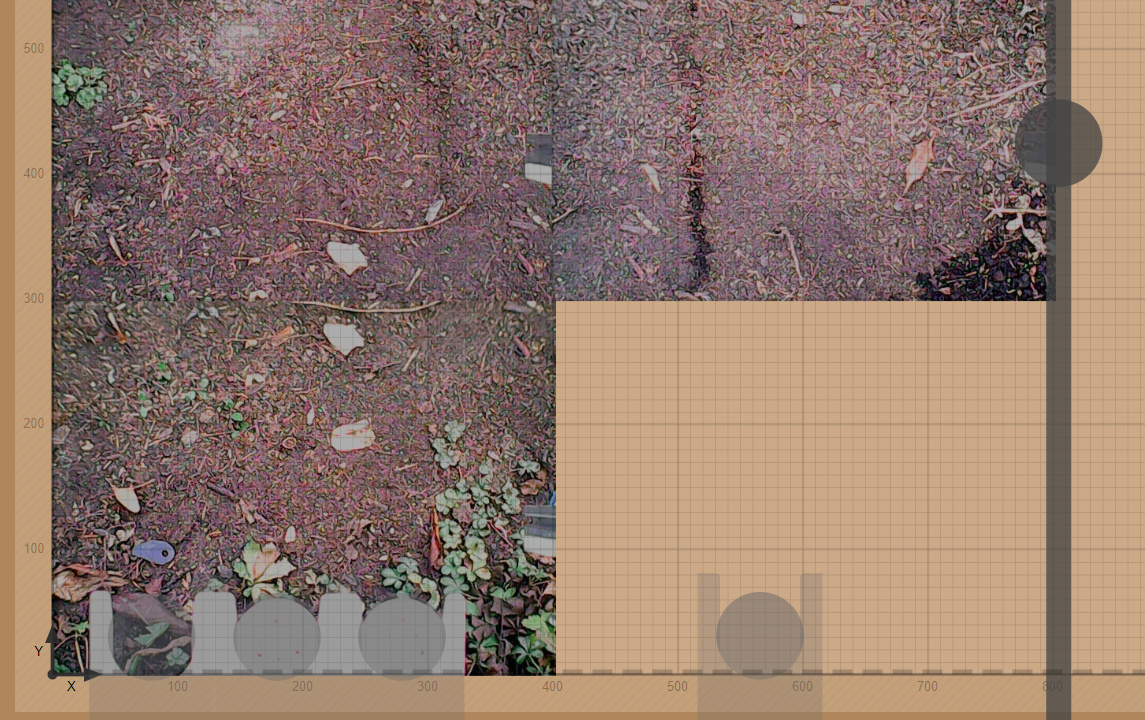
Found some kind of a solution but ran into the next problem. Tried some changes on the Calibration Object Separation parameter of the camera calibration which made the tools fit to the picture in every angle.
Now the outer areas of the pictures are seen in the following picture that is taken.
I wonder if I’m able to fix that with the webapp or with the camera position.
Looks like i’ve got it. Now the tools still don’t fit to the picture, but the positioning from bot coordinates to the picture coordinates seem to match. The reason that the tools are not matching is, that they are on a different height level than the soil, so you could either calibrate the camera on the tool grid or the soil bed. Calibrating with the soil bed makes obviously more sense
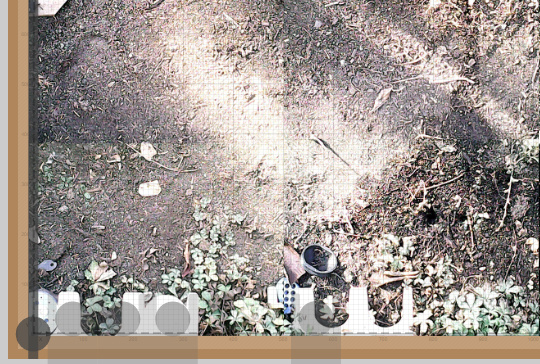
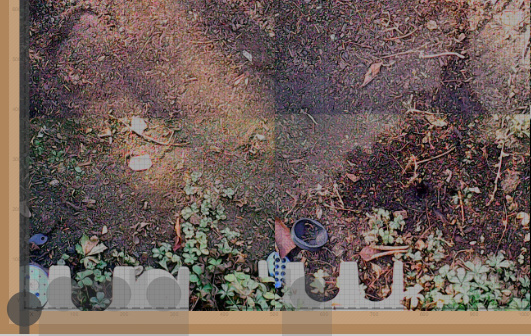
Next thing is, that the camera reacts really sensitive to sunlight, or light generally. As you can see, plants are mostly just white and its really hard to configure the weed detector so can detect with any weather.
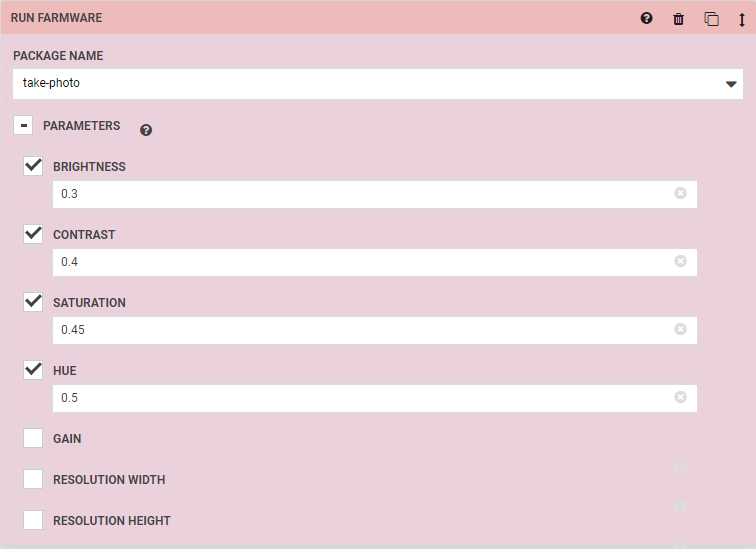
So I tried to change some settings in OpenCV using a modified version of the Take-Photo farmware.
The difference is not that great, but the weed detector works better for me now. Those pictures were taken only a few minues after the upper ones in this post.
I’m still not completely fine with the results, so I will mount a LED strip to the gantry and try to make photos at night. Sadly I’ve already changed my electronics to 24V but a stepdown module will probably save the day
I’m just writing this, to keep my experience with cheap USB cams documented .
@Ascend - thank you for documenting this. It seems the issue of height for tool bays is real. You just figured it out more quickly
I haven’t ventured into modifying packages yet but this is interesting to me and I’ll add to my list. In addition, do you mind sharing which camera you used?
I also ordered that cam recently. Can you point me to the “4-pin male 90-degree waterproof connector” which is used on the original camera? Of have you just cut that on the original and soldered it together?


 .
.