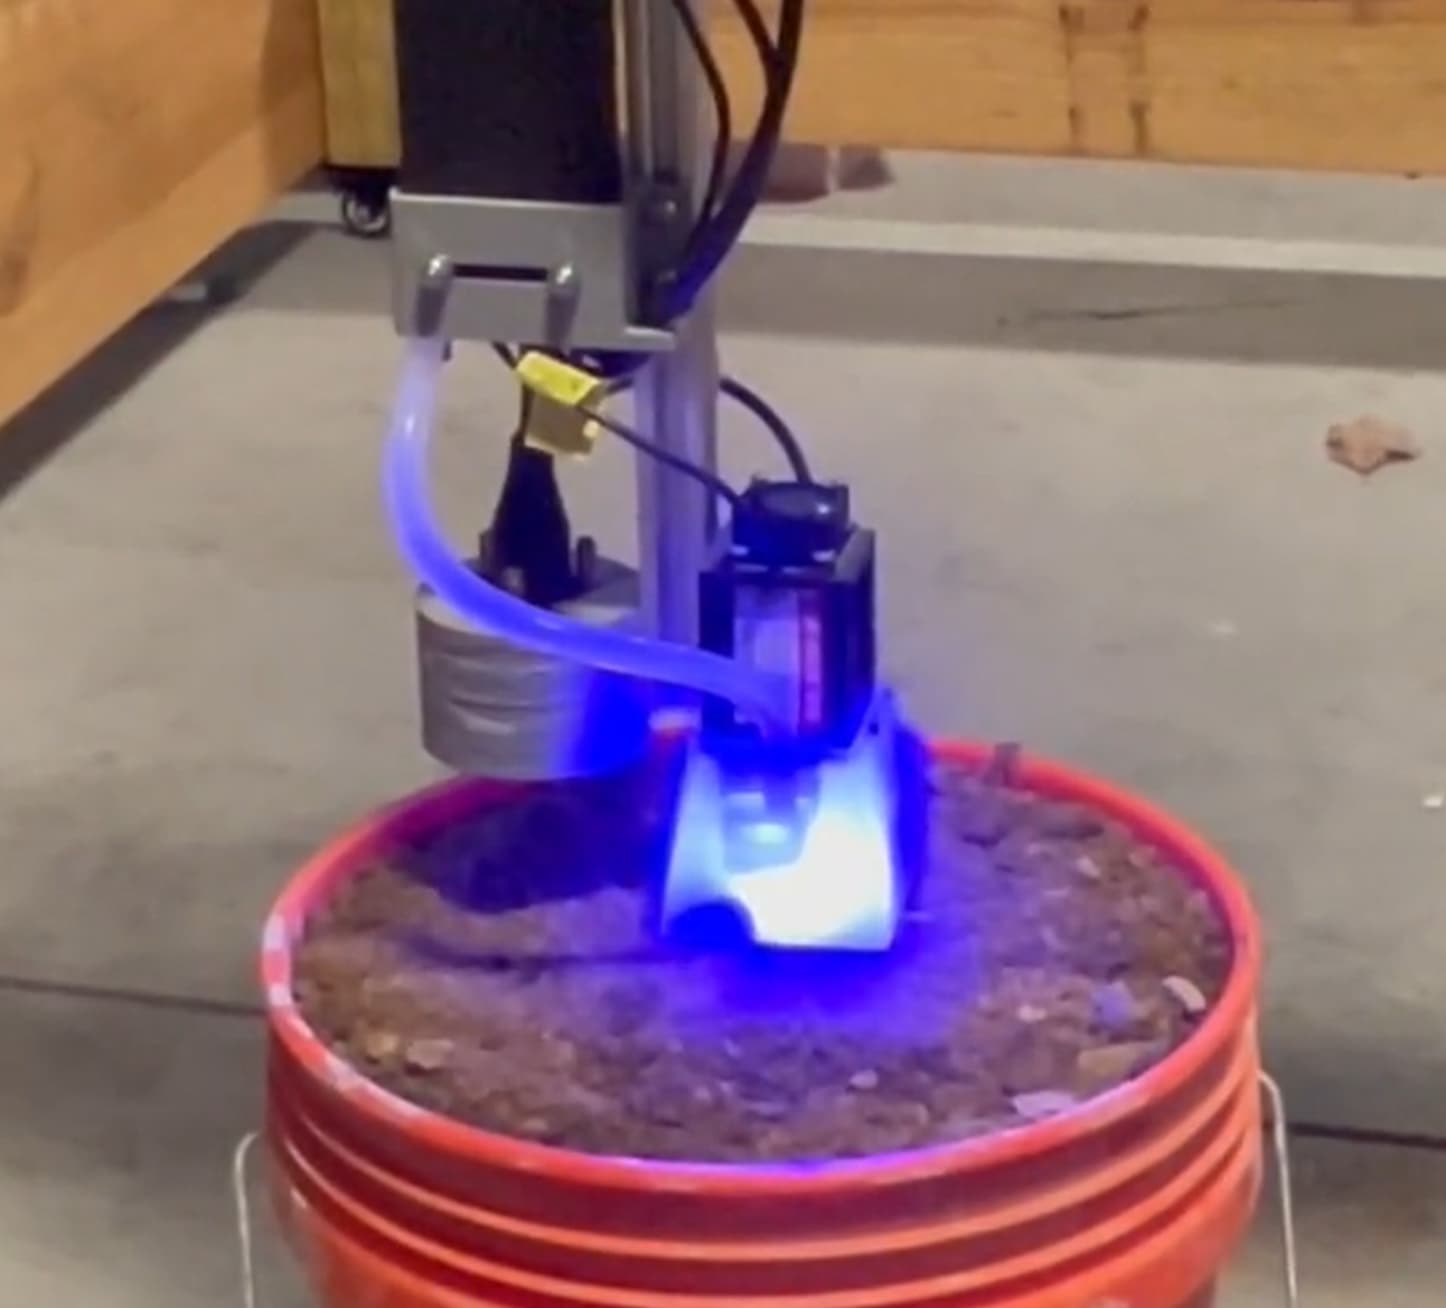
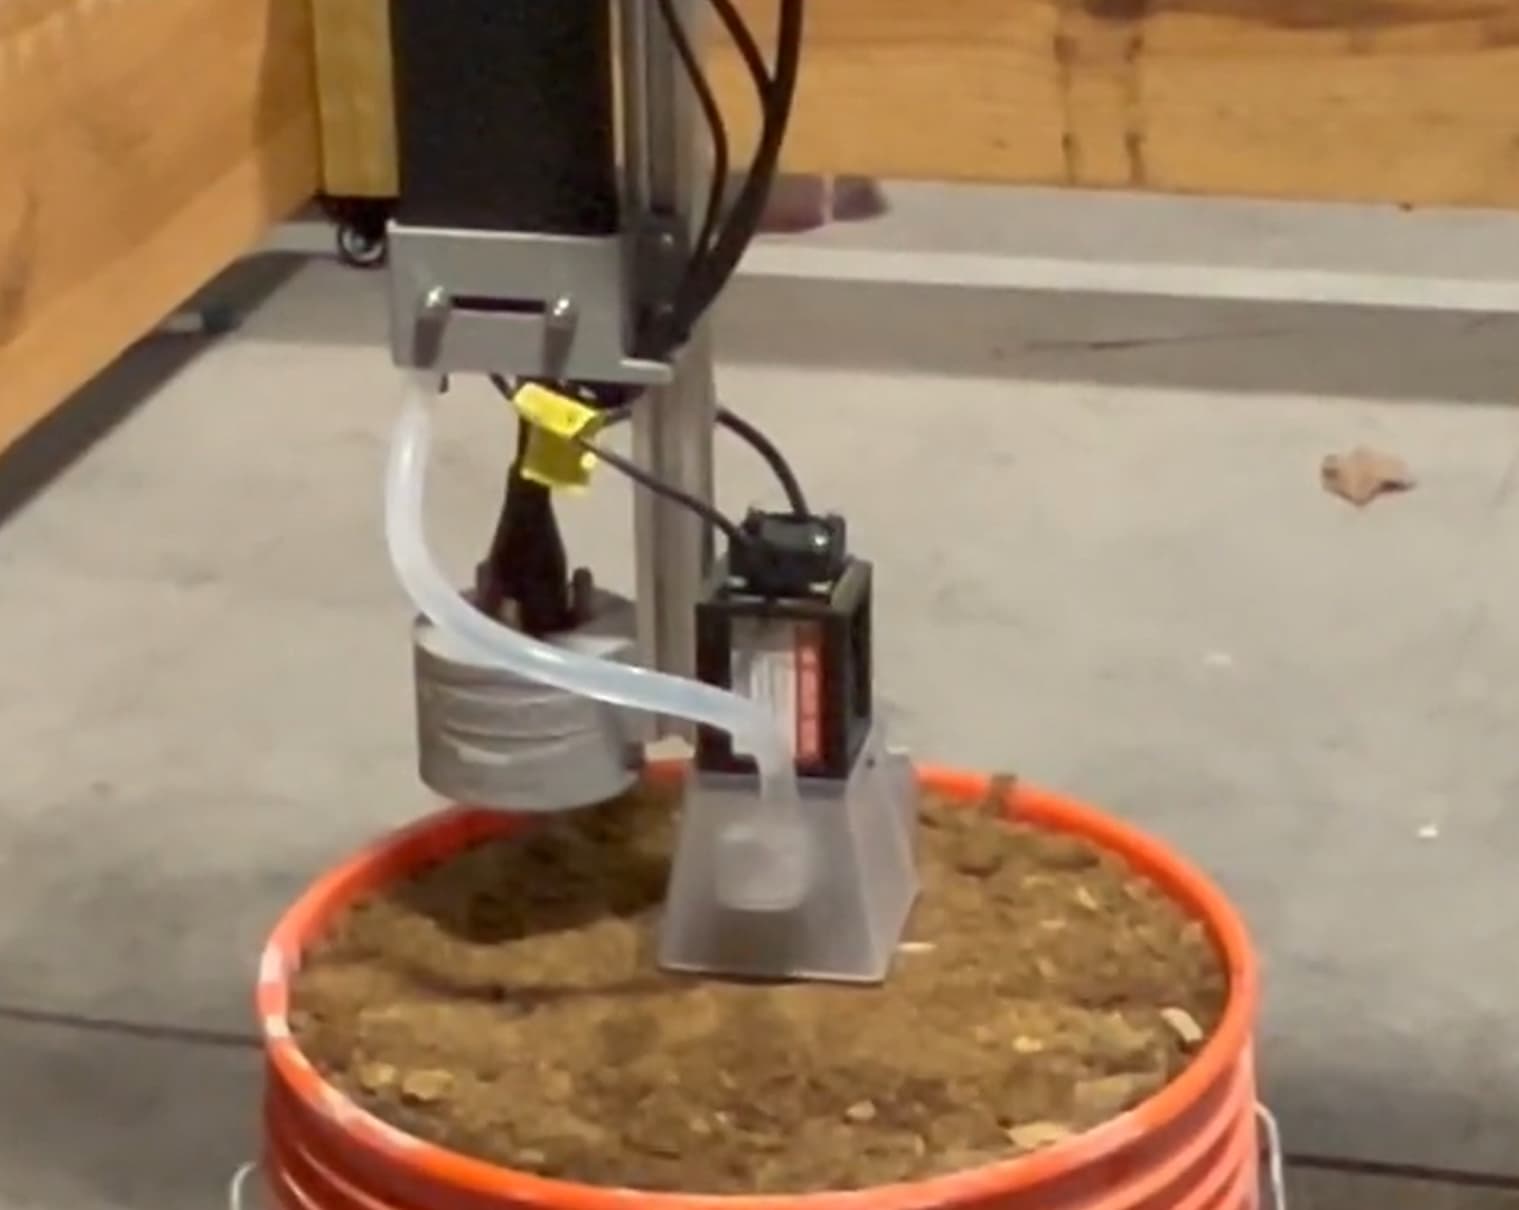
My team at Liberty University has been working on a Capstone Project for a Laser Weeding Tool that uses object detection to identify a weed and then turn a laser on at the weed location to remove it. As part of that effort, our team has created three YouTube videos focusing on the Weed Detection processes.
For background, an object detection program has a few necessary steps, the first is a dataset of images used to train an image. This dataset requires many photos or images that need to be annotated or labeled, often in the magnitude of thousands. These can either be manually made or downloaded from other open-source projects that have already gone through the tedious process of annotating the images. A dataset is composed of the image itself, a text file that provides the class index and coordinates, and a class file. For example, if there is a picture of a carrot and lettuce, I can define class 1 as a carrot and class 2 as lettuce. The text file will then state the class index and location for every object.
Once a valid dataset has been acquired, it can then be used to train an object detection model. The specific one used in our project is YOLOv3 Darknet, more information can be found in the YouTube video below. Many prerequisites are required, such as OpenCV, CUDA, and CUDNN. Once a training process has been started, the dataset will be run through the process which can take many hours. Our team used a 3080Ti and around 150 images and a valid weight file was produced after nearly 3-4 hours. Training a model is a very hardware-intensive process and is often sent out to High-Performance Computing labs where it can be done much more efficiently with powerful computing units running in parallel.
Once a weight file has been produced by the training process, it can be used flexibly across different programs. In our project, we use the weight file (alongside the training configuration settings) in a Python program that can detect an object and draw a box around it. As for the overall integration with FarmBot itself, there is a potential path through the already-established Weed Detection [Weed Detection | FarmBot Software Documentation] where, instead of identifying by color, a weed can be directly identified and both the center coordinates and radius of the weed can be passed through. A script or procedure can be made to utilize the Laser Weeding Tool, which will hopefully be showcased in a future post.
How to Install LabelImg: youtube.com/watch?v=BsEP7KndZfQ&list=PLJESLGqXwXdWCxusTTihjrxiT7_09RlhO
This video details the installation and usage of a free program called LabelImg. This is a tool used to manually annotate images.
How to Install and Train Darknet: youtube.com/watch?v=n8reLlFNcuk&list=PLJESLGqXwXdWCxusTTihjrxiT7_09RlhO&index=2
This video goes through the installation process of Darknet and how it is used to train a model using a dataset. This was simply the process that worked with our team and may not be exactly the solution for others. Other online resources go through similar yet slightly different tutorials for installing Darknet.
How to Run a Detection Program: youtube.com/watch?v=MMXwSG4lyQs&list=PLJESLGqXwXdWCxusTTihjrxiT7_09RlhO&index=3
This video goes through the usage of the generated weight file in a Python program to view an image, detect plants/weeds, and draw a box around it. The final output can be modified to only pass out center coordinates and radii of objects.