We recently upgraded our Genesis V1.3 system to a V1.5 system. Since the upgrade, we have noted a low voltage status in our Raspberry Pi status in the Connectivity Widget. Has anyone seen this status after a similar upgrade and know what can be done to address it?
Hi @natalieecrosby,
I had the same question when I originally built my V1.5. It turned out to be nothing.
The following thread will have more details:
Hope this helps…
2 Likes
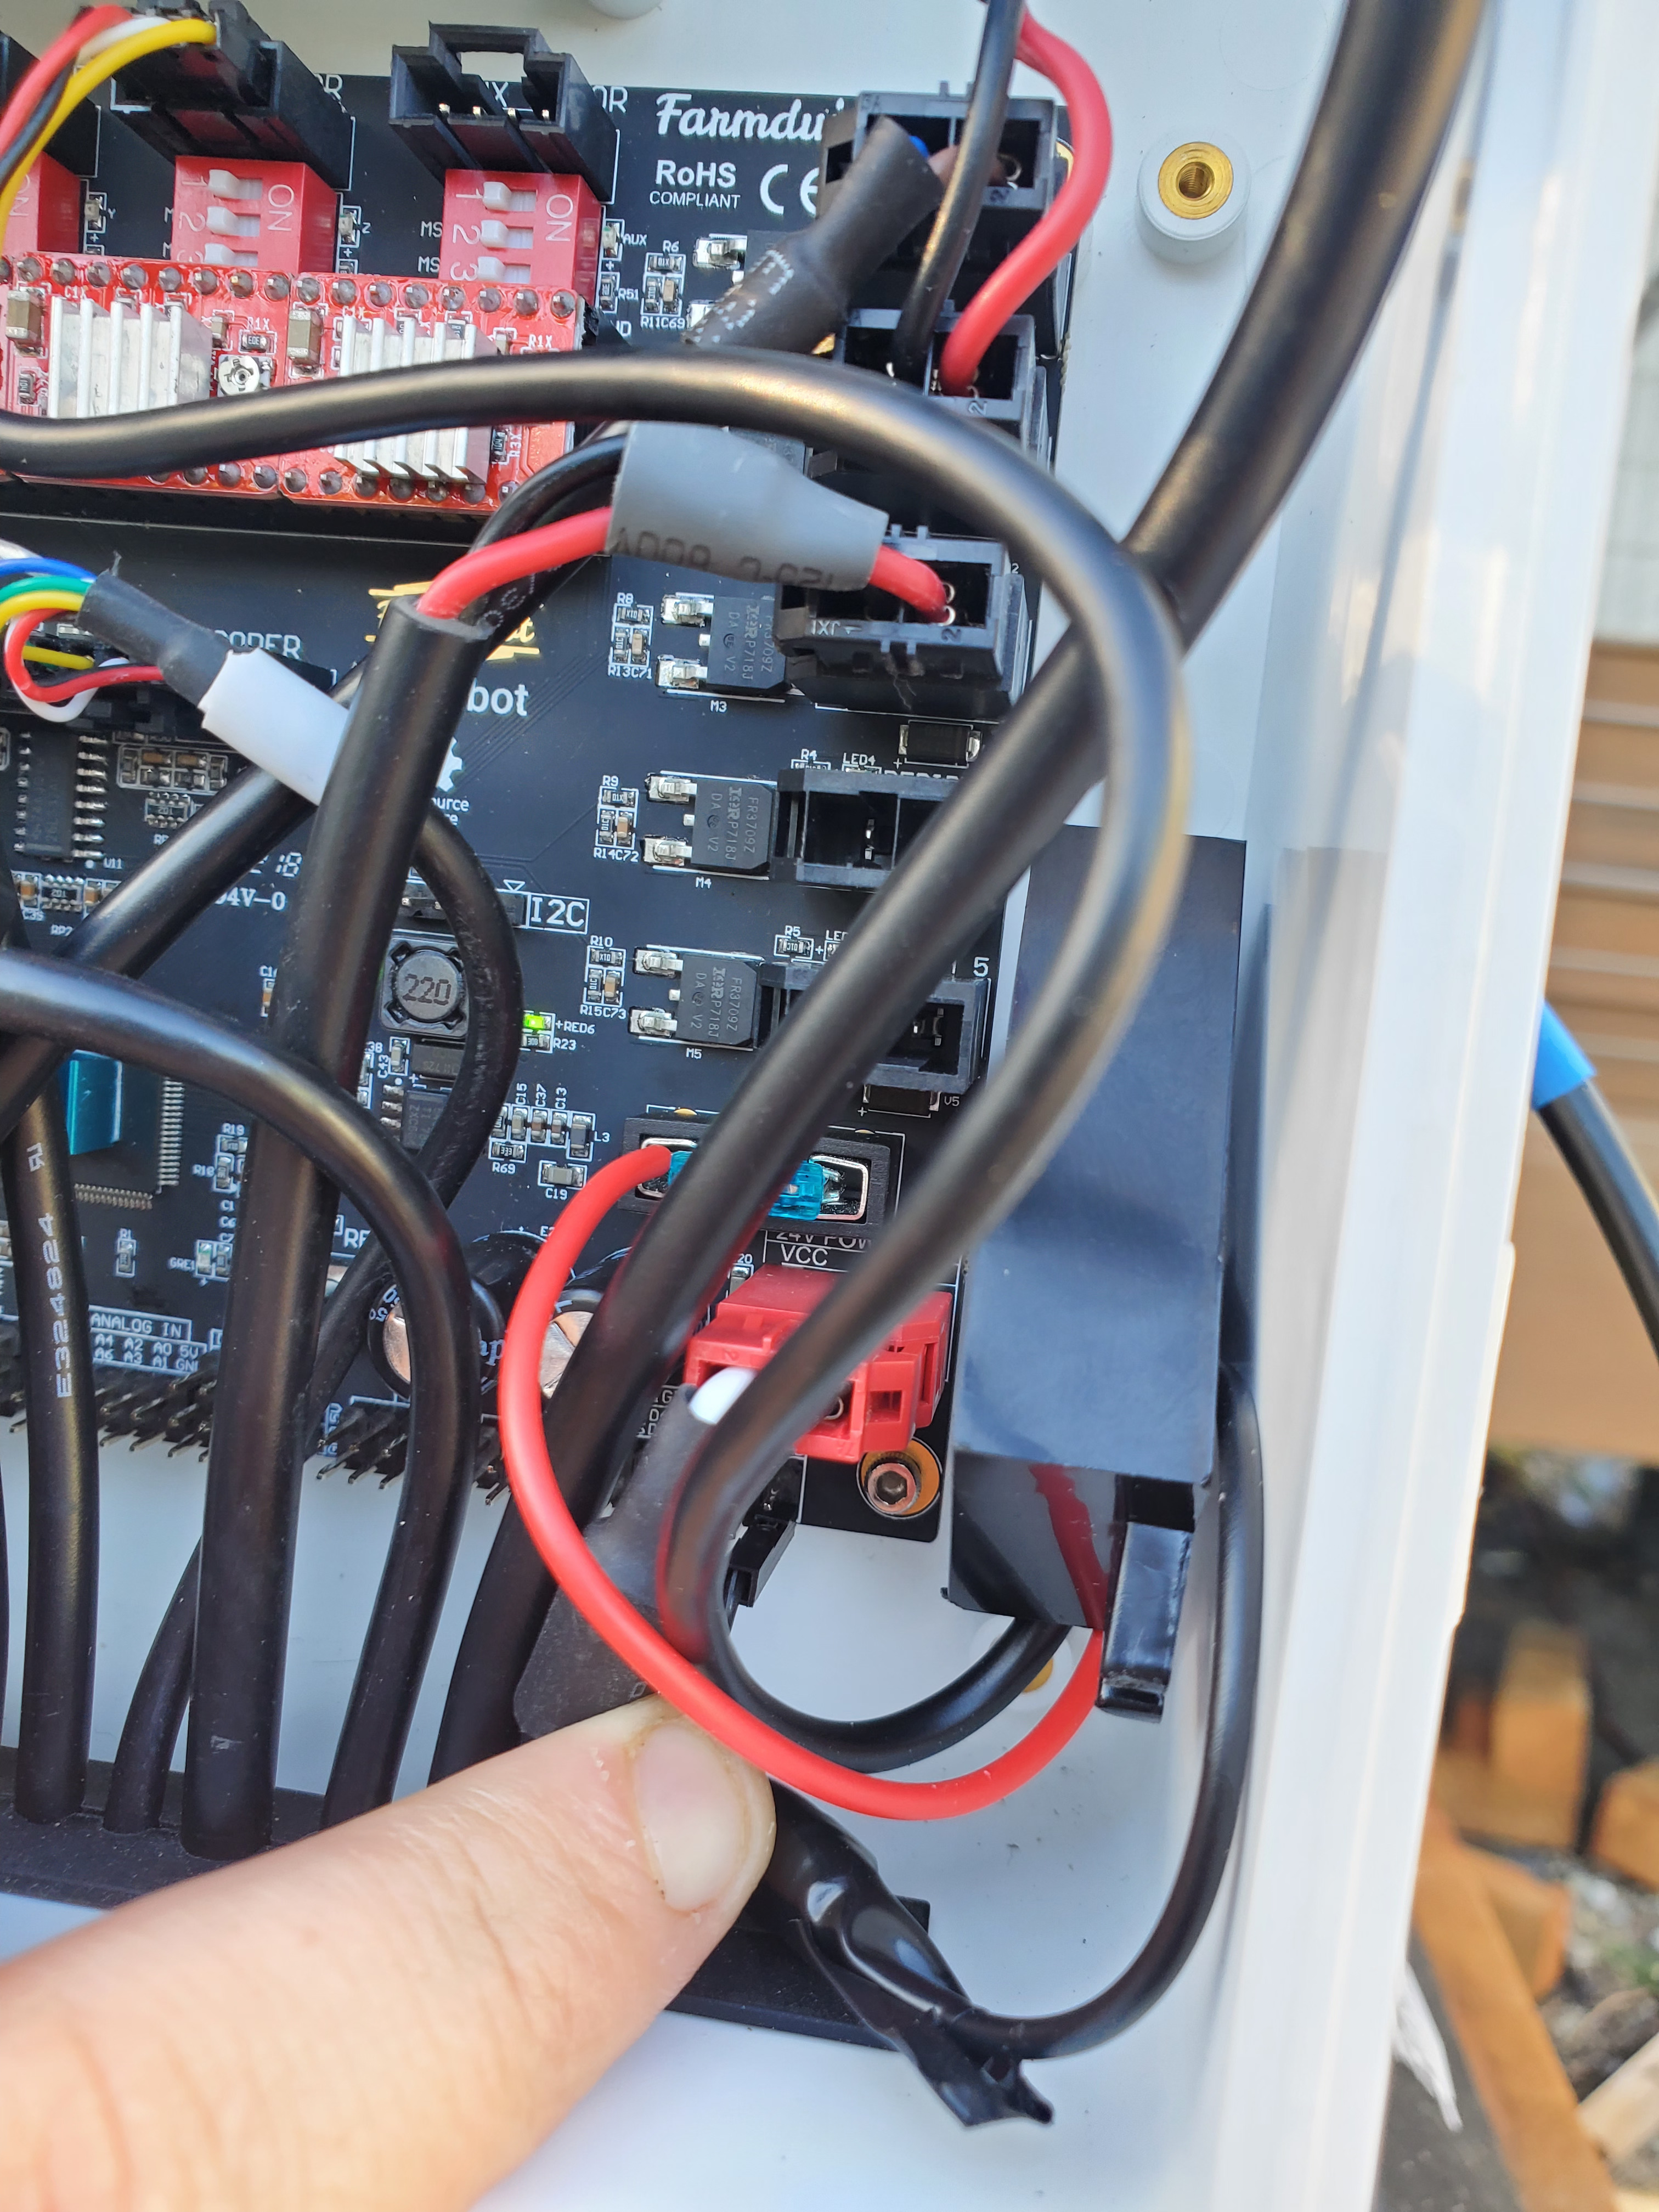
The low voltage indicator can impact the camera performance (blank or dark photos can result) and it can cause other Raspberry Pi performance issues. You can eliminate this low voltage indicator by replacing the USB cable. Unfortunately the USB power cables are causing too much voltage drop and these cables are one of the contributing causes of the low voltage indicator warning.
The other cause of the low voltage indicator warning is the fact that the Farmduino is not supplying a high enough voltage to begin with. Please review this troubleshooting documentation if you believe your Farmduino is not outputting a high enough source voltage:
To resolve the low voltage indicator you will need to replace the USB power cable going from the Farmduino to the Raspberry Pi. This USB cable provides power to the Raspberry Pi from the Farmduino’s built-in 12v to 5v to USB circuitry. We would suggest getting a high quality replacement for this cable.

Specifications:
Connector 1: Right-angle USB 2.0 Type A Male
Connector 2: Right-angle microUSB 2.0 Male
Length: 300mm
Color: Black
This is a product that will be a functional replacement.
https://www.amazon.com/C2G-28113-USB-Cable-Micro-USB/dp/B005EV2LAM/
There are other USB power cable products that may also work for this application but they are not listed here.
You will need to find a high quality replacement for this connector and that will eliminate the low voltage indicator.
Marc
1 Like
I have this problem now also. It looks like the pi reboots from this every 15 minutes or so.
I have tried a few cables and none seem to do the trick. I have a new rpi3b+ on the way to try to swap that out but I’m considering getting the new v1.6 farmduino board. I measured the output voltage of the farmduino and it is only 4.51V.
Is there a way to change that voltage out on the farmduino?
On second thought I might just use a buck converter to step down from 24v. Is there a 24v pinout on the farmduino (maybe a debug pad)? I looked at the docs and didn’t see one.
4.51v is exceptionally low - usually the output voltage for the v1.5 boards is around 4.8-4.9. In v1.6 we are increasing the output voltage to 5.28v nominal which should completely alleviate low voltage issues that can be the root cause of wifi and camera problems, or at worse, a rebooting Pi.
You could theoretically use a buck converter from a spare 24v peripheral output, though you would have to have the Farmduino turn that output ON, which you would normally do from the Pi… Further, E-stopping the bot would turn that peripheral OFF which would inadvertently cut power to the Pi, so that’s not looking to be a great option.
Considering you are handy and comfortable with electronics, I would say the best “hack” option would be to splice a 24v to 5v buck converter off of the main power supply cable. Otherwise please email support@farm.bot with your original order number and we can send a replacement Farmduino.
3 Likes
I sometimes wondered what a buck converter actually looks like ![]()
![]()
edit
@Carrino jokes aside, I’m interested in the Brand / Part Number / SKU that you’ve used.
I need one also.