Wow, great build!
Big as Texas 
Nice !!
lol - I knew somebody would say that  Thanks.
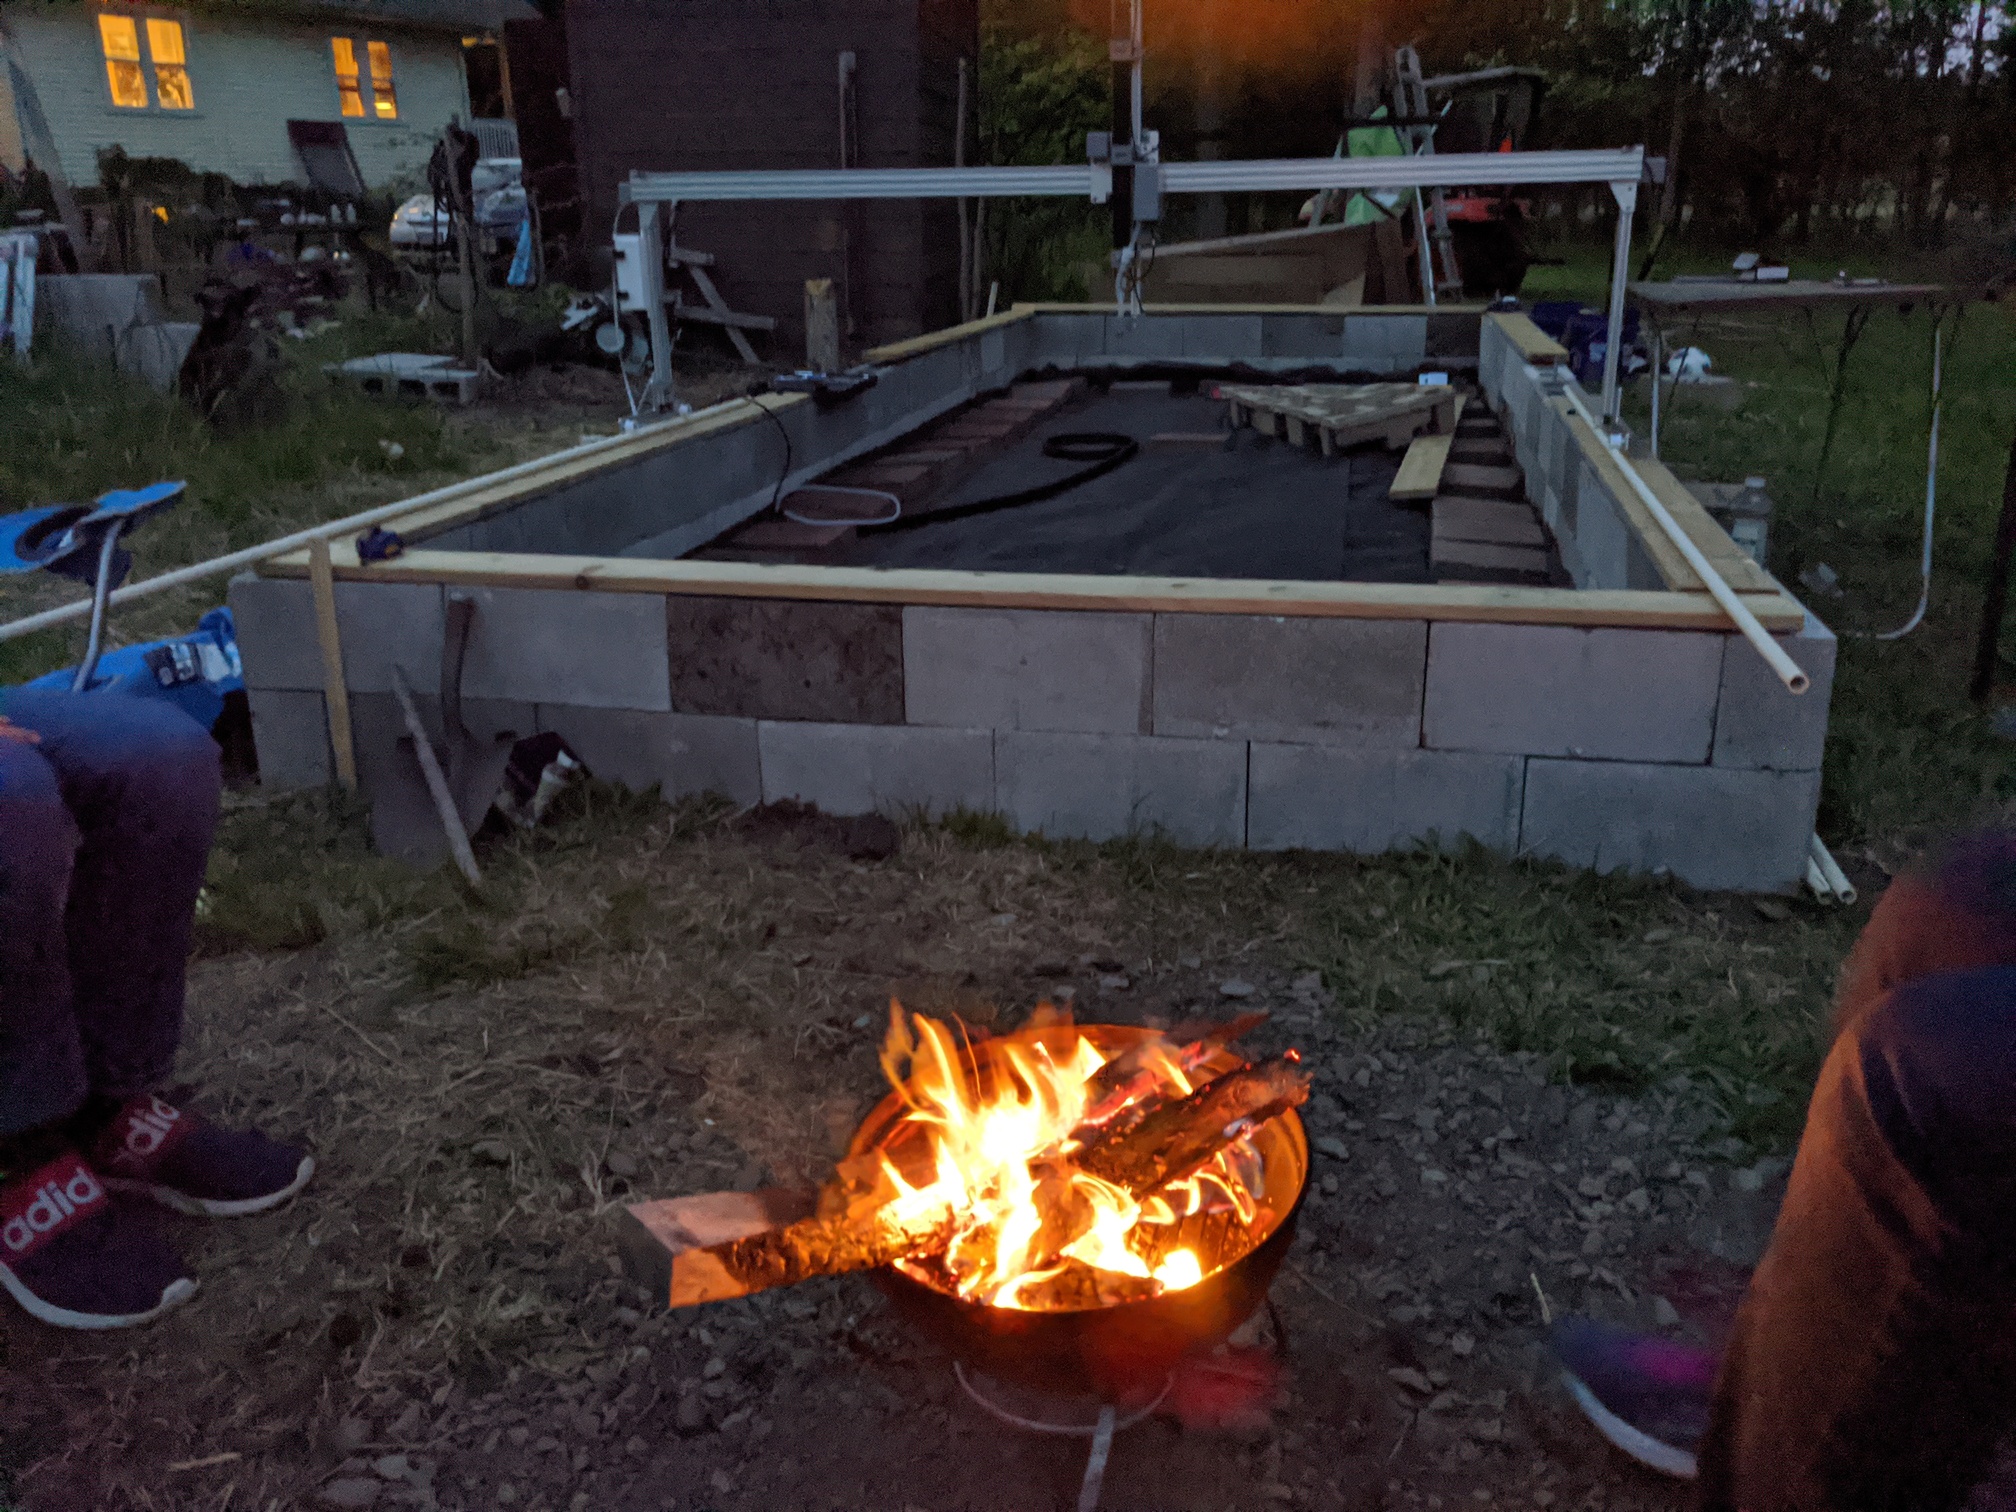
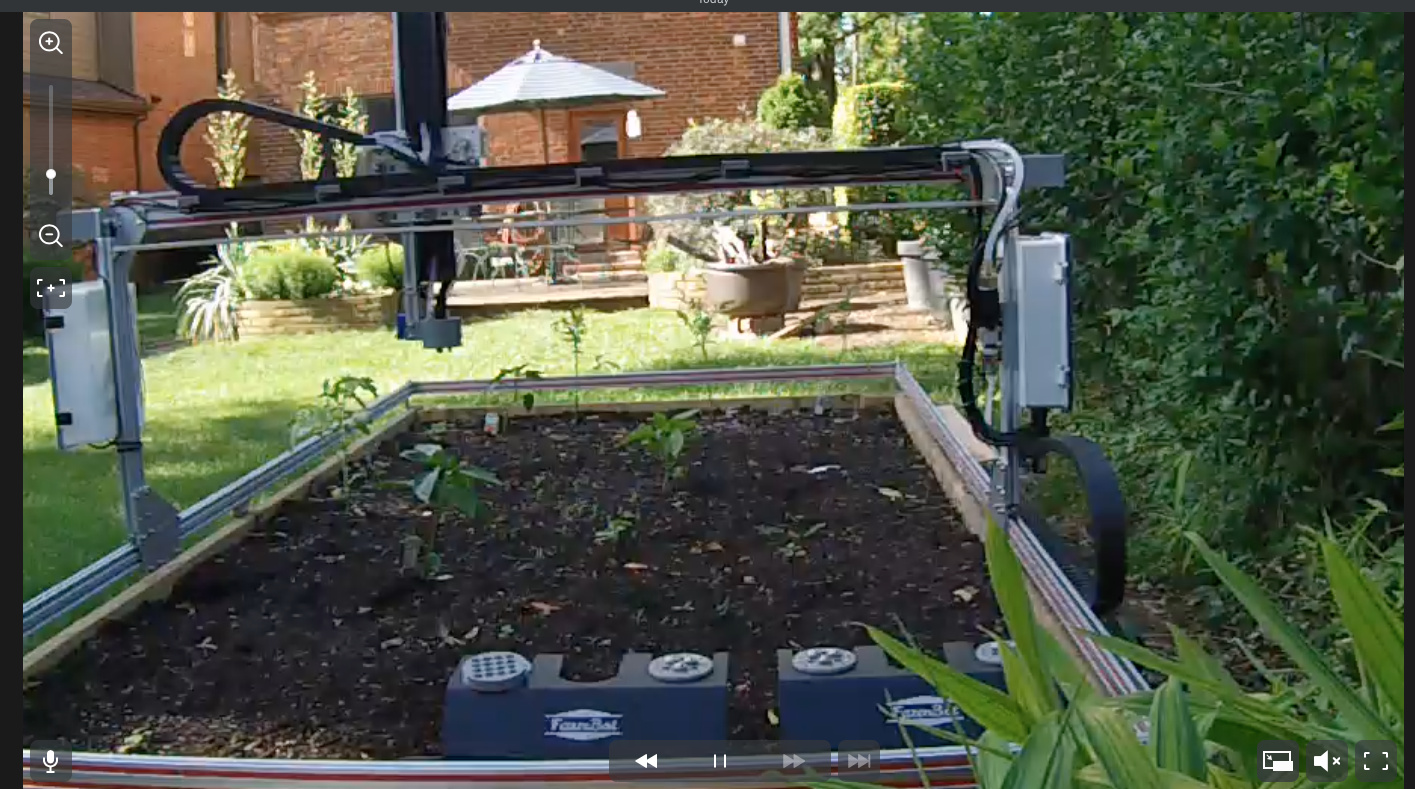
I decided that, while I was doing this project, I might as well make it absolutely as big as I could. The giant cage around it is to keep the deer (and vulture) populations out of the garden. We have, literally, hundreds of both where we live.
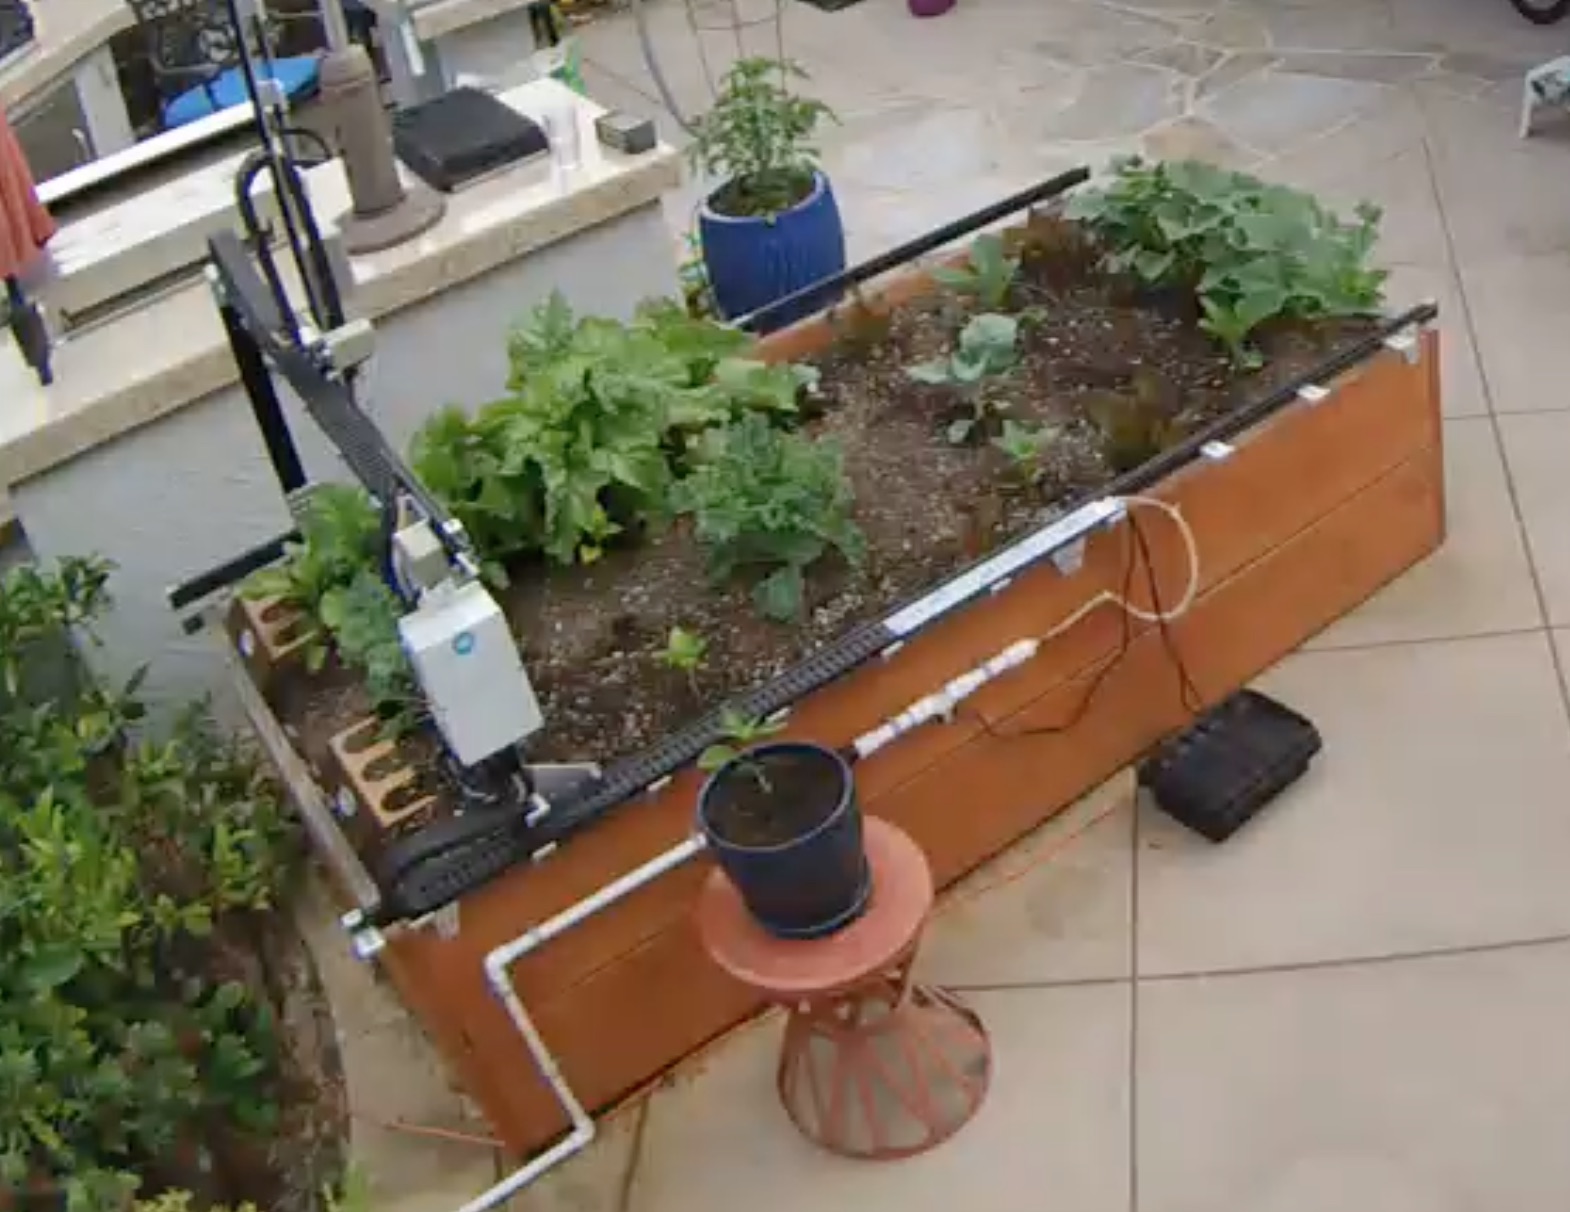
Just starting out here. I made a couple of modifications. I printed pulley style wheels and bought CPVC pipe as rails instead of having it ride on the wood boards or belt.
5 Likes
@aronrubin
The team is very impressed with the PVC track idea- please let us know how it works out for you. That’s a great looking garden bed, also!
Thank you. The CPVC (0.75in ID x 1.05in OD x 10ft) pipes are $6.35 at my local Lowes. In addition I picked up decking screws to secure the pipes above the cedar sil plates (nominally 1x6in). The idea is to perform a seasonal tramming/leveling of the pipe adding or removing spacers under each screw. Note that these CPVC pipes are simply the first thing that I grabbed off the shelf but there are models that are explicitly UV resistant.
1 Like
Hi,
Not sure what others think but I feel as though many of the difficulties people face with the farmbot in terms of x axis movement are related to the movement of the timber used in the subframe. The 75mm timber used in our garden bed moved by about 7mm in the first few months. Fortunately as a woodwork / technology teacher I was able to predict that issue and I used a floating aluminium frame to attach the farmbot to but if I had of followed the instructions to attach it directly to the timber of the raised bed, the rails would have been moving constantly and the machine would have failed more than it worked.
I would like to see a change in the farmbot mounts that allow for significant movement in the subframe but still keep the tracks parallel. I have no idea what that would look like but it would prevent a lot of frustration for farmbot users.
Cheers,
Mark
4 Likes
Aron,
Thanks for sharing this solution. Can you post a few more photos and post the CAD model of the pulley style wheels for us so that everybody can gain access to this solution?
Marc
1 Like
Absolutely, I was hoping to do the last bit of testing / engineering before I led anyone astray.
@Marc I will continue the discussion in the rail’s post in features.
(CPVC Tracks Initial Tests 🦾)
1 Like
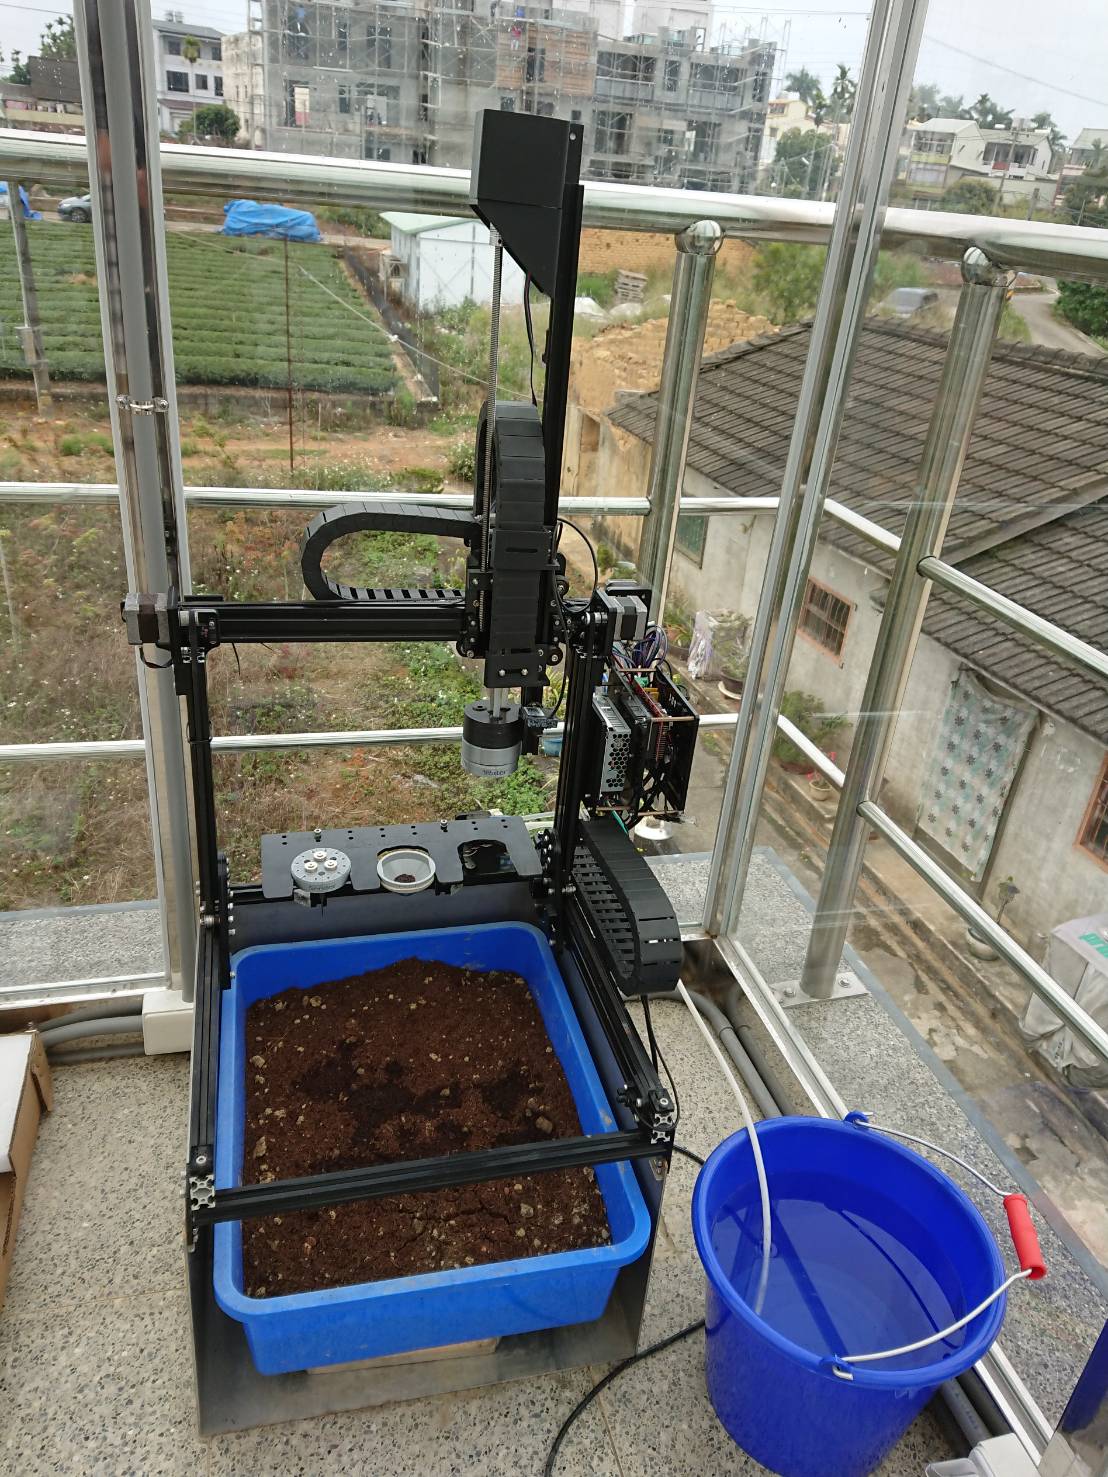
Hi you guys,
I am from Taiwan, share our Farmbot v1.3 and mini-farmbot ![]()
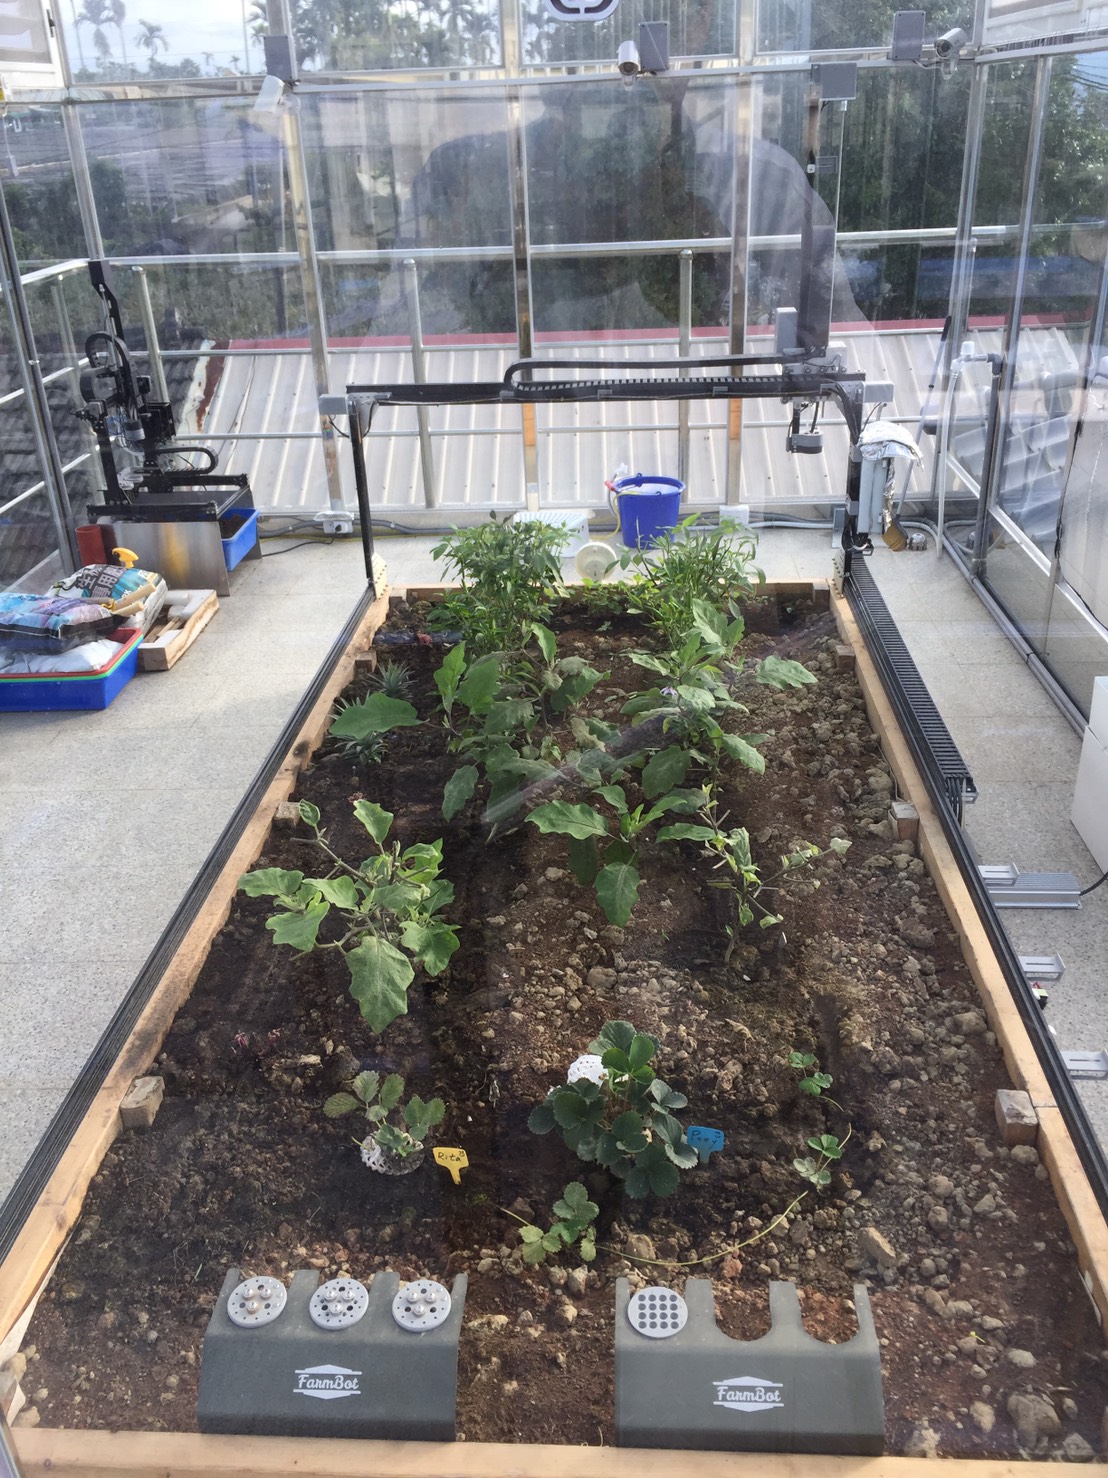
Farmbot v1.3 assembly time-lapse –

By Taiwan Smart green house
7 Likes
The “Hoyt-Clagwell” named for the tractor on Green Acres. Its a double farmbot Genesis 1.5 with added Raspberry Pi 4B 8Gb and an NVIDIA Jetson Nano B01, Occipital Core 3d scanner,( may have a second one) a second farmbot bore camera currently blue taped but powerspec 3d printer just finished a custom dual mount , and soon a shootload TensorFlow code, decided to forgo getting it to work with Farmware for this iteration. I pimped it out with slot covers and more on order to try to keep dirt out of the slots, also I didnt like look of lights hanging so I added a very thin metal holder for the lights I hot glued in place. The Occiptal core tool and attachments build is in process The plan is to have the scanner identify when a pepper, tomato or pimento is ripe using inference so it may take 2 seasons to perfect.
8 Likes
I would be interested to hear about your experience with this. It sounds like a good way to overcome the limitations / resource sharing constraints of Farmware.
Is any of your build on Github or similar sites?
Also, this is one of the most interesting setups we’ve seen! Thanks for sharing it. Would love to see more details.
1 Like
soon will release a few items publicly, I use my work github, have to take IP out of it in a secops review.
2 Likes
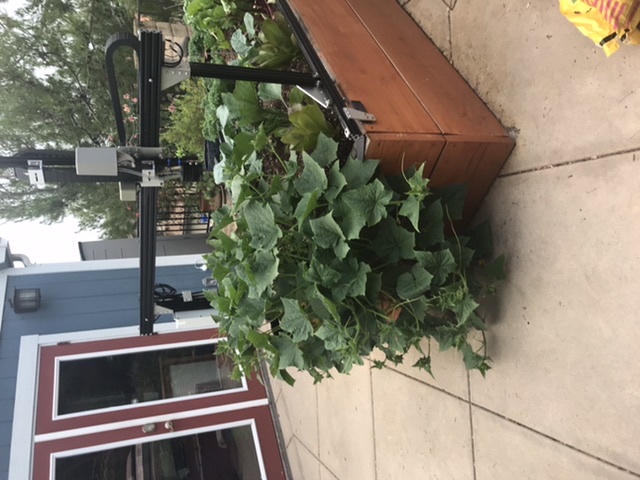
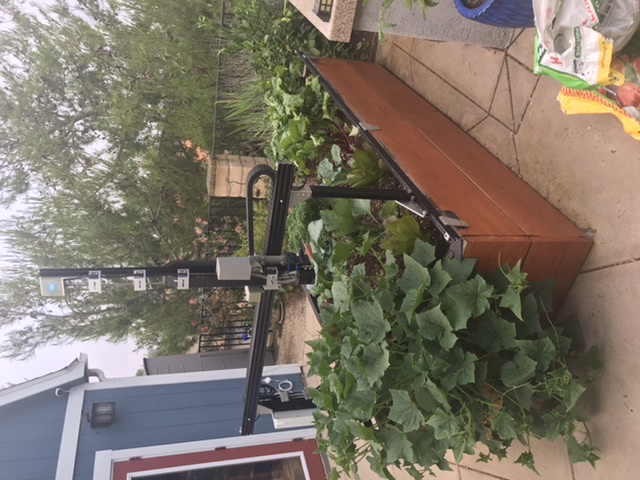 Cucumbers overflowing as planned. (Ok, really annoyed that photos uploaded from a phone are never oriented correctly)
7 Likes
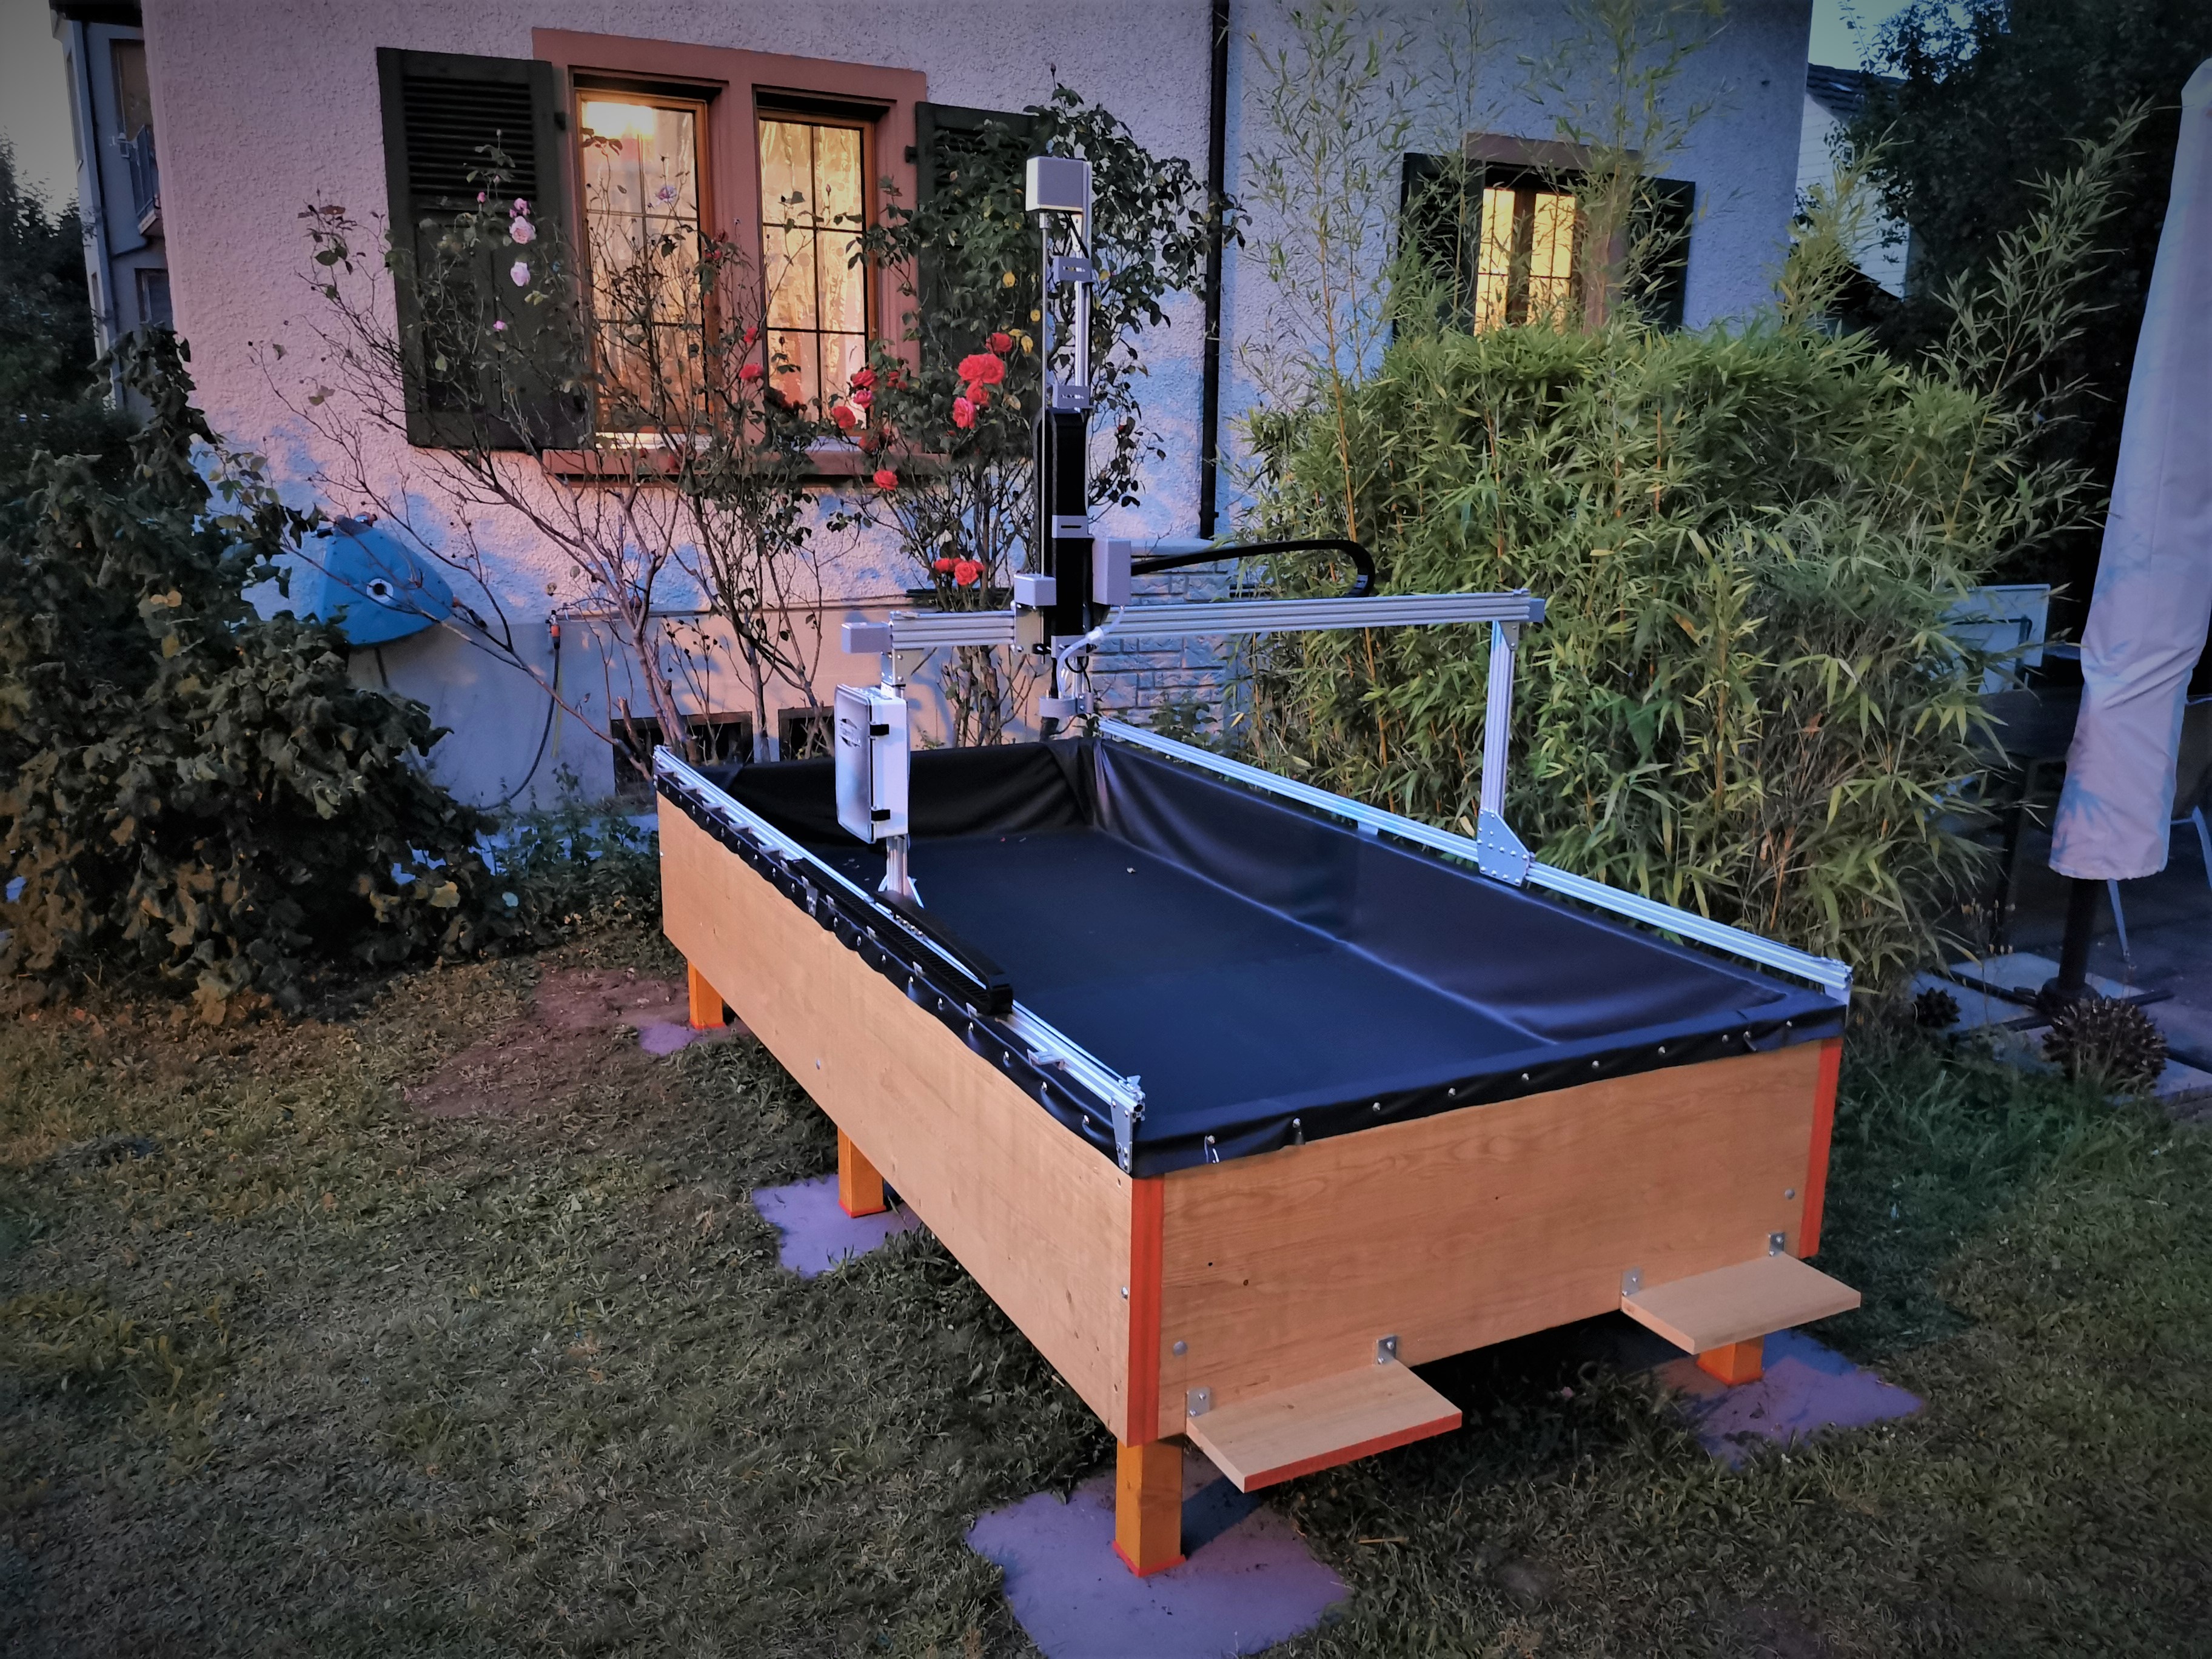
Just want to share the actual state of my FarmBot Genesis 1.5 with self designed raised bed based on european formwork panels (3’000 x 500 x 27mm). A draining system added in the center (20mm height difference between each end and center) so that there is no stagnant water.
Later I will share the drawings and BOM but have to clean it up first and make sure it holds up the planned 1m3 of soil. 
Solar panel will be mounted on the front (south direction). The shelfs are for the two 125Ah batteries.
10 Likes
Beautiful picture !
Enjoy your 24x7 machine ( and its produce ! ![]() )
)
1 Like
Thanks @jsimmonds! I’m quite happy so far. 
During this year it is only planned to get everything up and running and hopefully plant some loose leaf lettuce and other veggies which do not need a lot of time to grow.
Full season will be next year and I will concentrate on “Pro Specie Rara”. Unfortunately their website is only in German, French and Italian without English and Google Translate doesn’t work for the sort finder. But they have some very cool stuff I’d like to get growing: https://www.prospecierara.ch/pflanzen/sortenfinder.html
1 Like