Impressive!!!
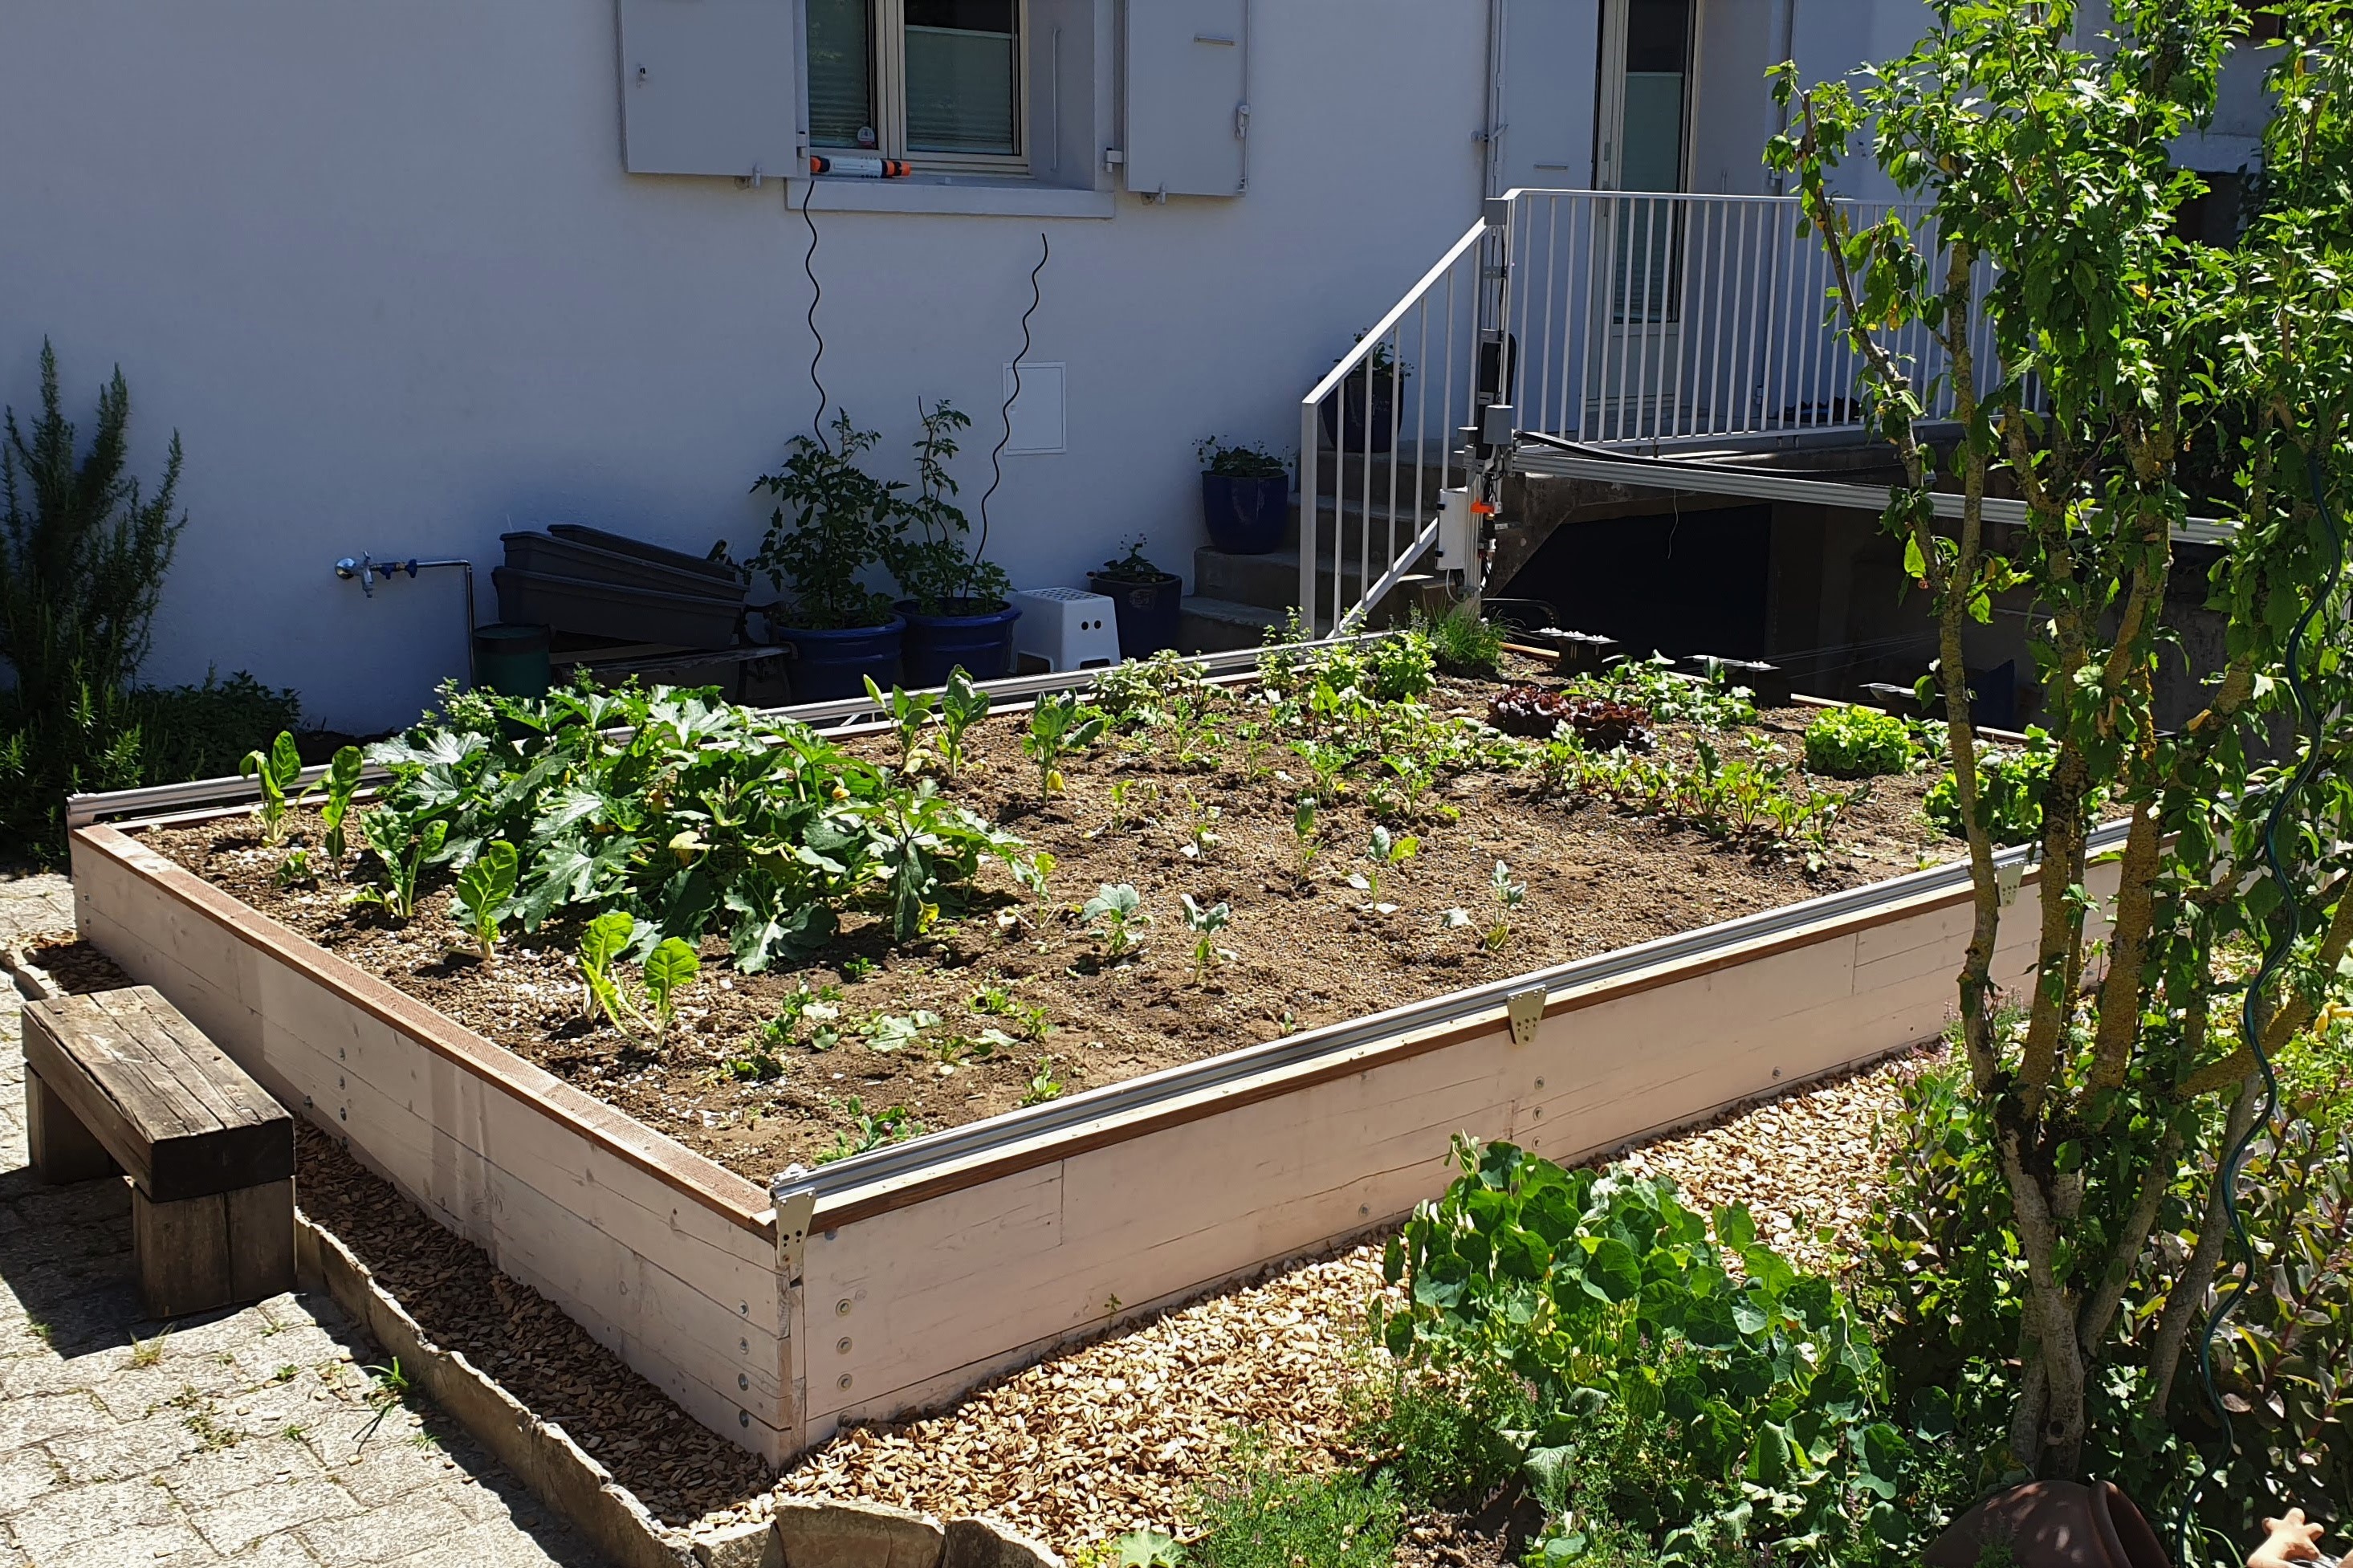
Well, here is the FarmBot we have built with the whole family during confinement.
It was a great way to teach our kids some wood-working skills (the raised bed is made out of old, recycled, not-so-straight wood that was lying in the garage) and just share some quality time together.
8 Likes
Hi All,
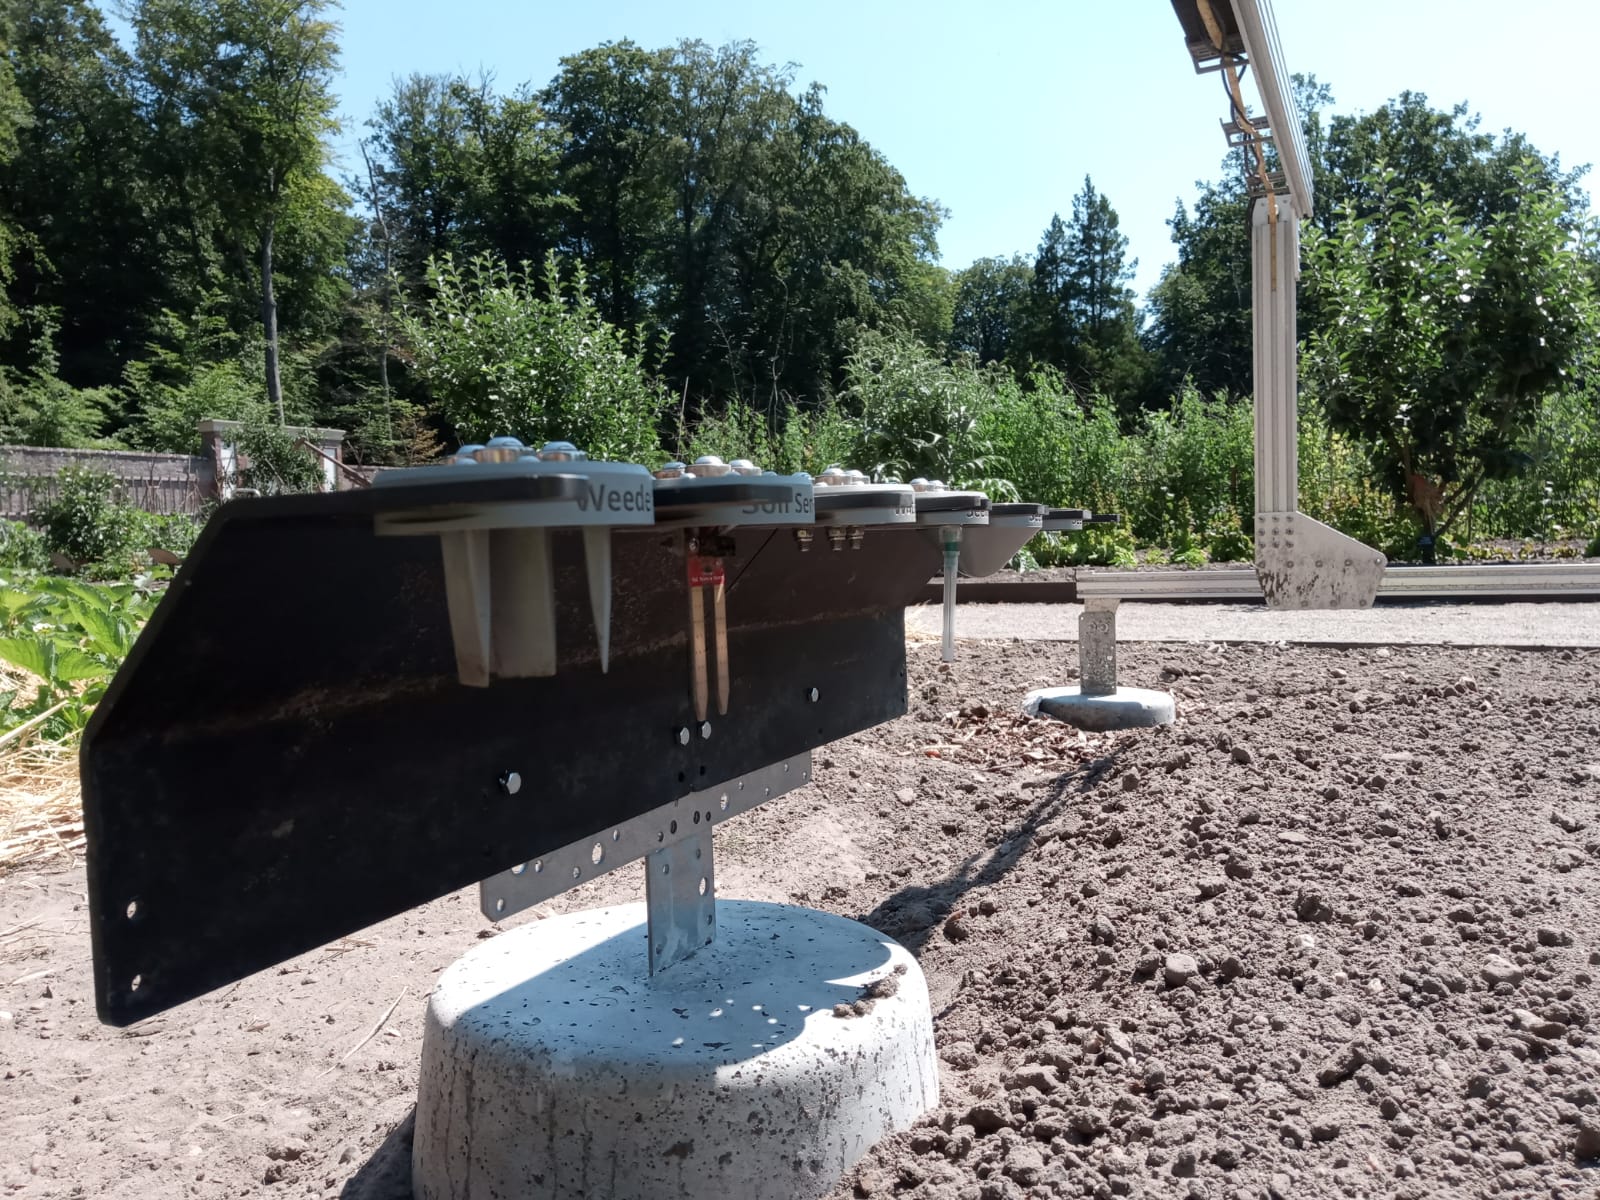
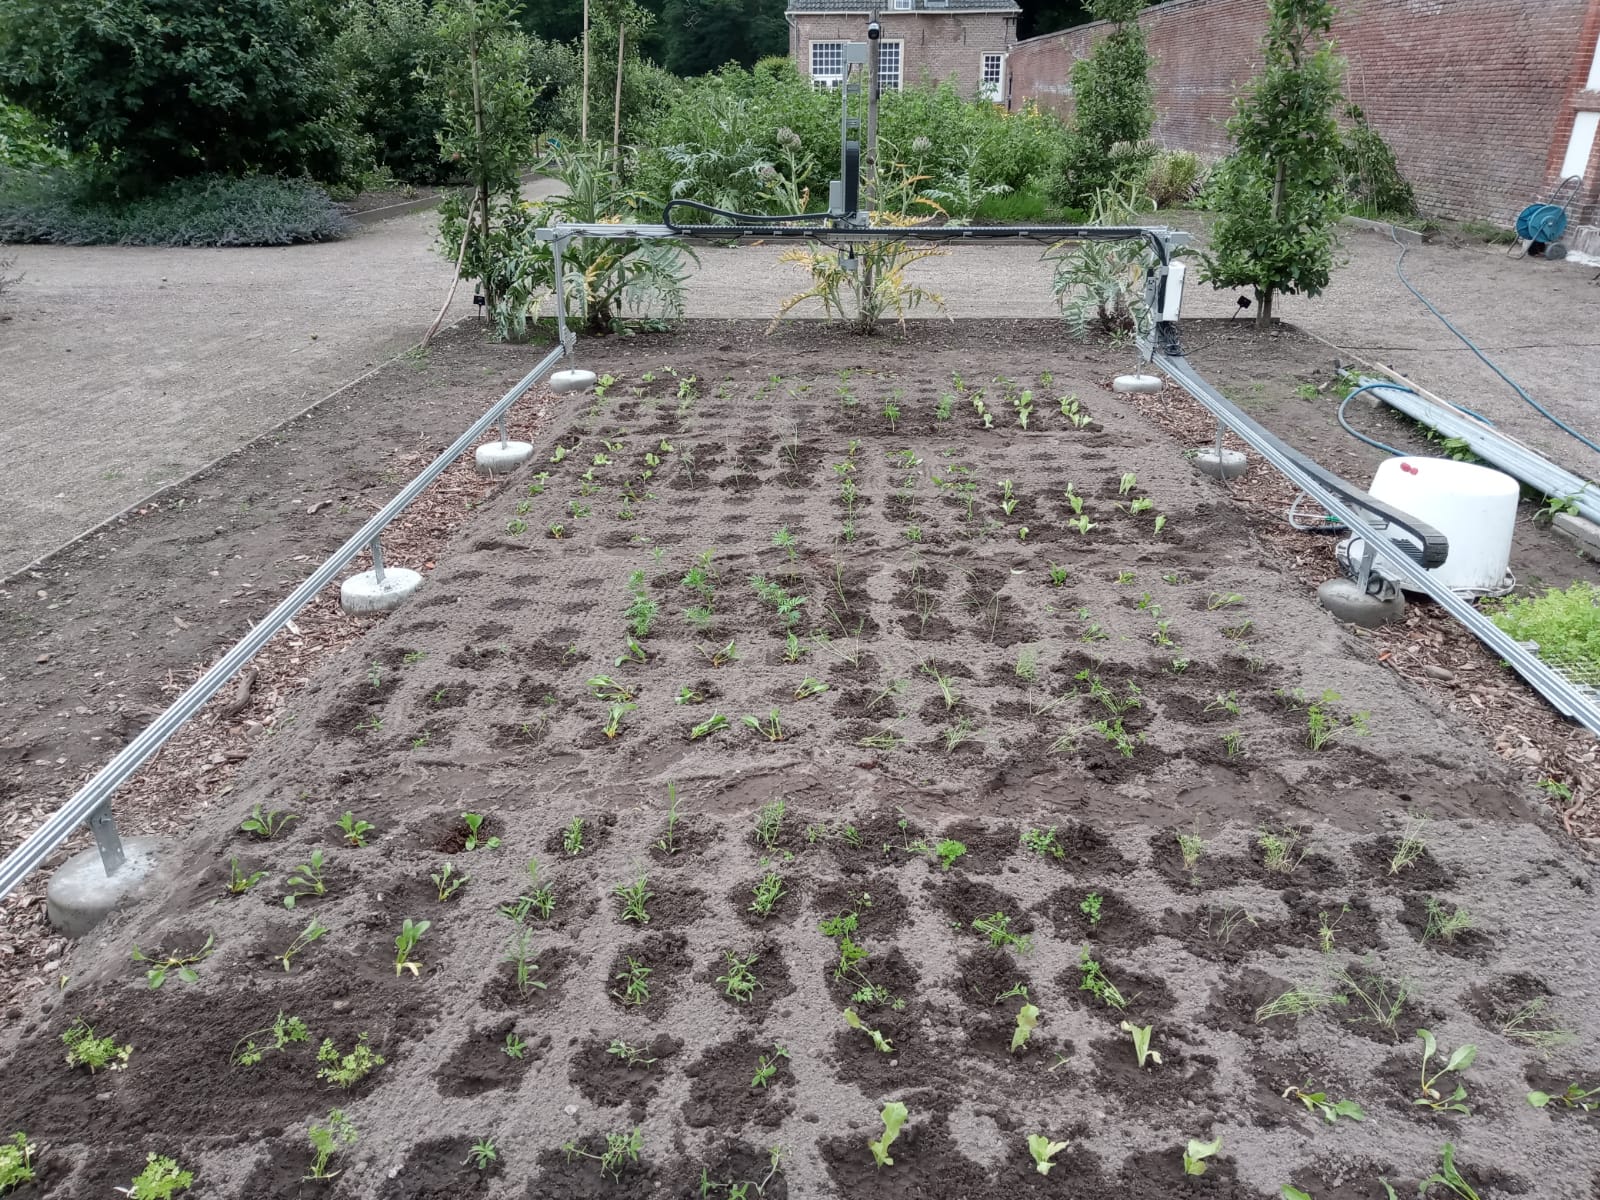
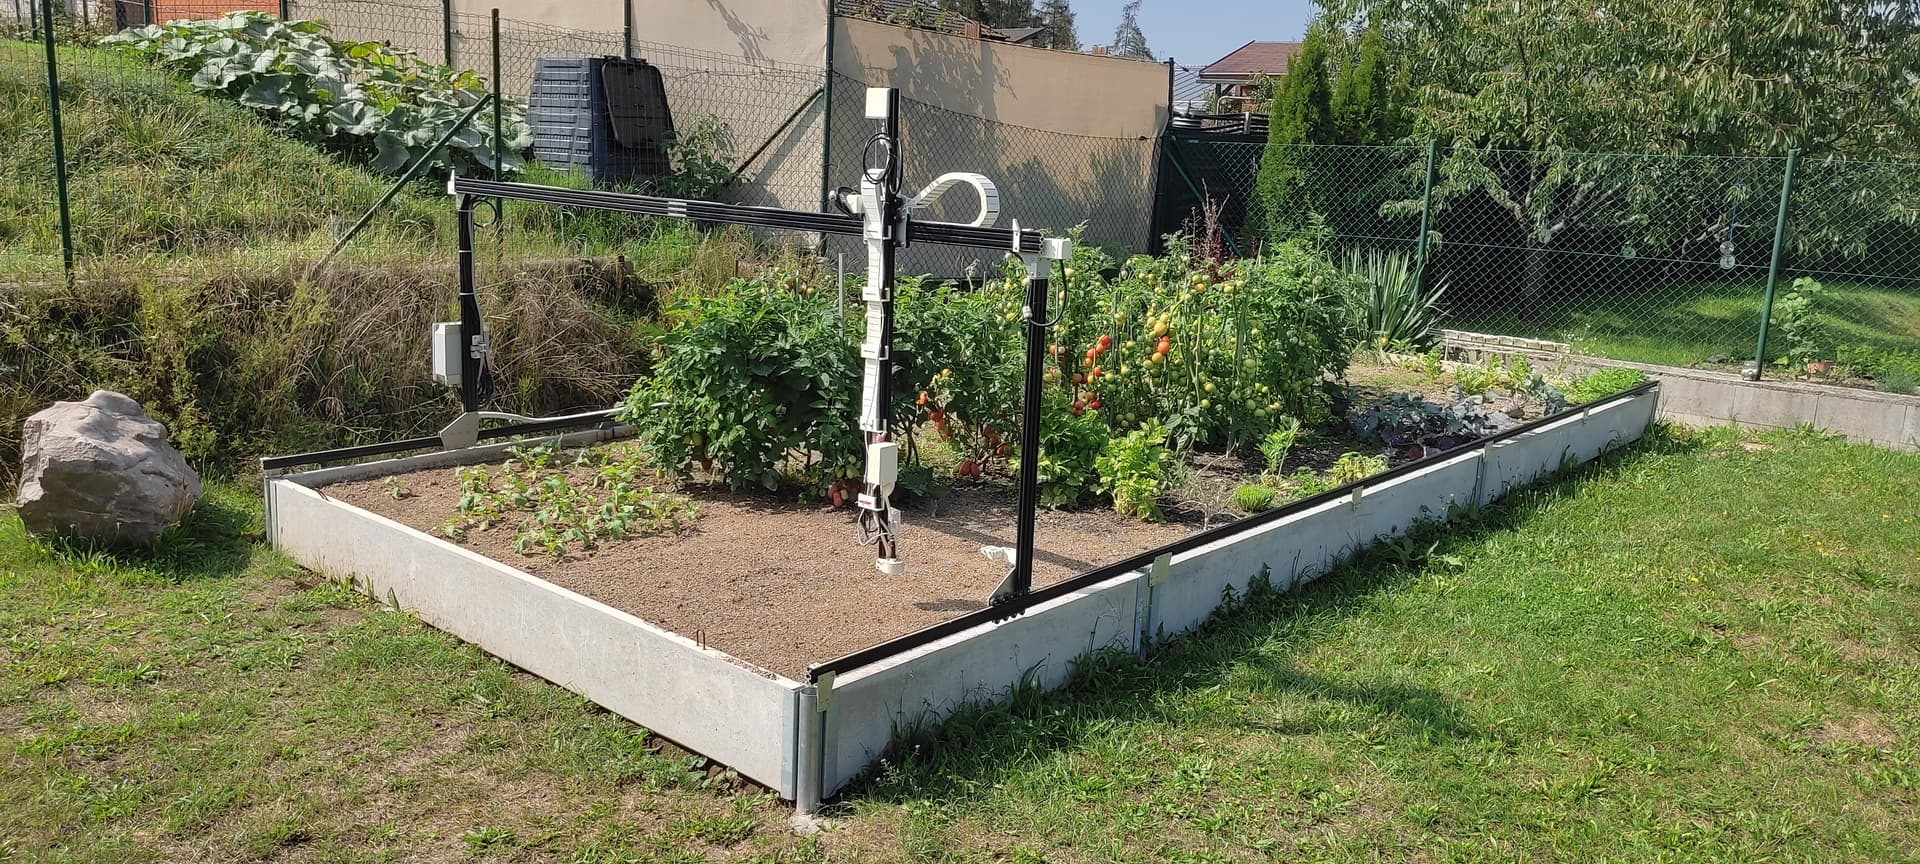
Here’s my set-up in Amerongen, The Netherlands. The Farmbot is located in a medieval garden, so the contrast is nice. My aim is to use the Farmbot to carry out a pixelfarming design (highly mixed cropping) for research purposes of Wageningen University. So far, watering is the only succesful task (very helpful for planting). All other tasks are not developed enough to be practical in my opinion.
9 Likes
I’d have to agree for the case where you’re doing detailed research. The FarmBot dev. team are steadily making useful improvements.
The edge-less look of the Farmbot installation is very pleasant ![]()
2 Likes
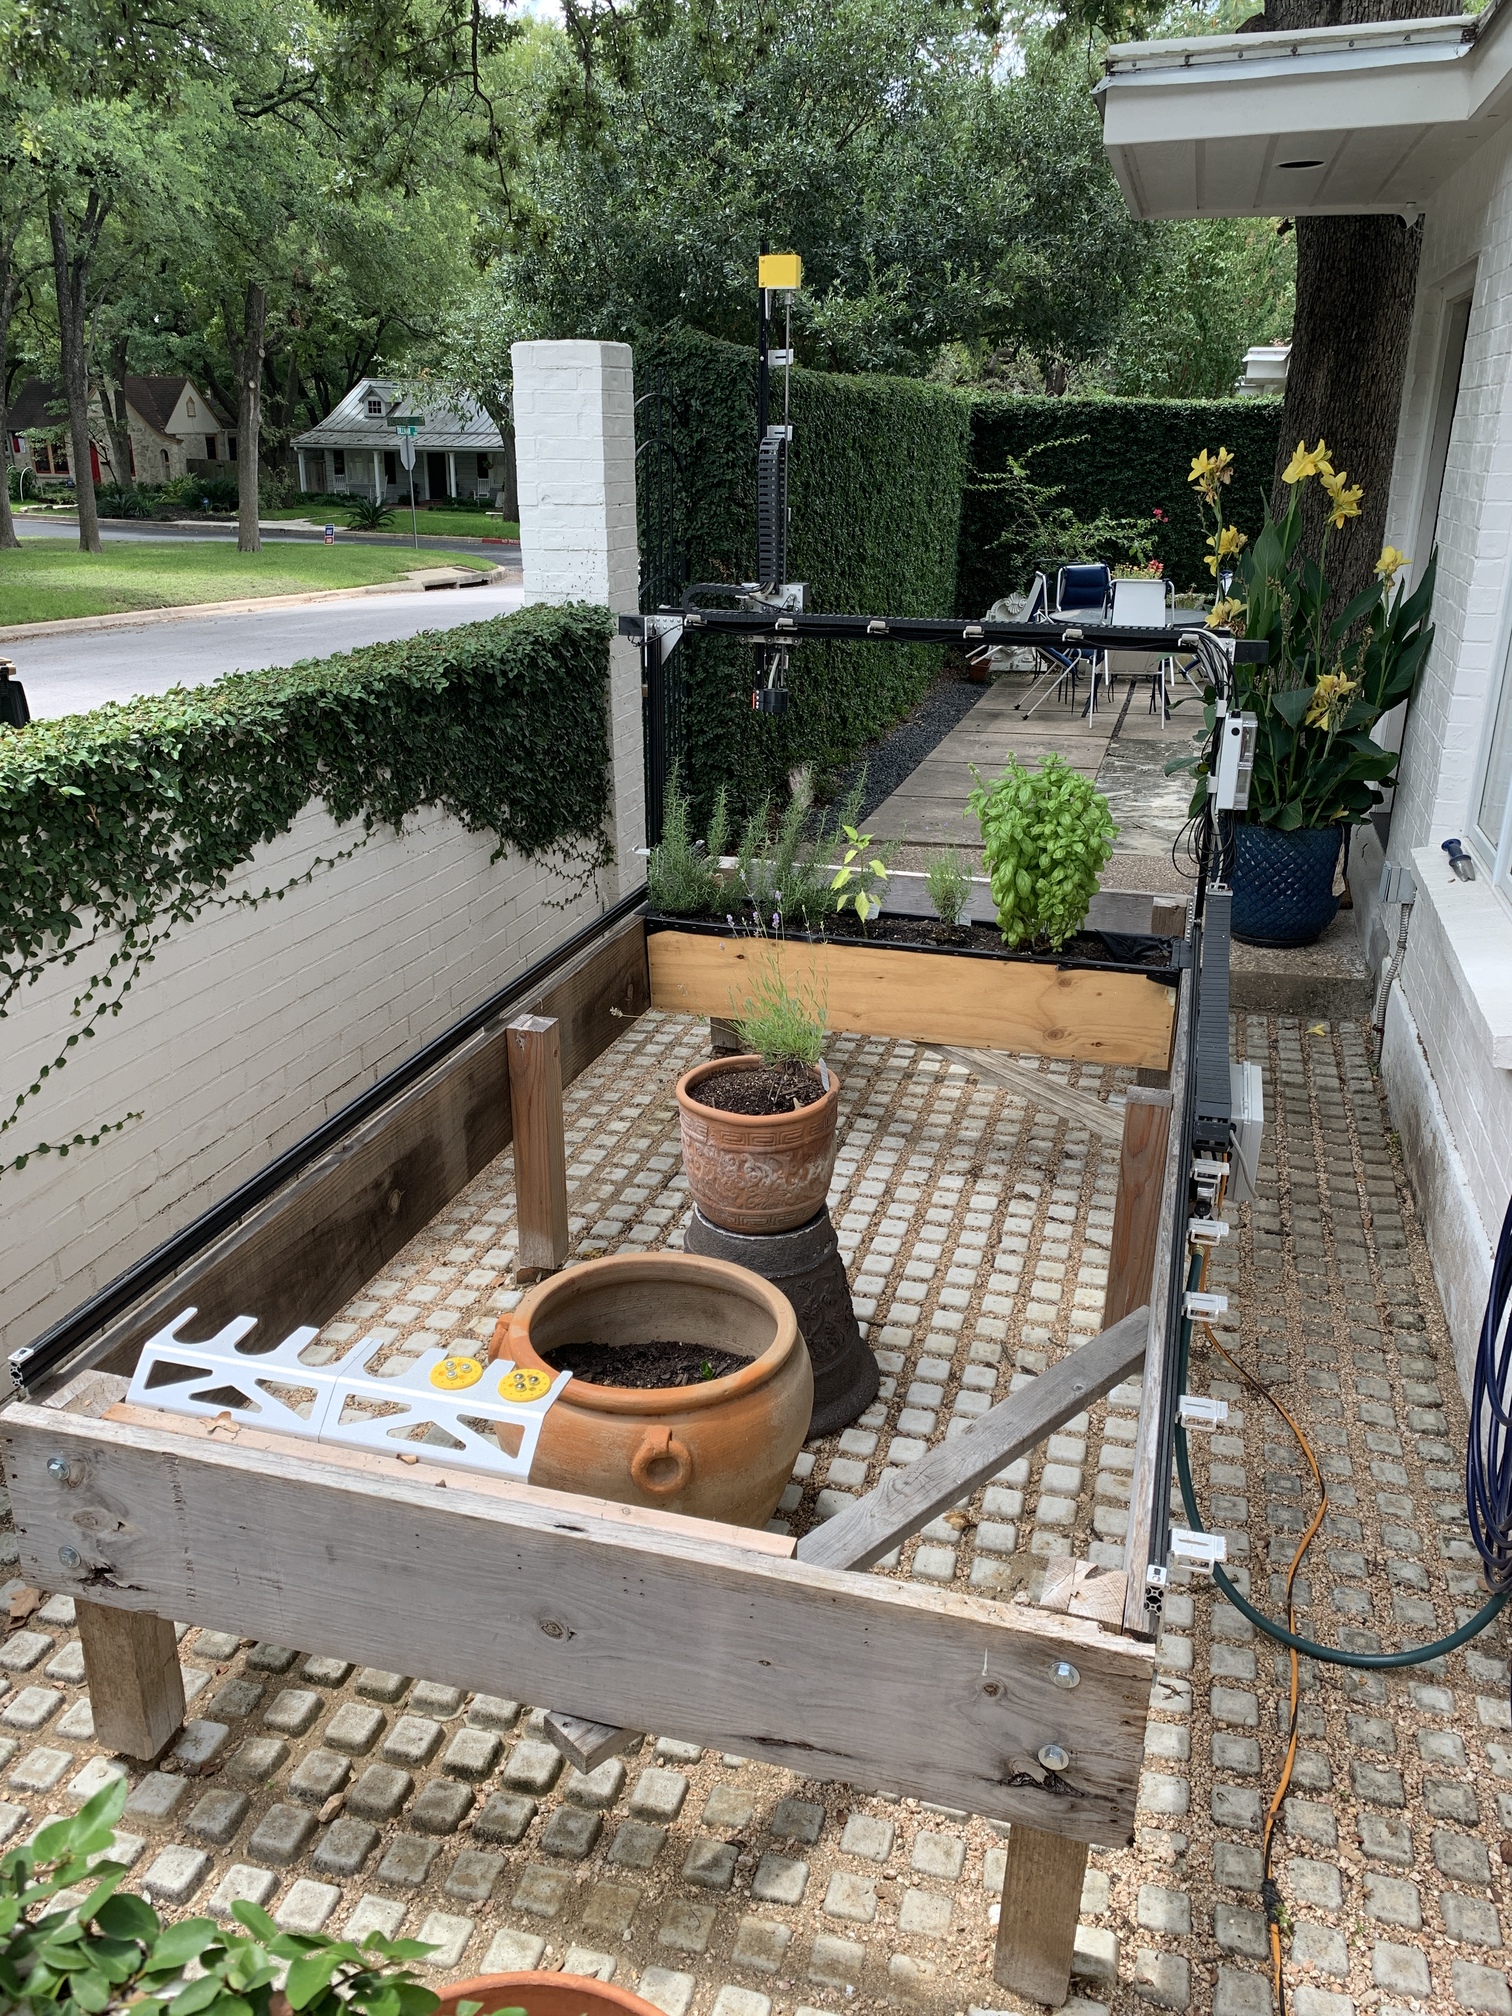
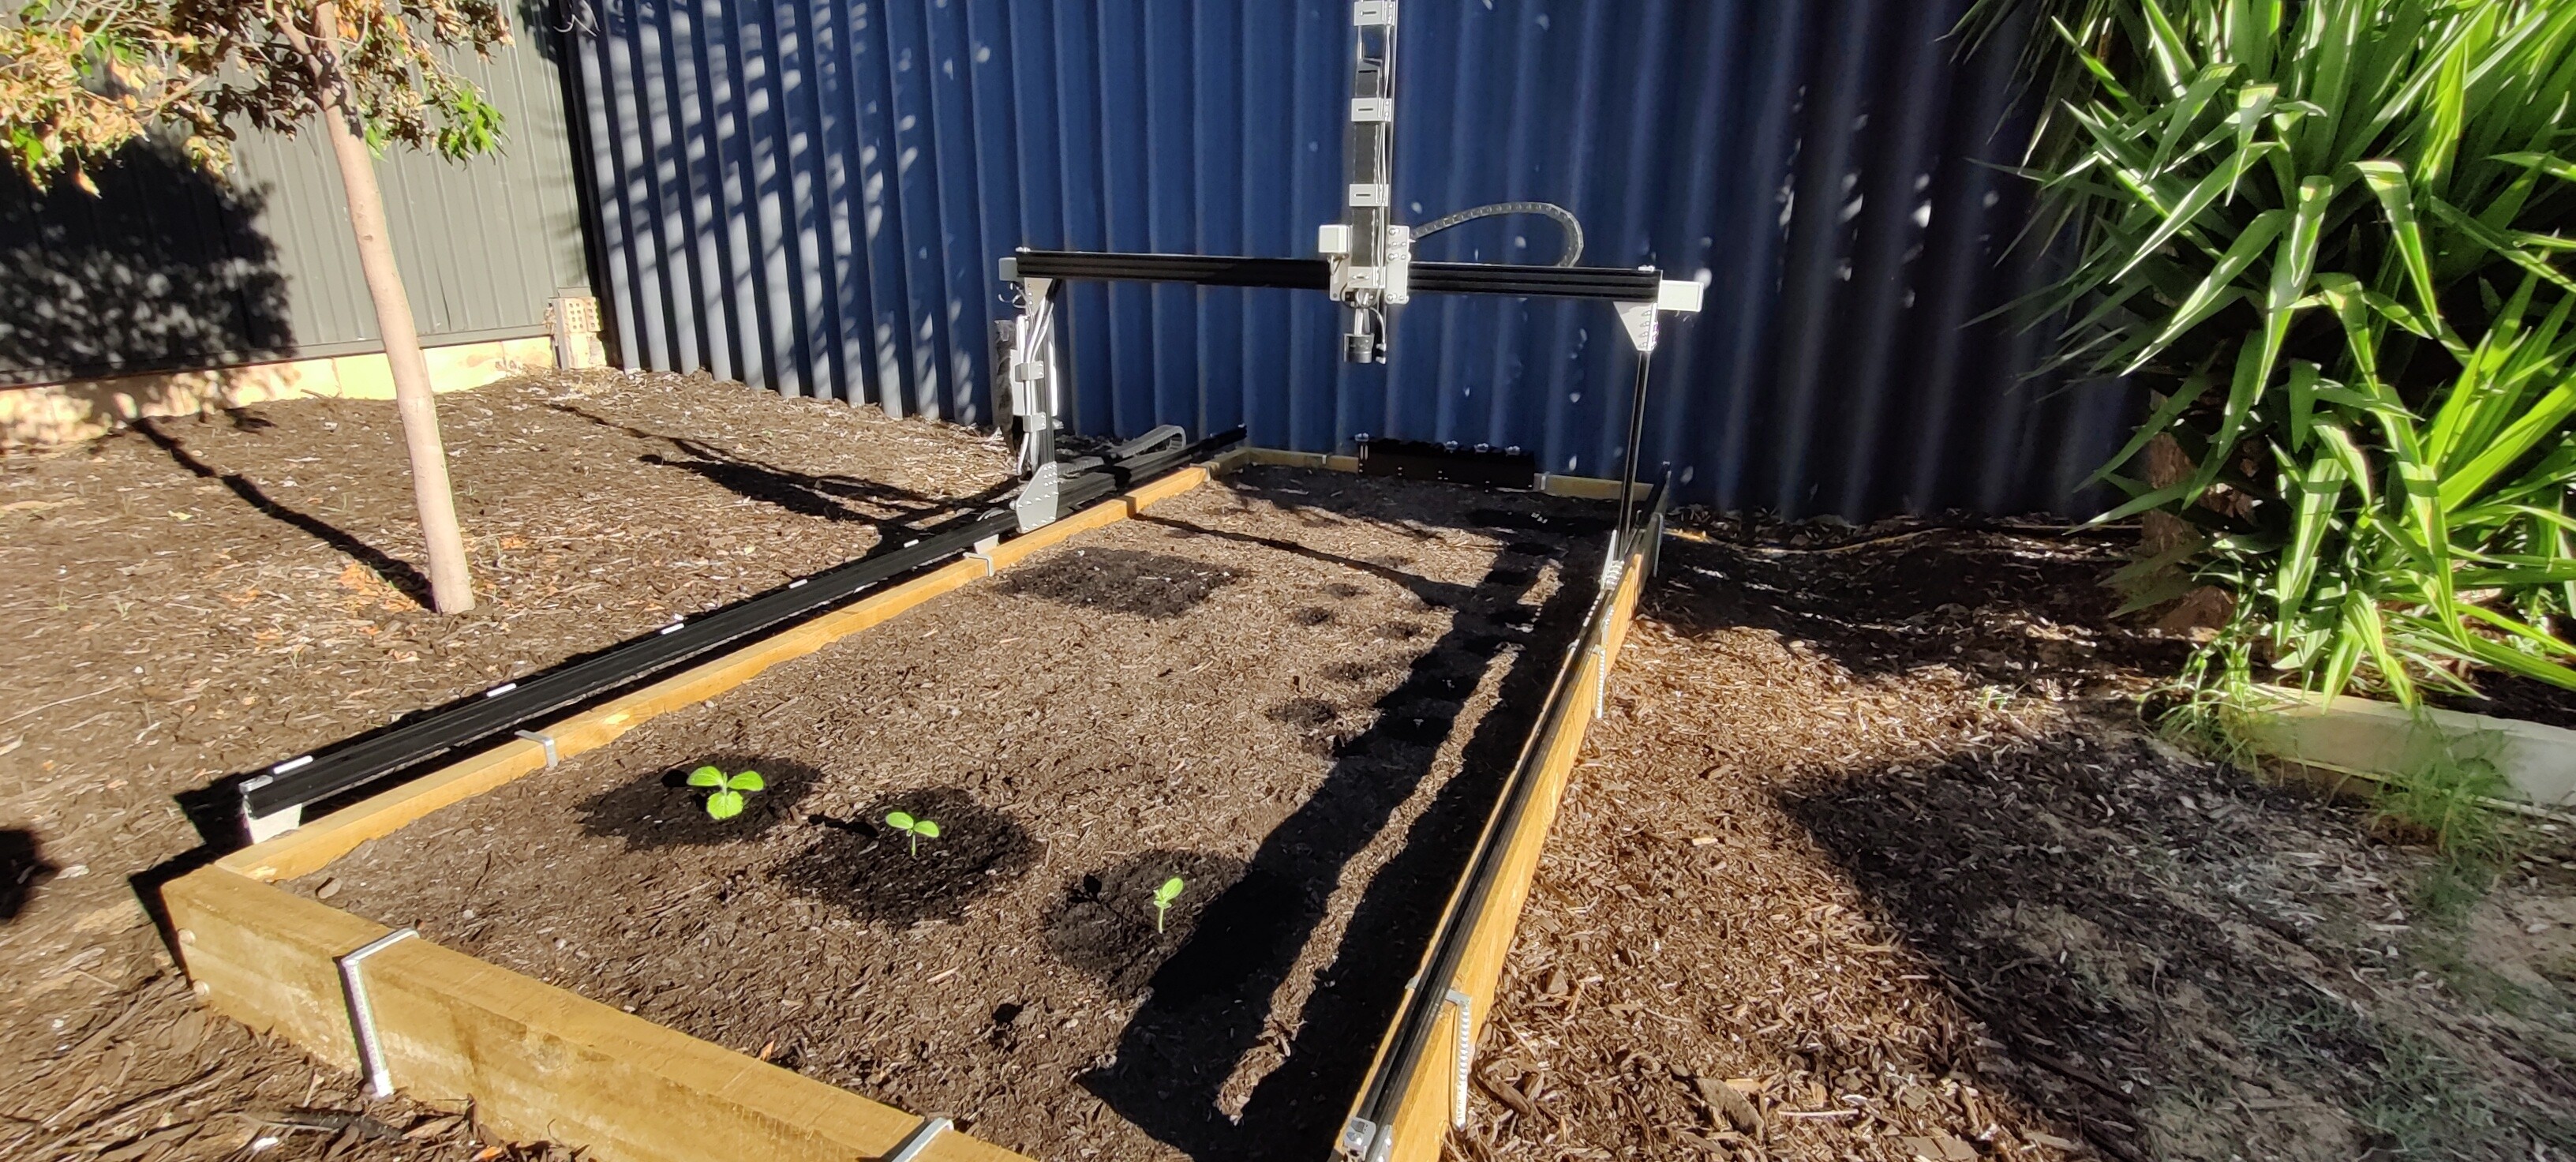
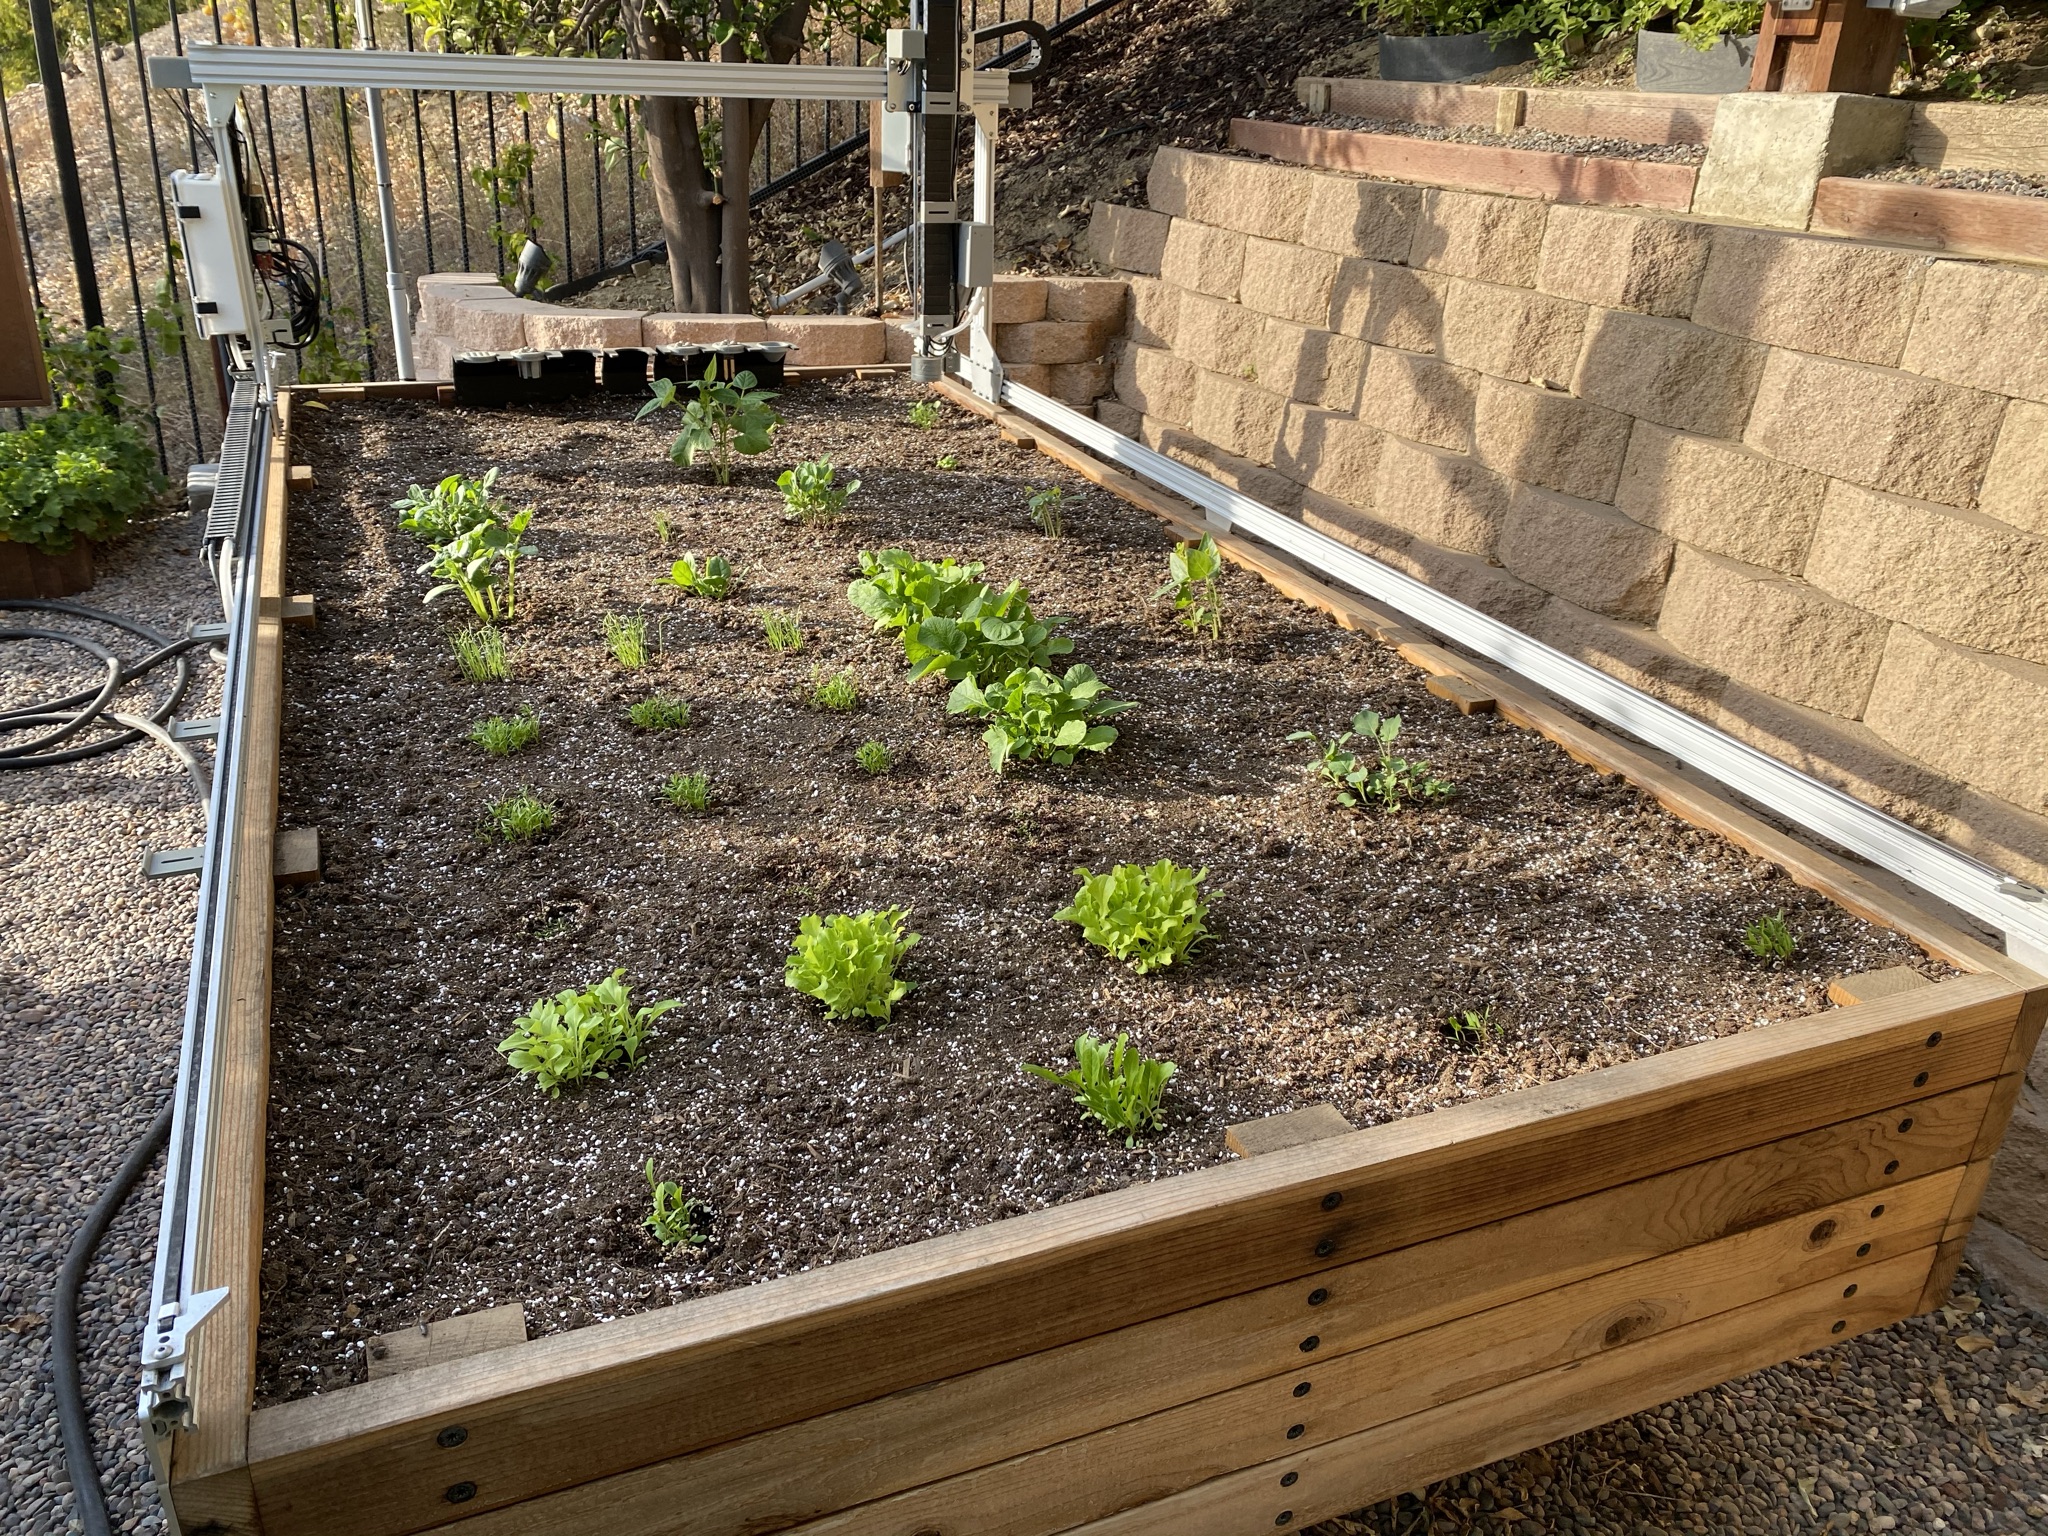
Quick update - I couldn’t convince my wife to let me “plant” the farmbot in our patio, but have made do “above ground”. I added a planter that straddles the long edge of the frame, and replaced the water supply/solenoid with some heavier duty plumbing to accommodate our fluctuations in the water pressure. Silent drivers add a while back make it pretty quiet. for now, just watering tool in use.
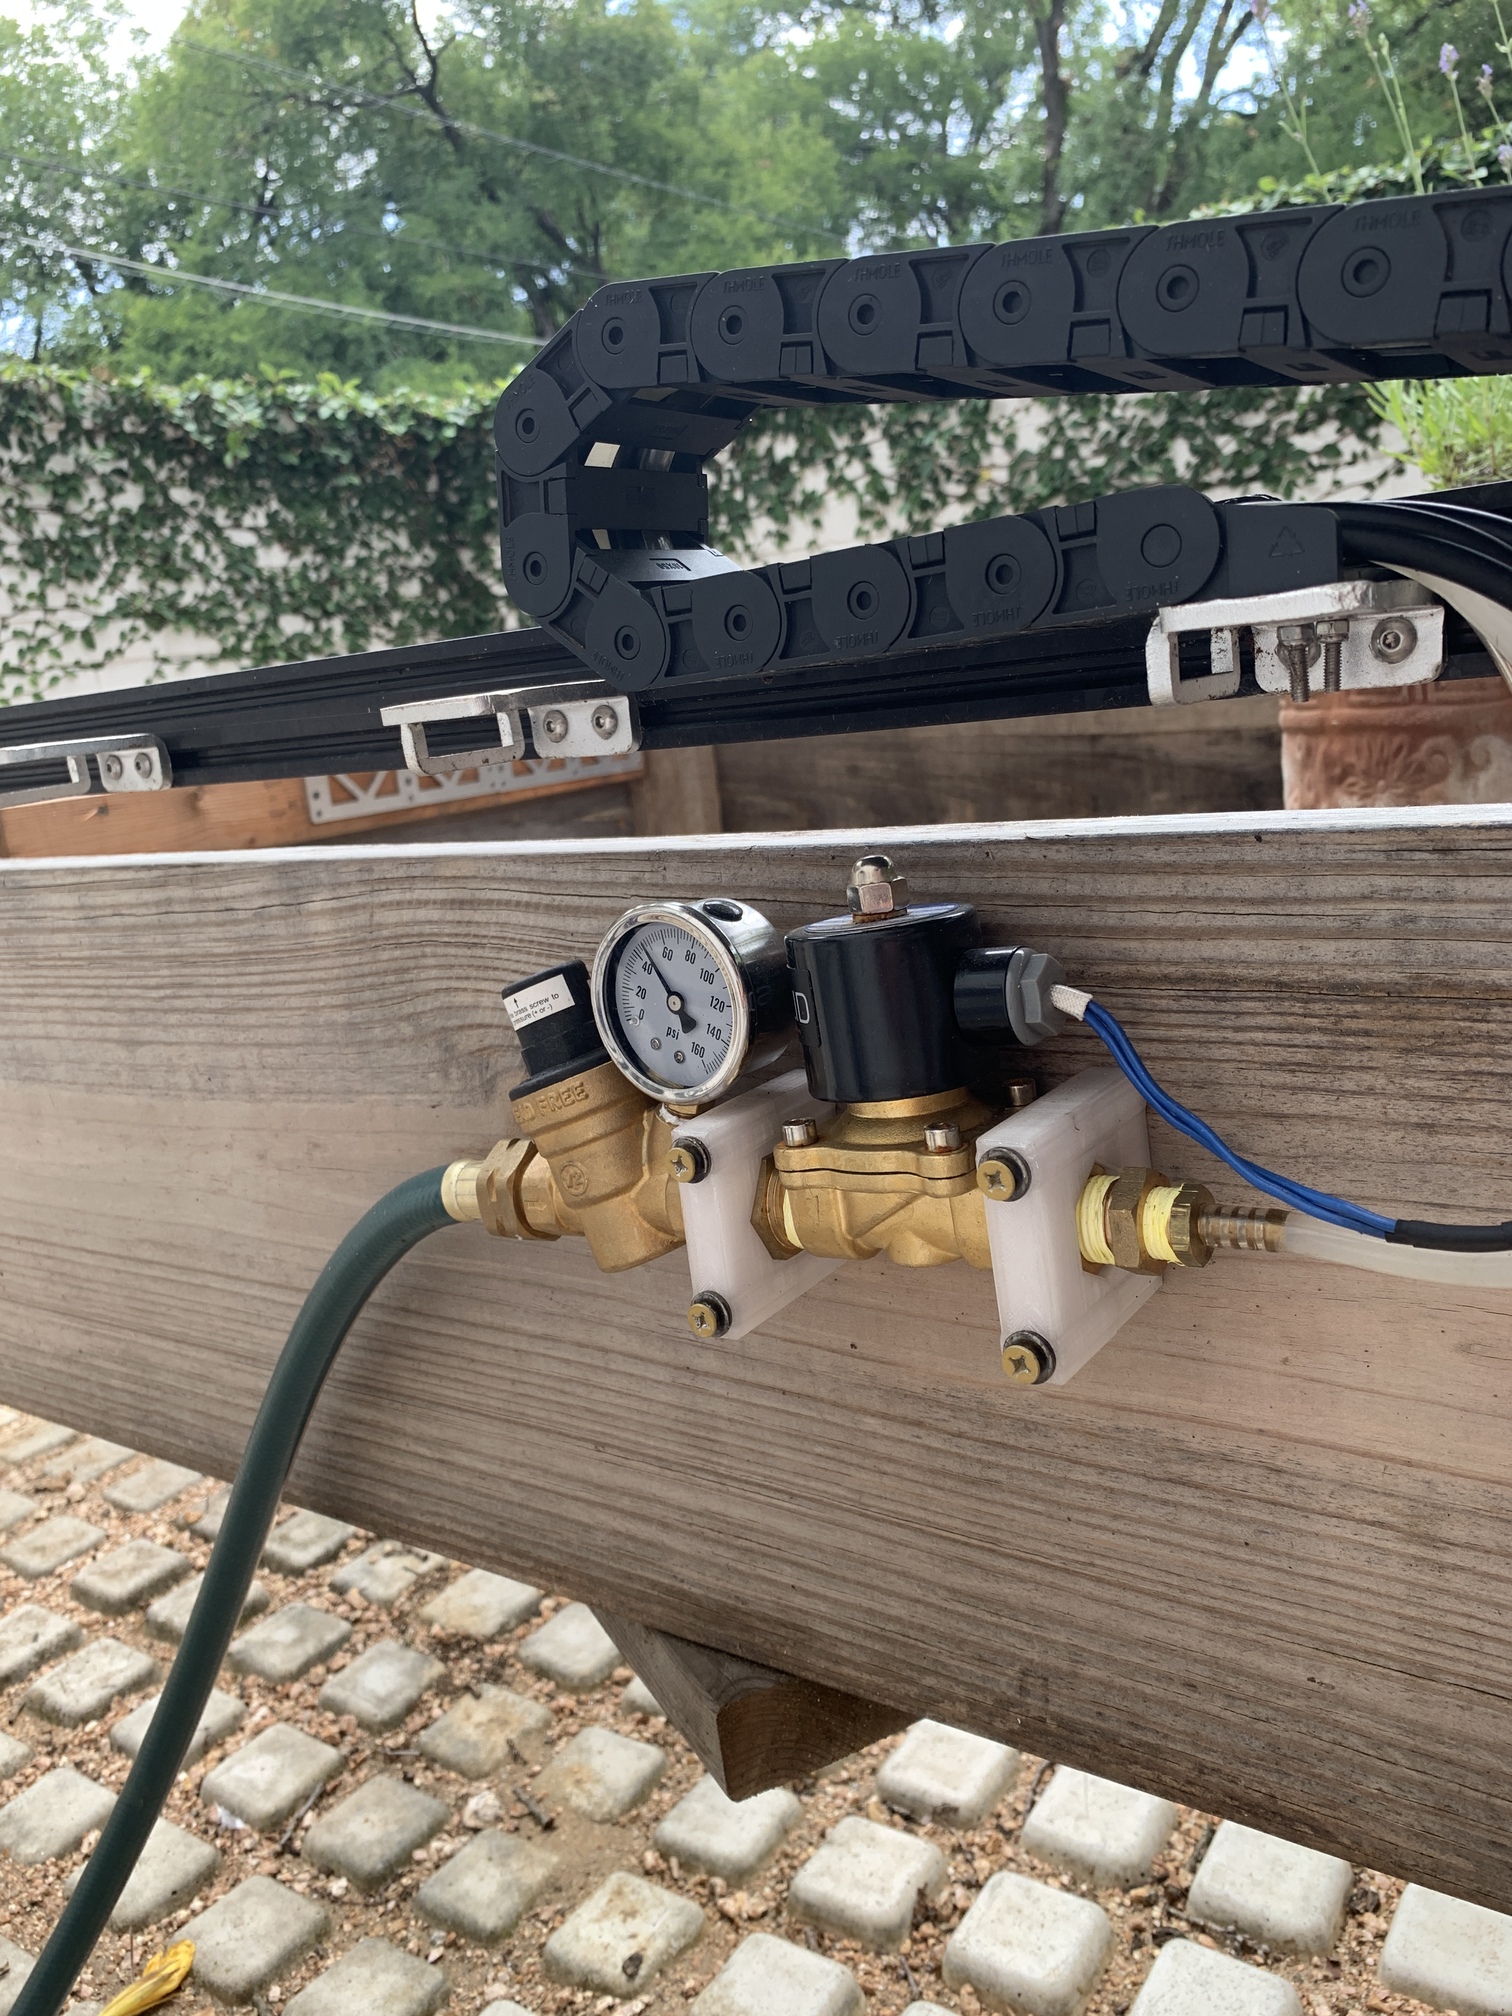
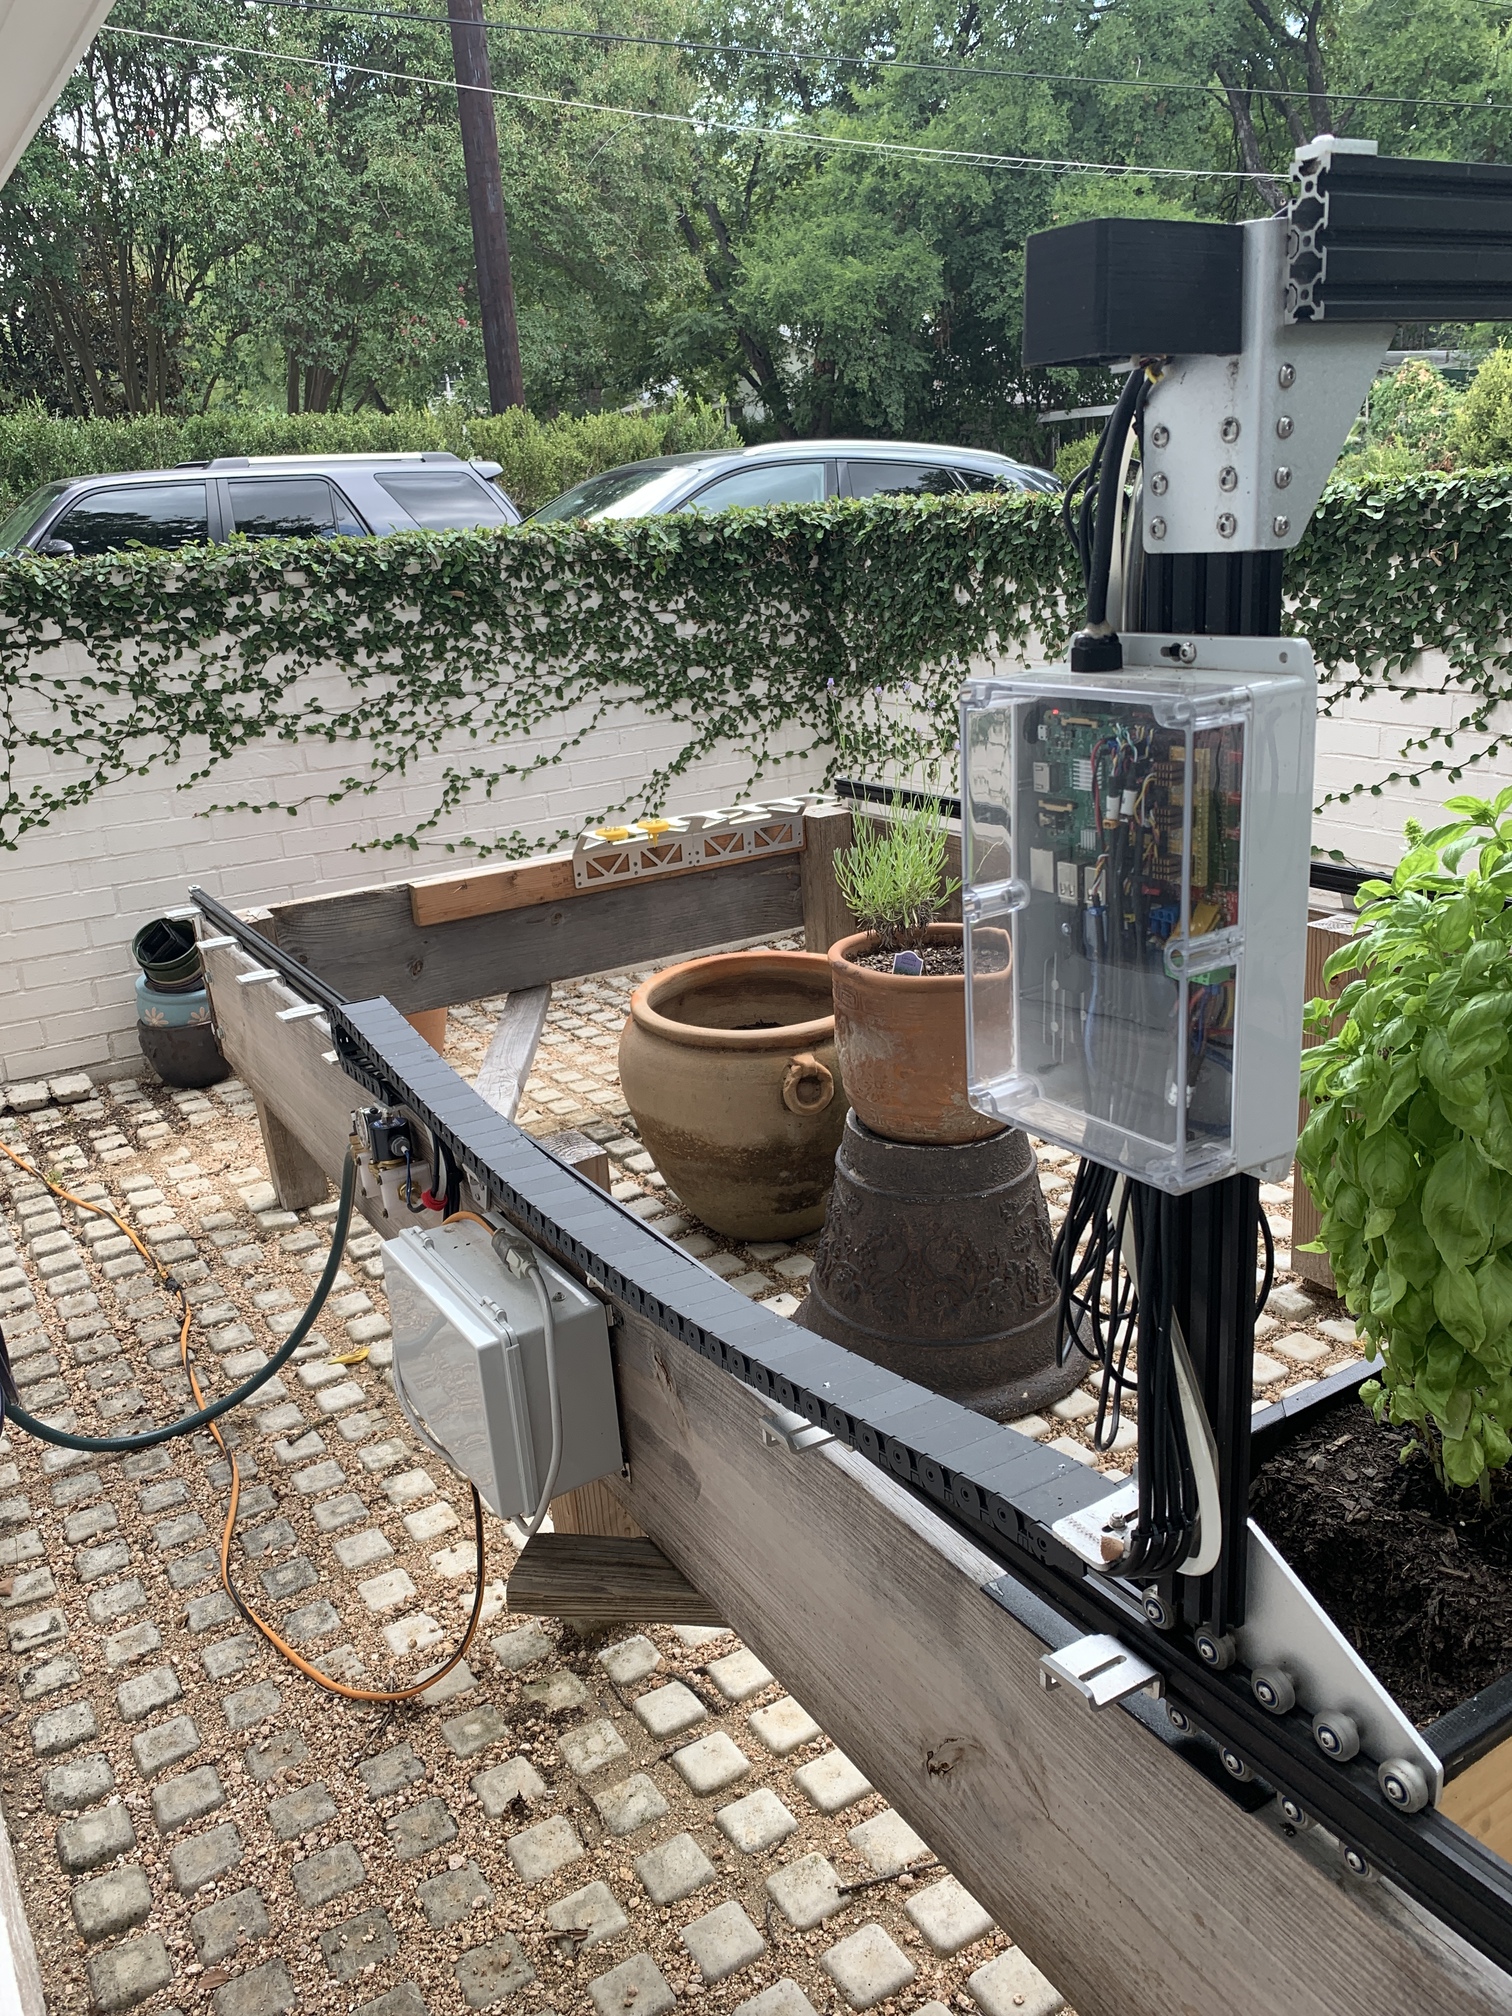
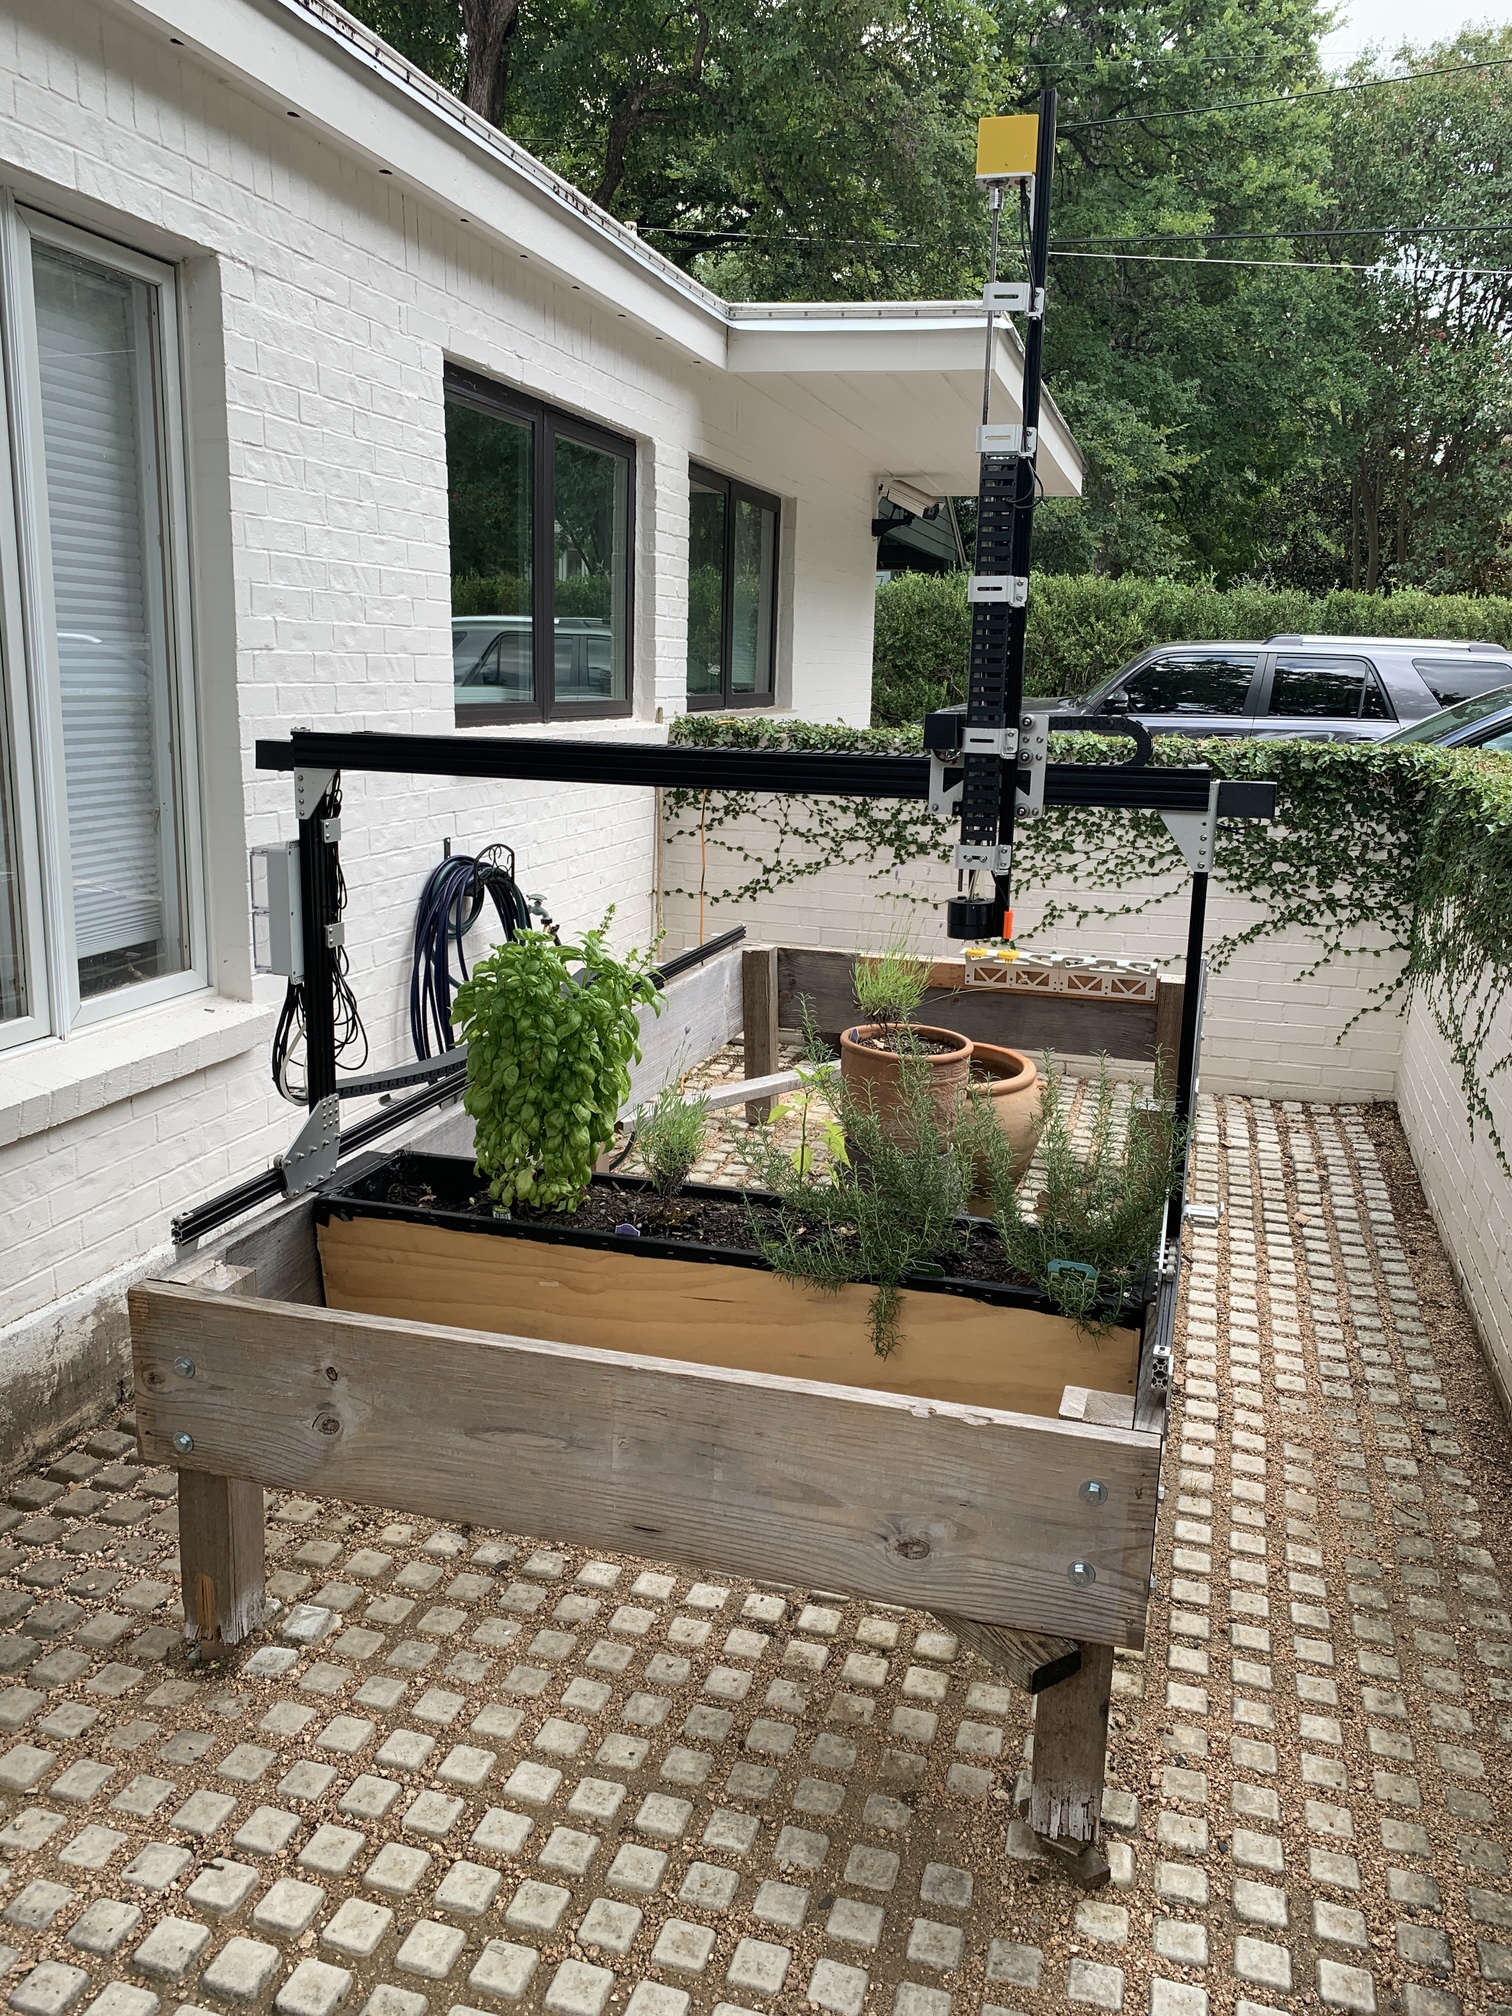
6 Likes
It is so beautiful!!! Congratulations.
1 Like
Hi Wojdylam! I am from Poland and I am considering buying FarmBot for my family use. Do You think we could talk about Your machine and maybe I could see how it is working in real life and how big were your harvests last year?
Kind regards.
Artur Wilkomir
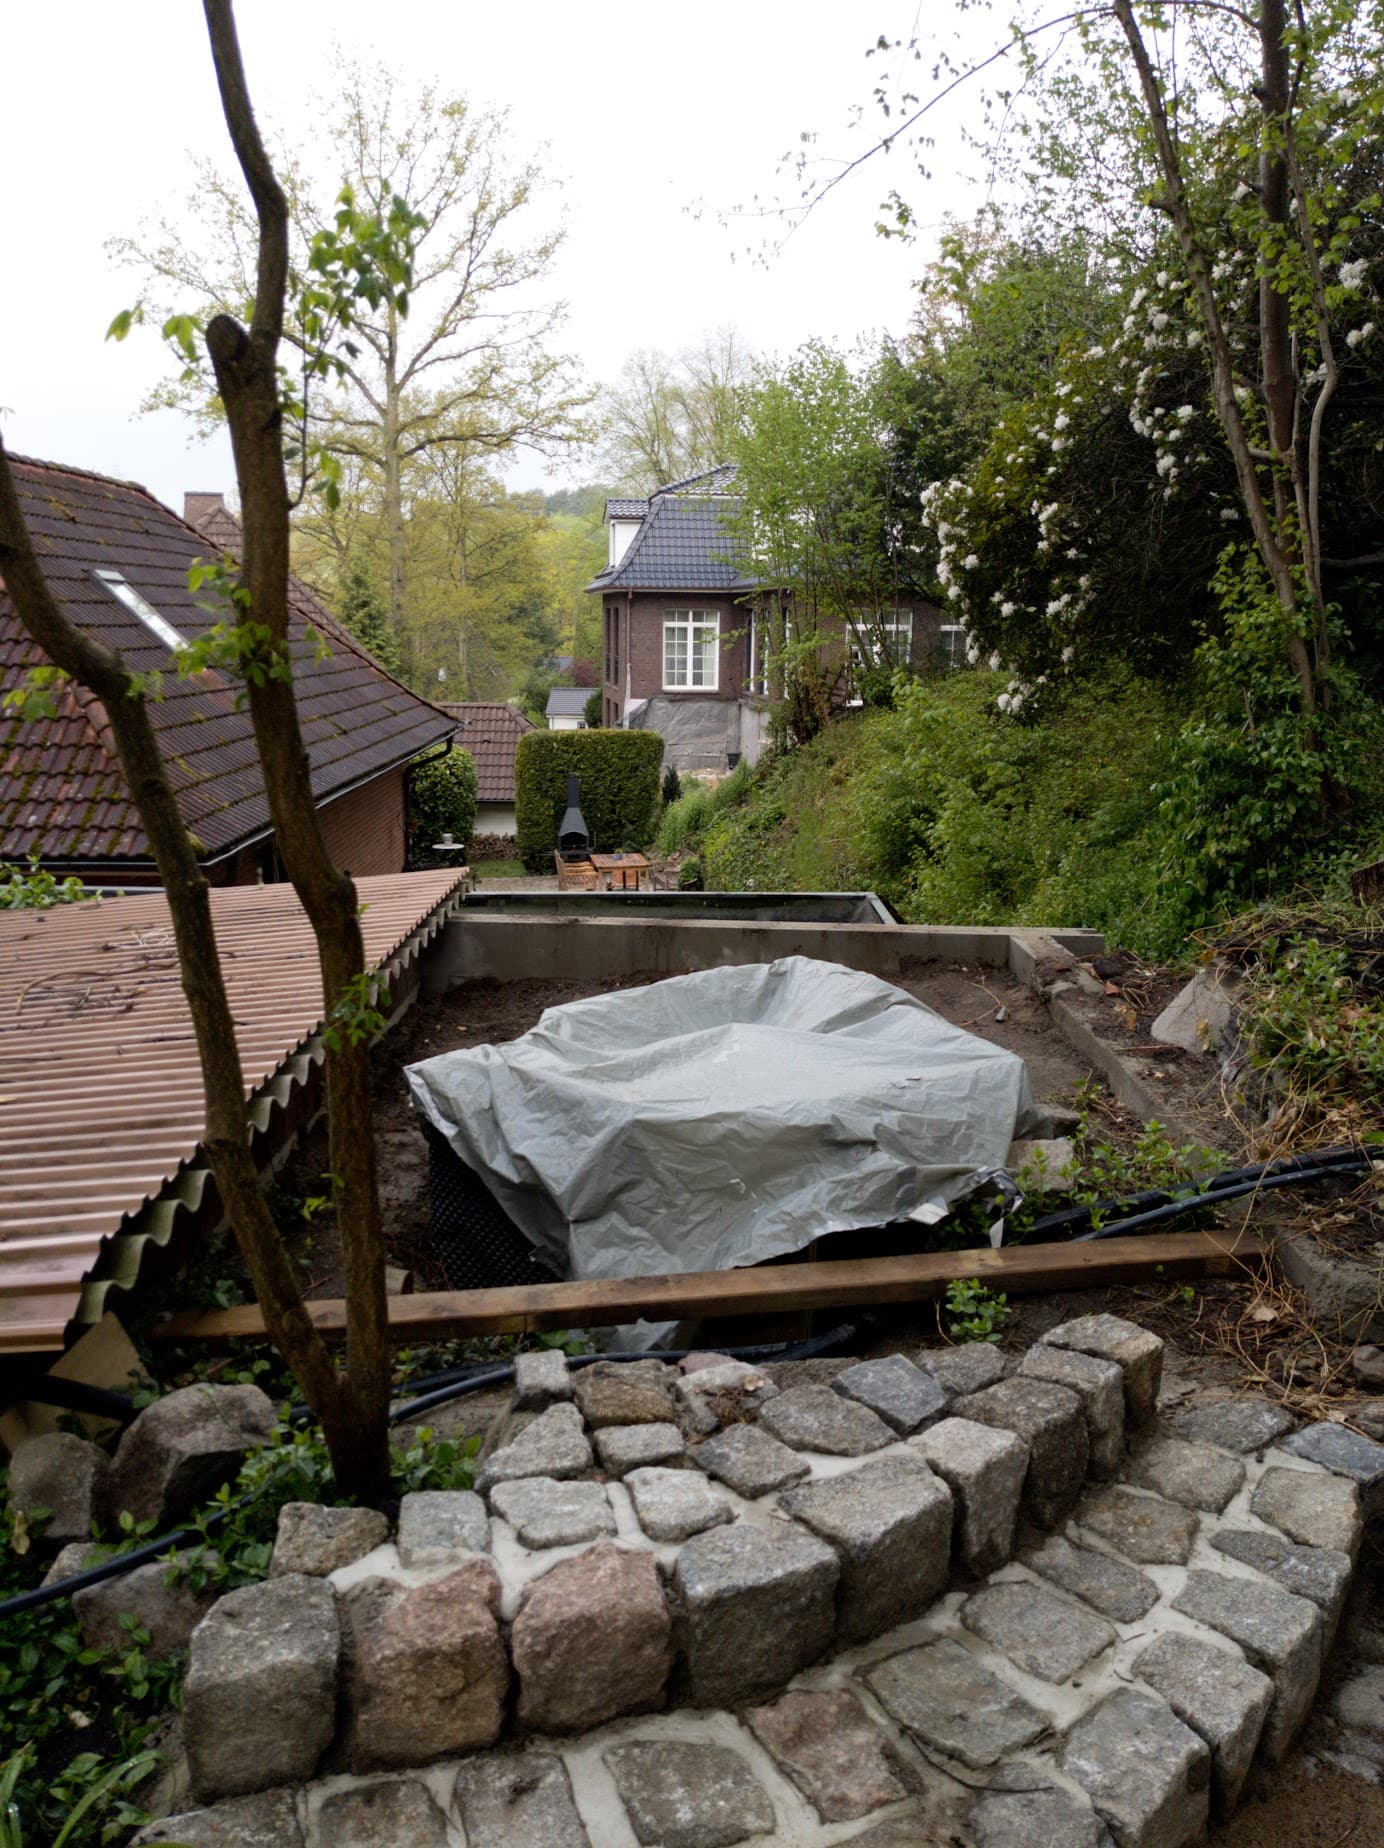
Due to different circumstances we moved to a new place. I’m happy that things took longer than expected and that I haven’t filled my raised bed with soil. Otherwise this would be a much more difficult operation. We moved to the new home a few weeks ago and yesterday the FarmBot was finally moved. Luckily the landlord liked the idea and prepared our personal backyard patio so that I could place the FarmBot.
Some pictures for amusement. 

loading at the old place
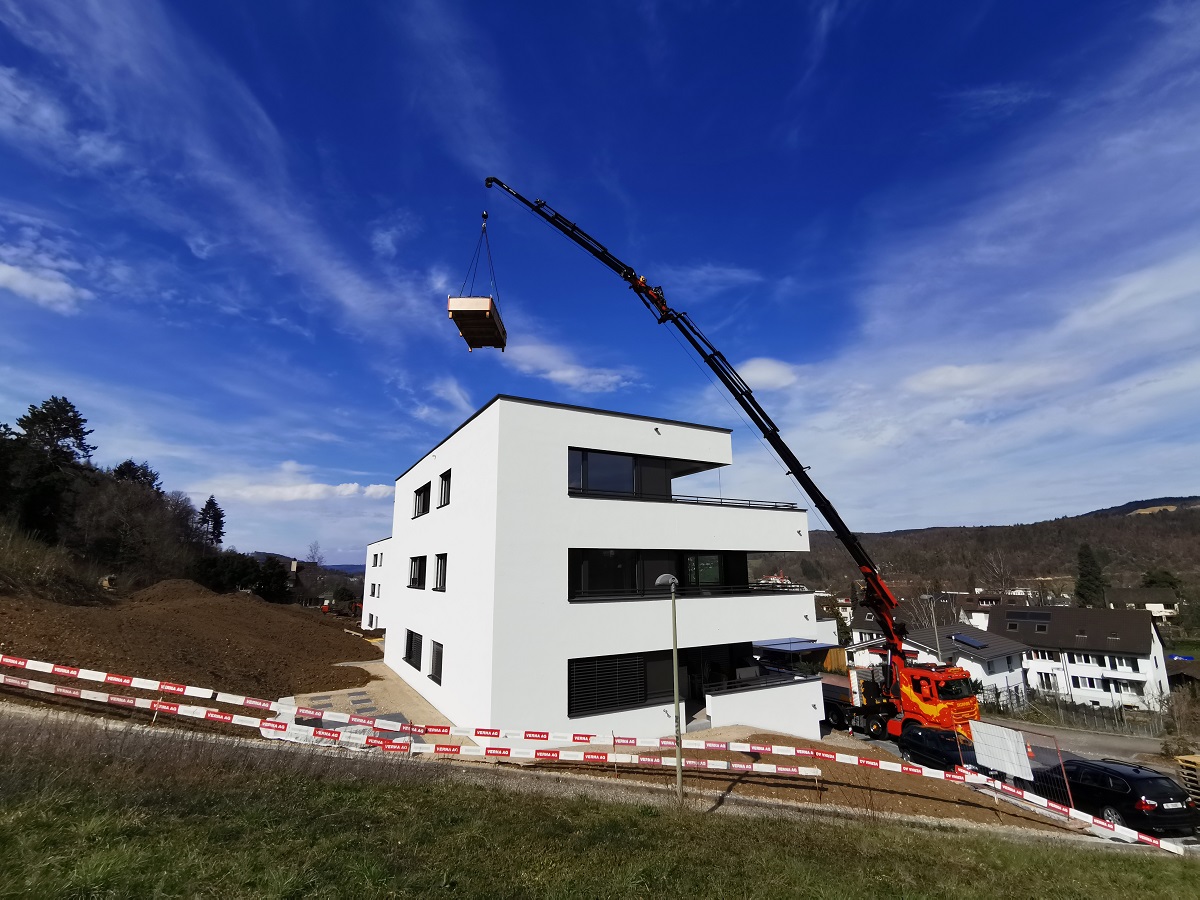
flying over the house
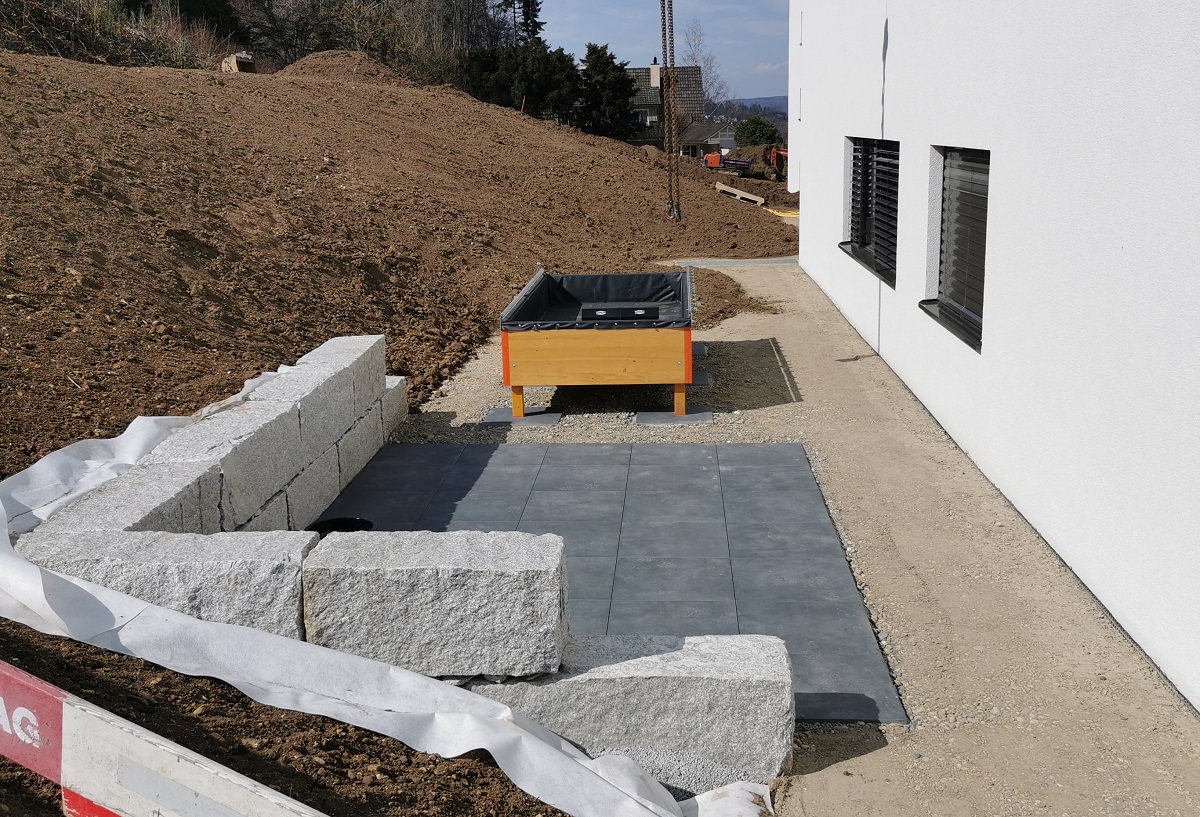
at it’s new home
9 Likes
My fall harvest…seeds planted October 24, 2020. First photo shows growth after 1 month. Second photo was growth after 5 months (Taken a few days ago). Planted 39 vegetables/herbs including Broccoli, Cauliflower, carrots, romaine, spinach, onions and more. The growth is amazing. However, I need to learn more about dealing with pests and disease…lost Brussel Sprouts to fungal disease After One Month|666x500
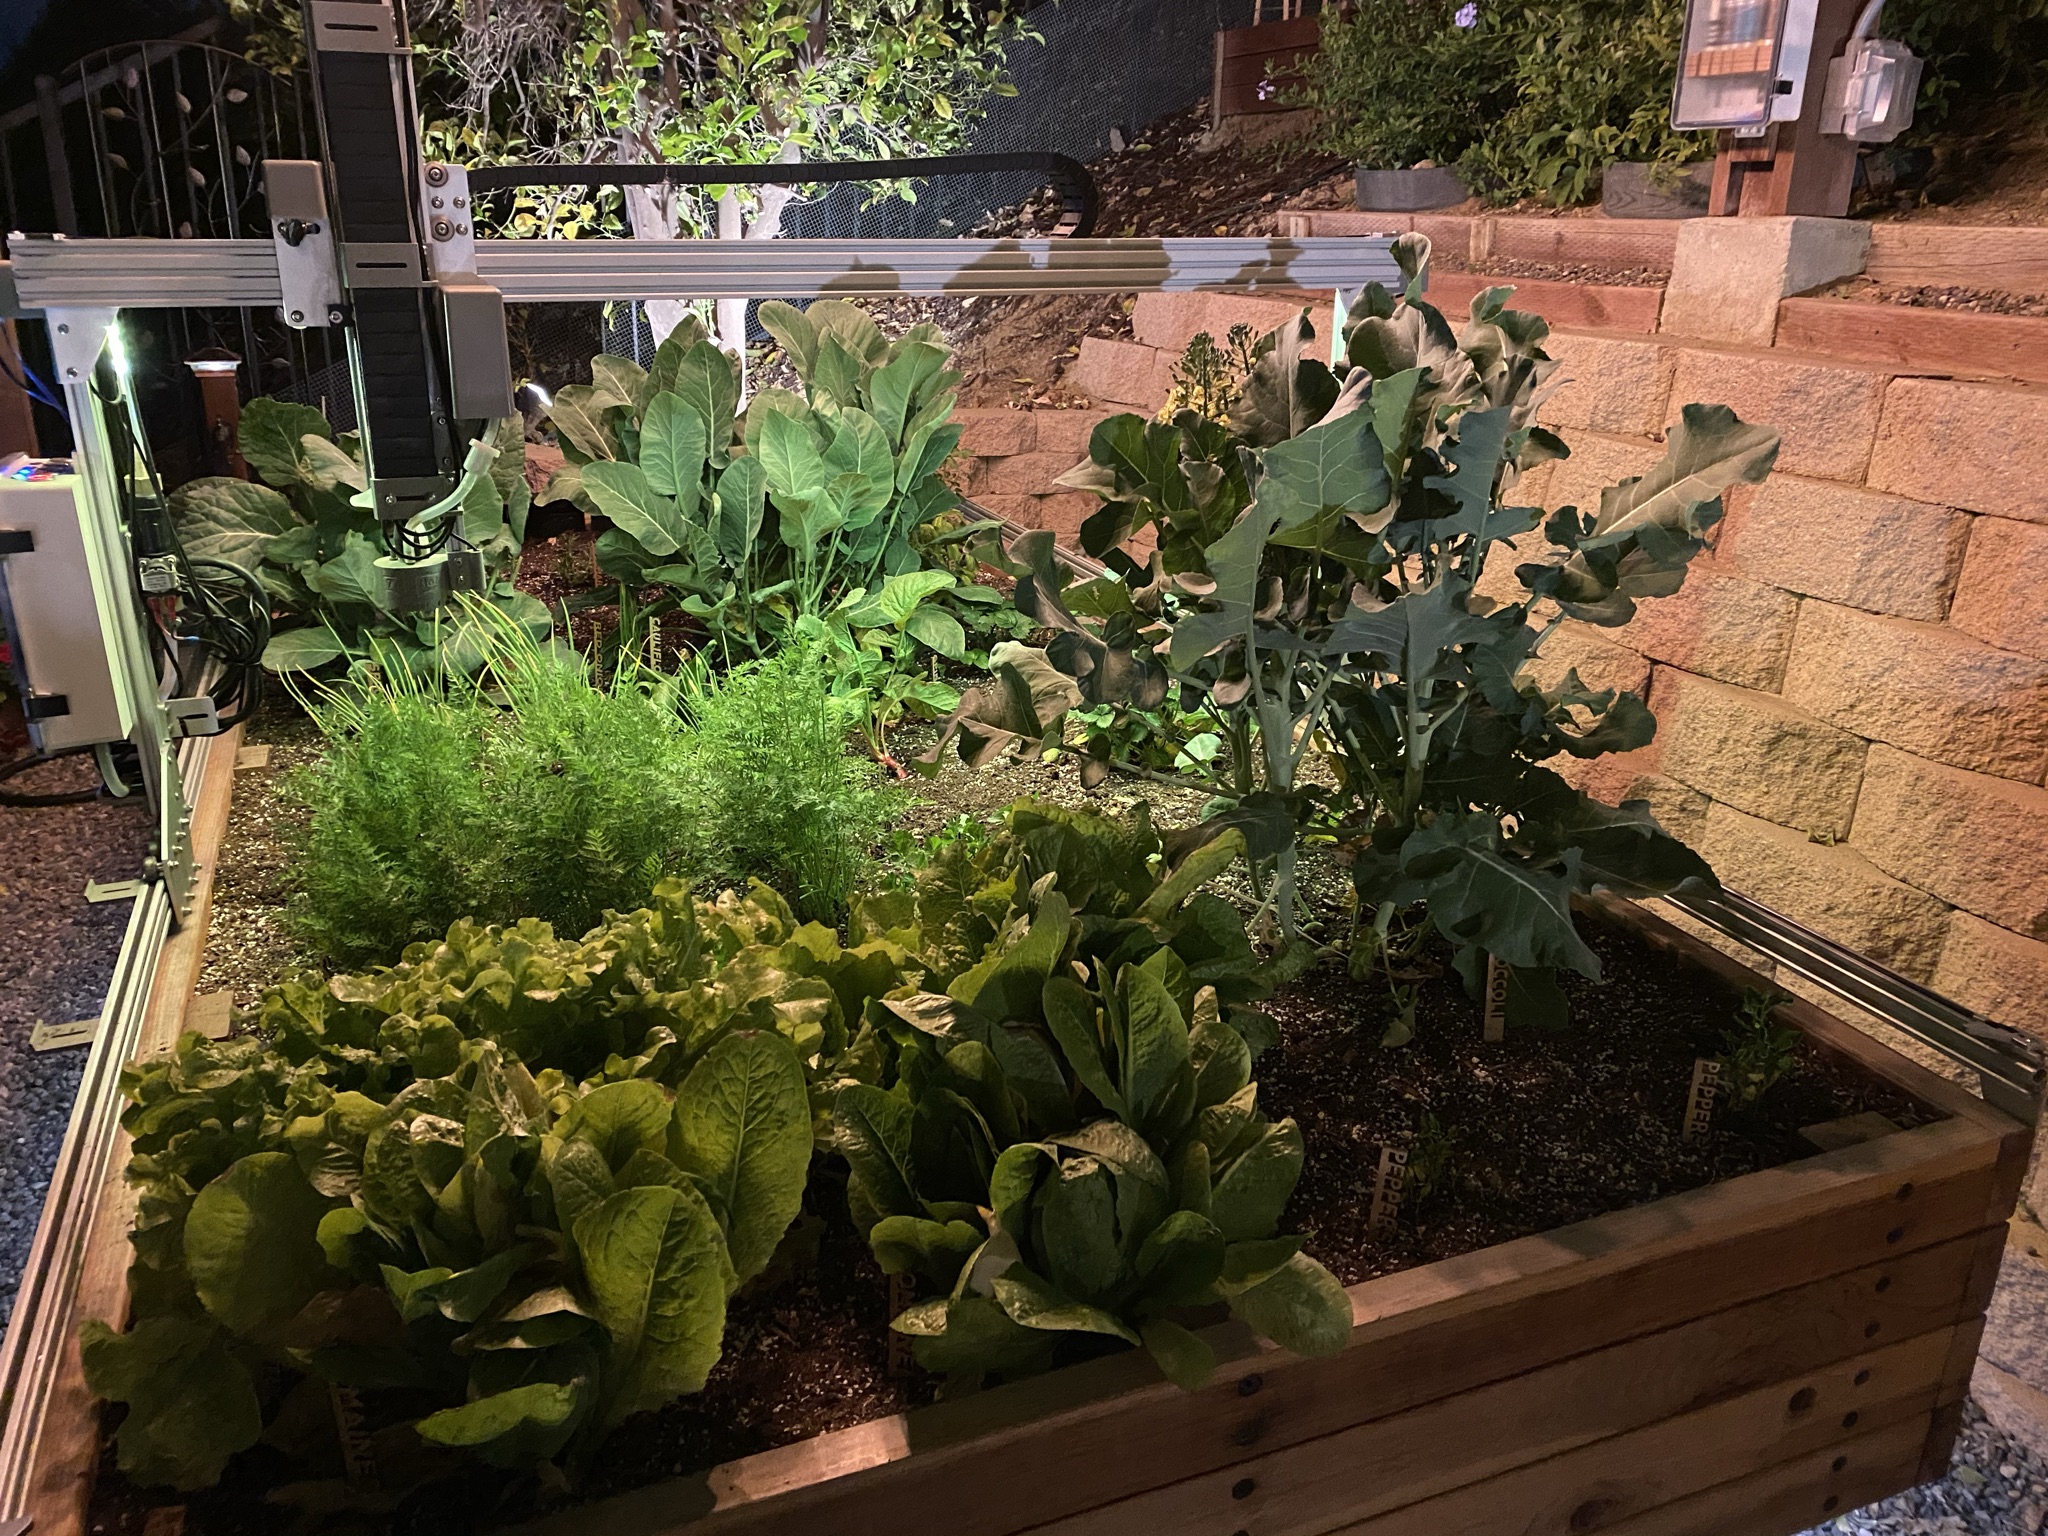

5 Likes
Wow, what a job to transport that!!!
Not really. It’s more like money money money 
Your harvest looks great! 
1 Like
Do you have some more information on your setup it sounds really really interesting and I’d love to hear more about it. Maybe we can outsource this into a seperate thread? ![]()
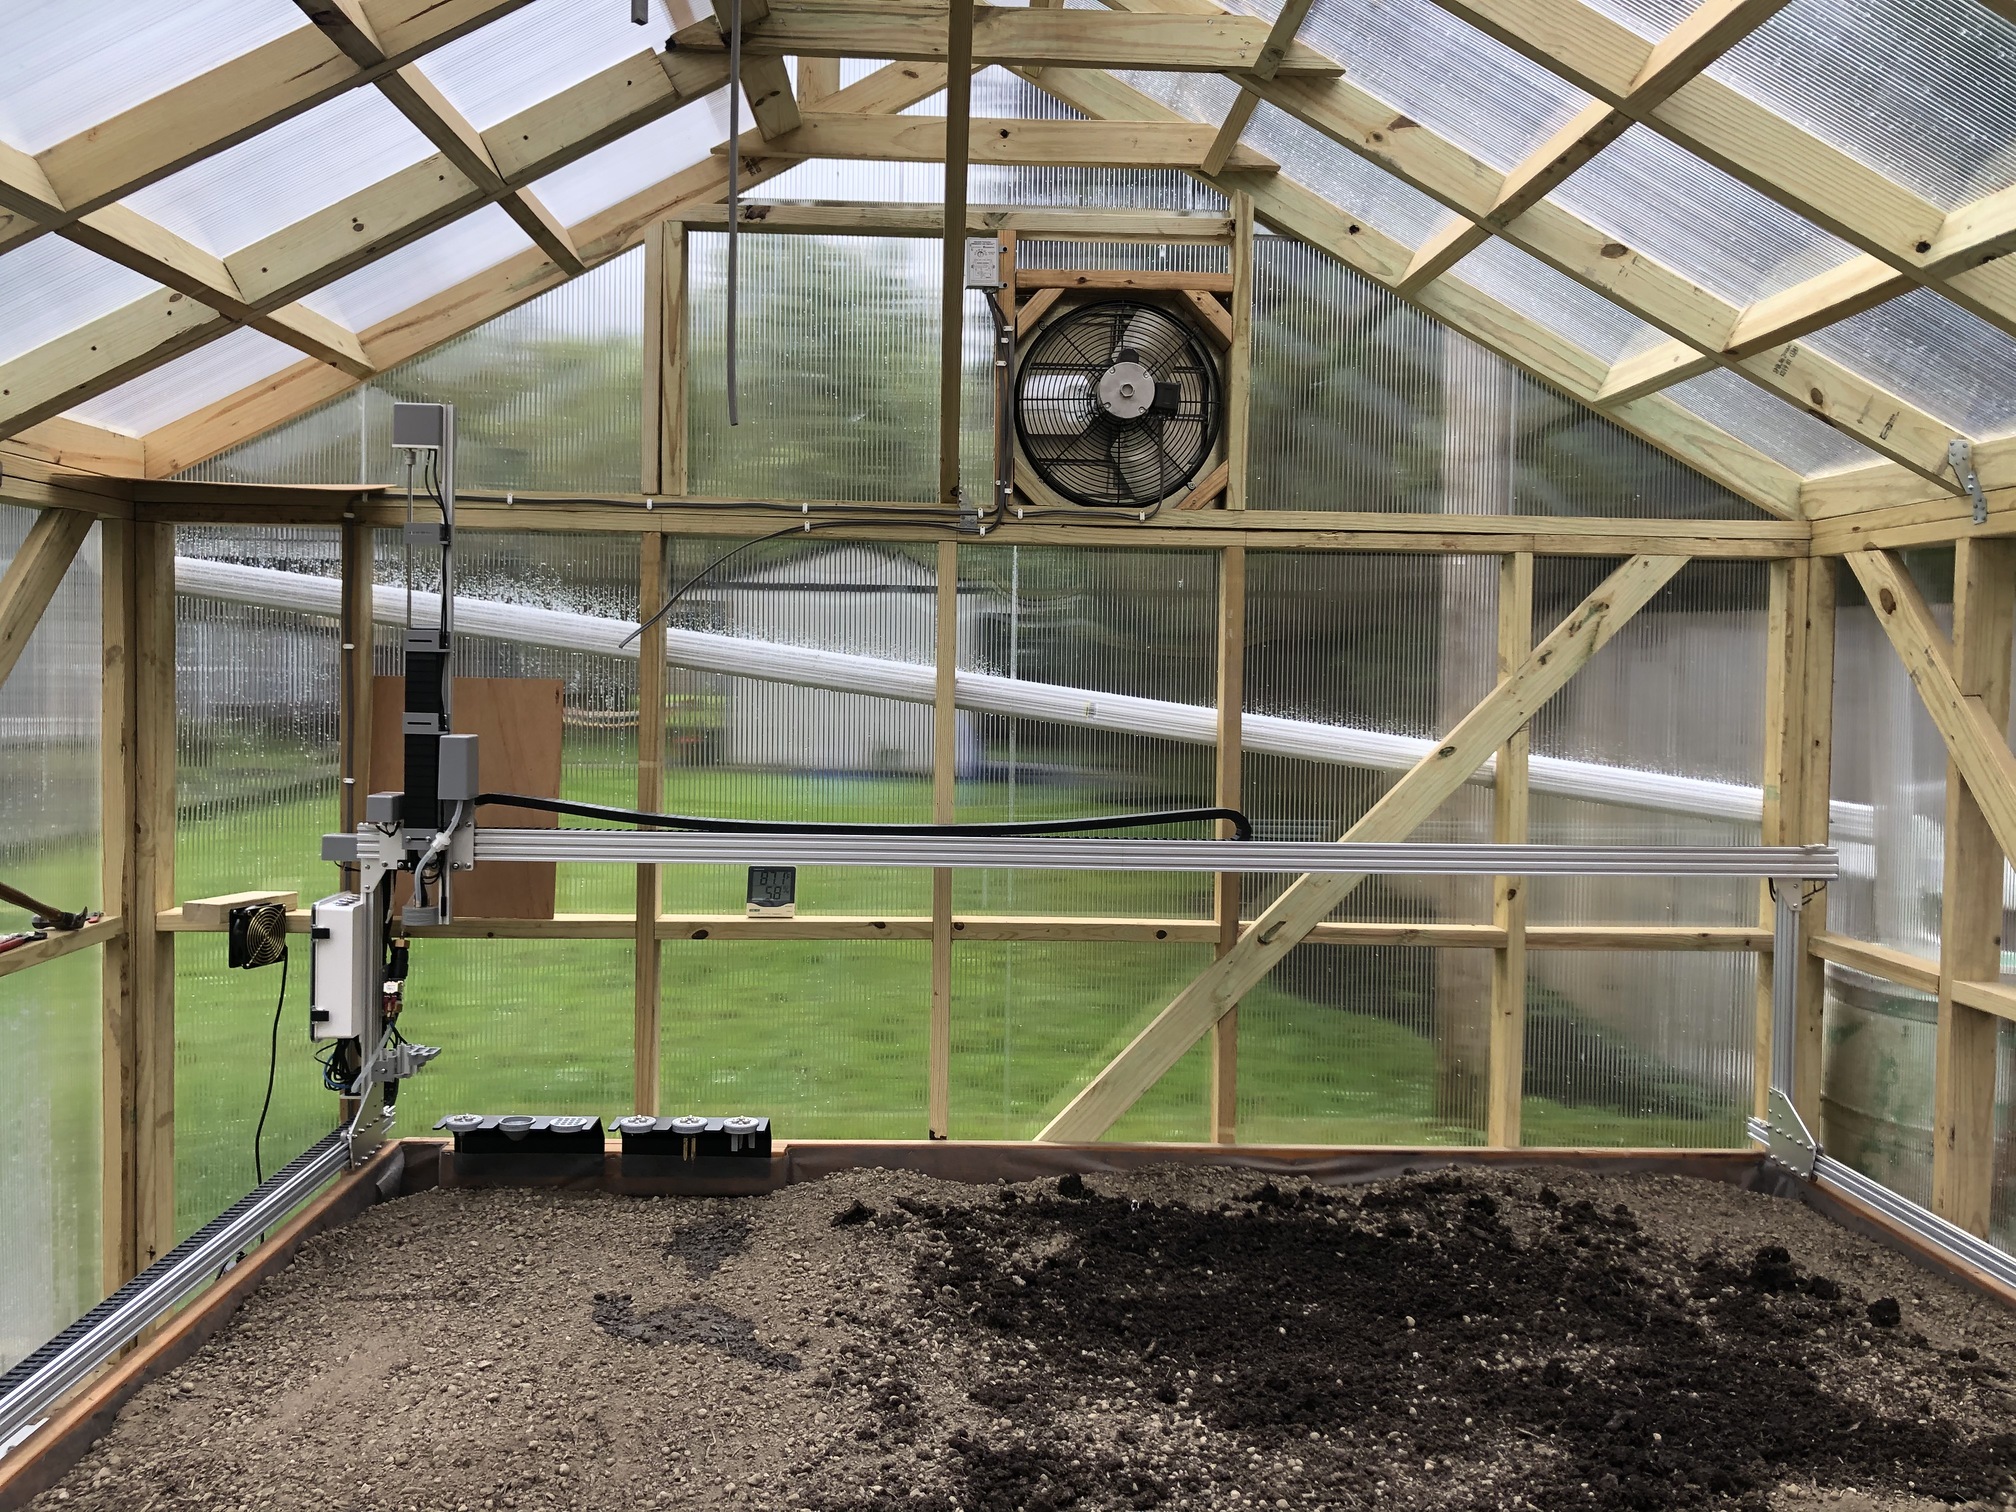
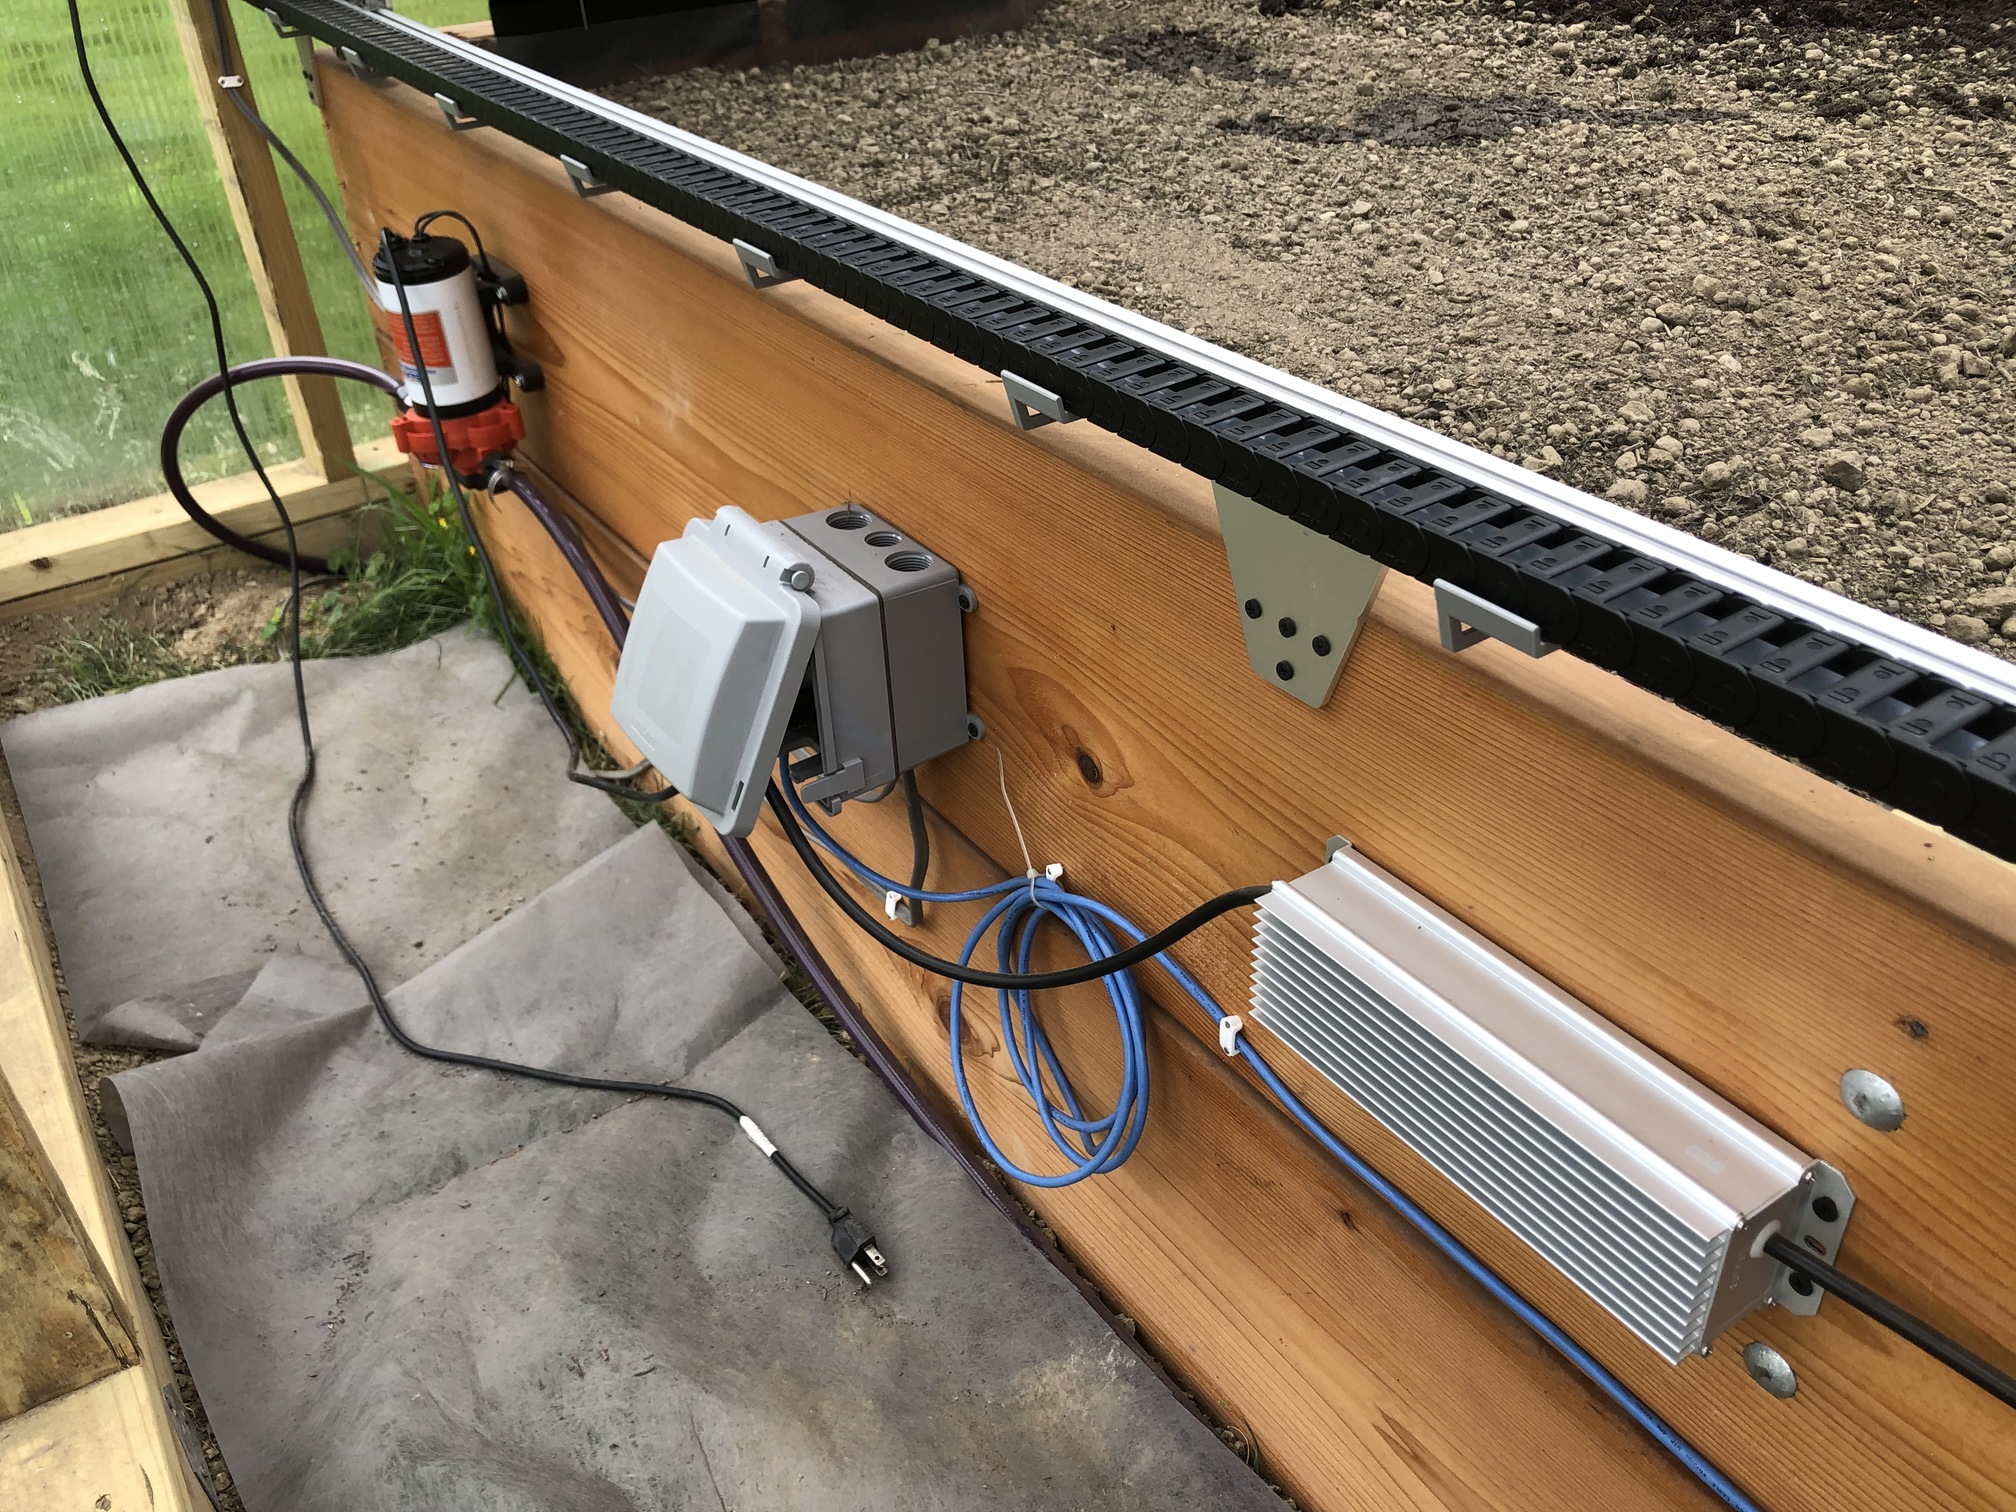
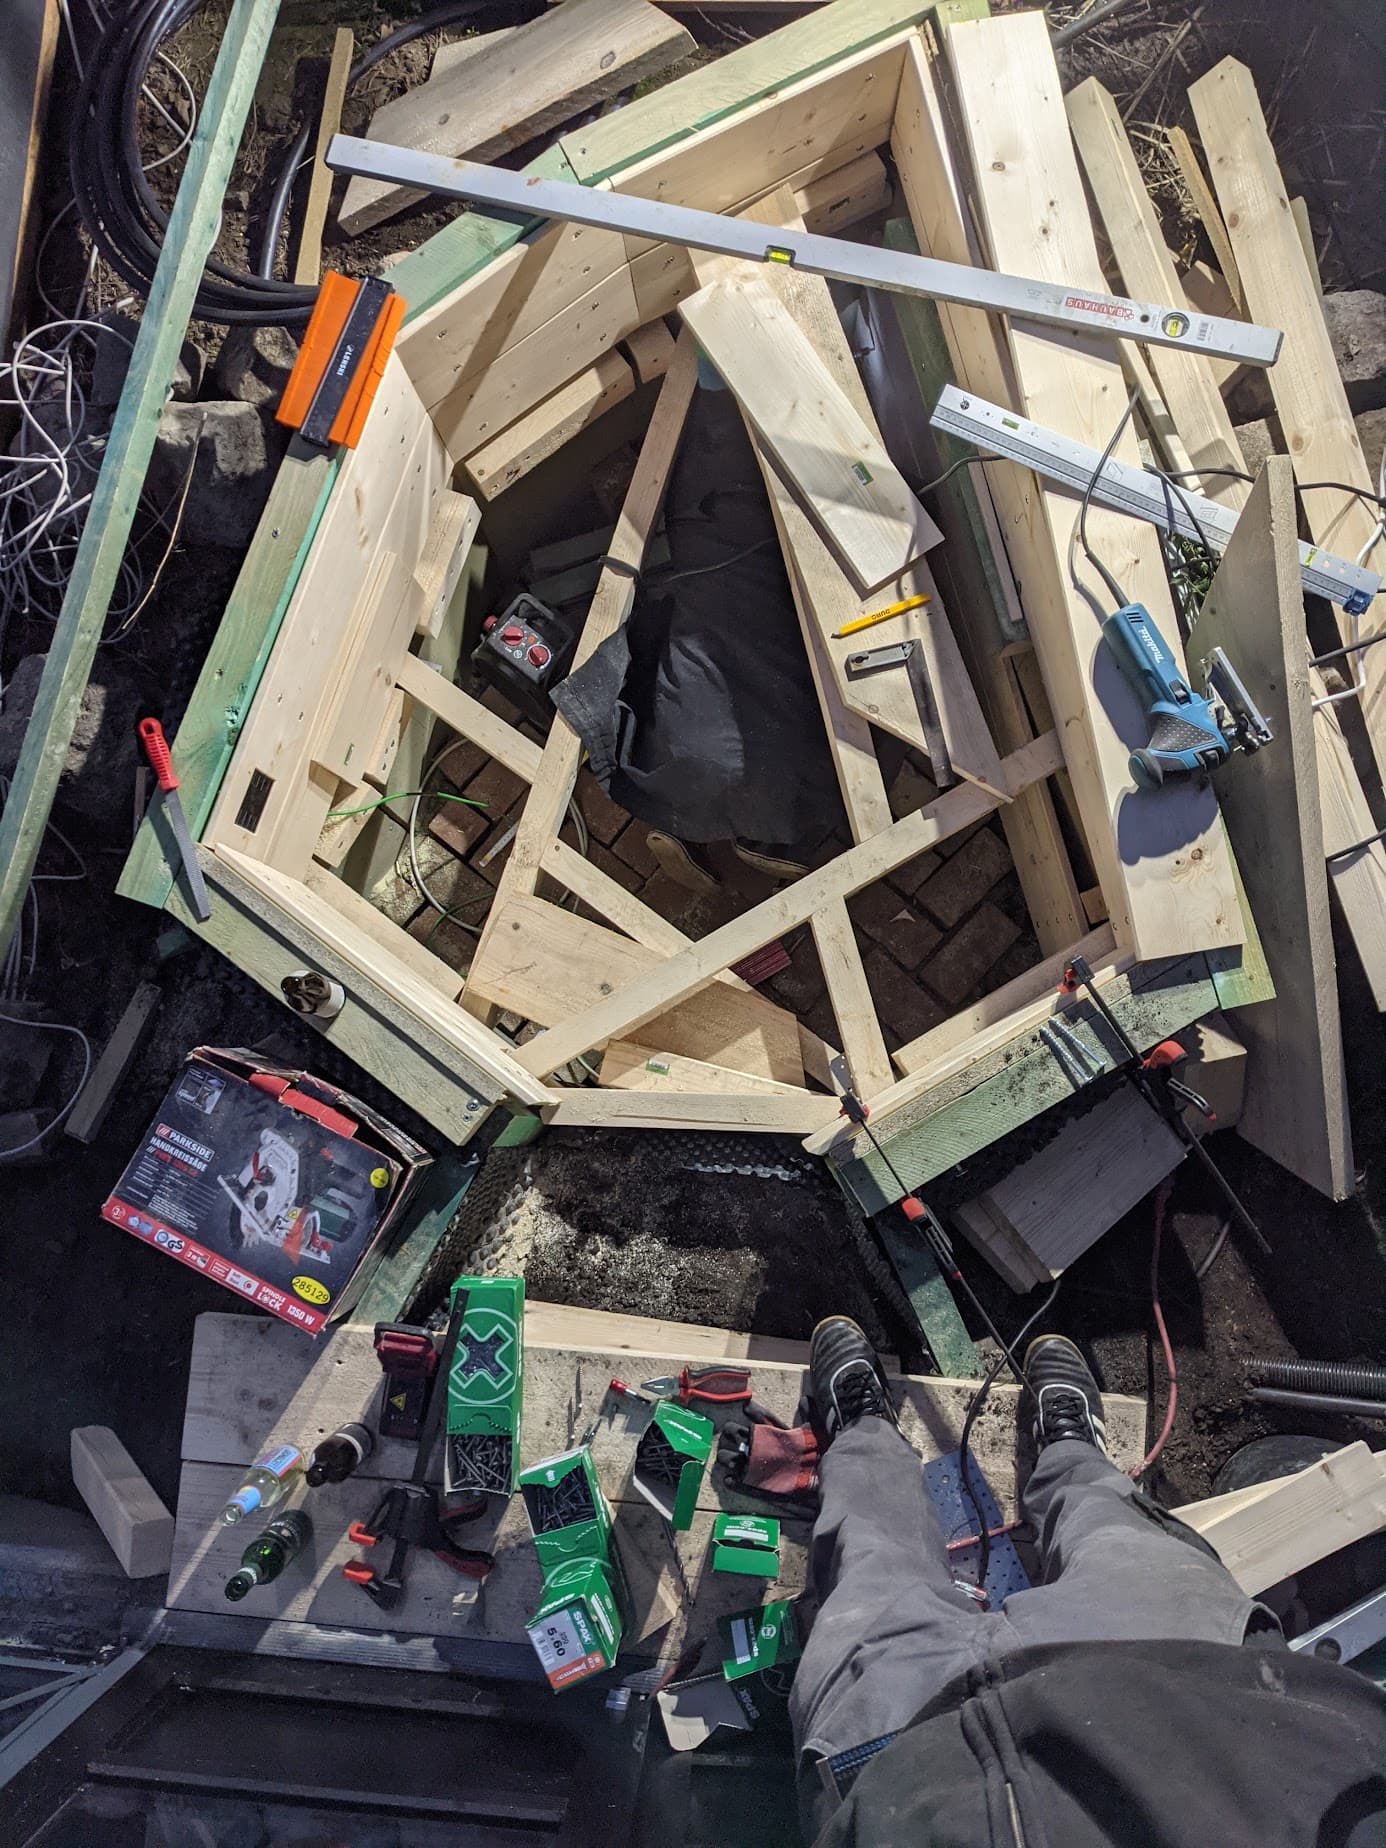
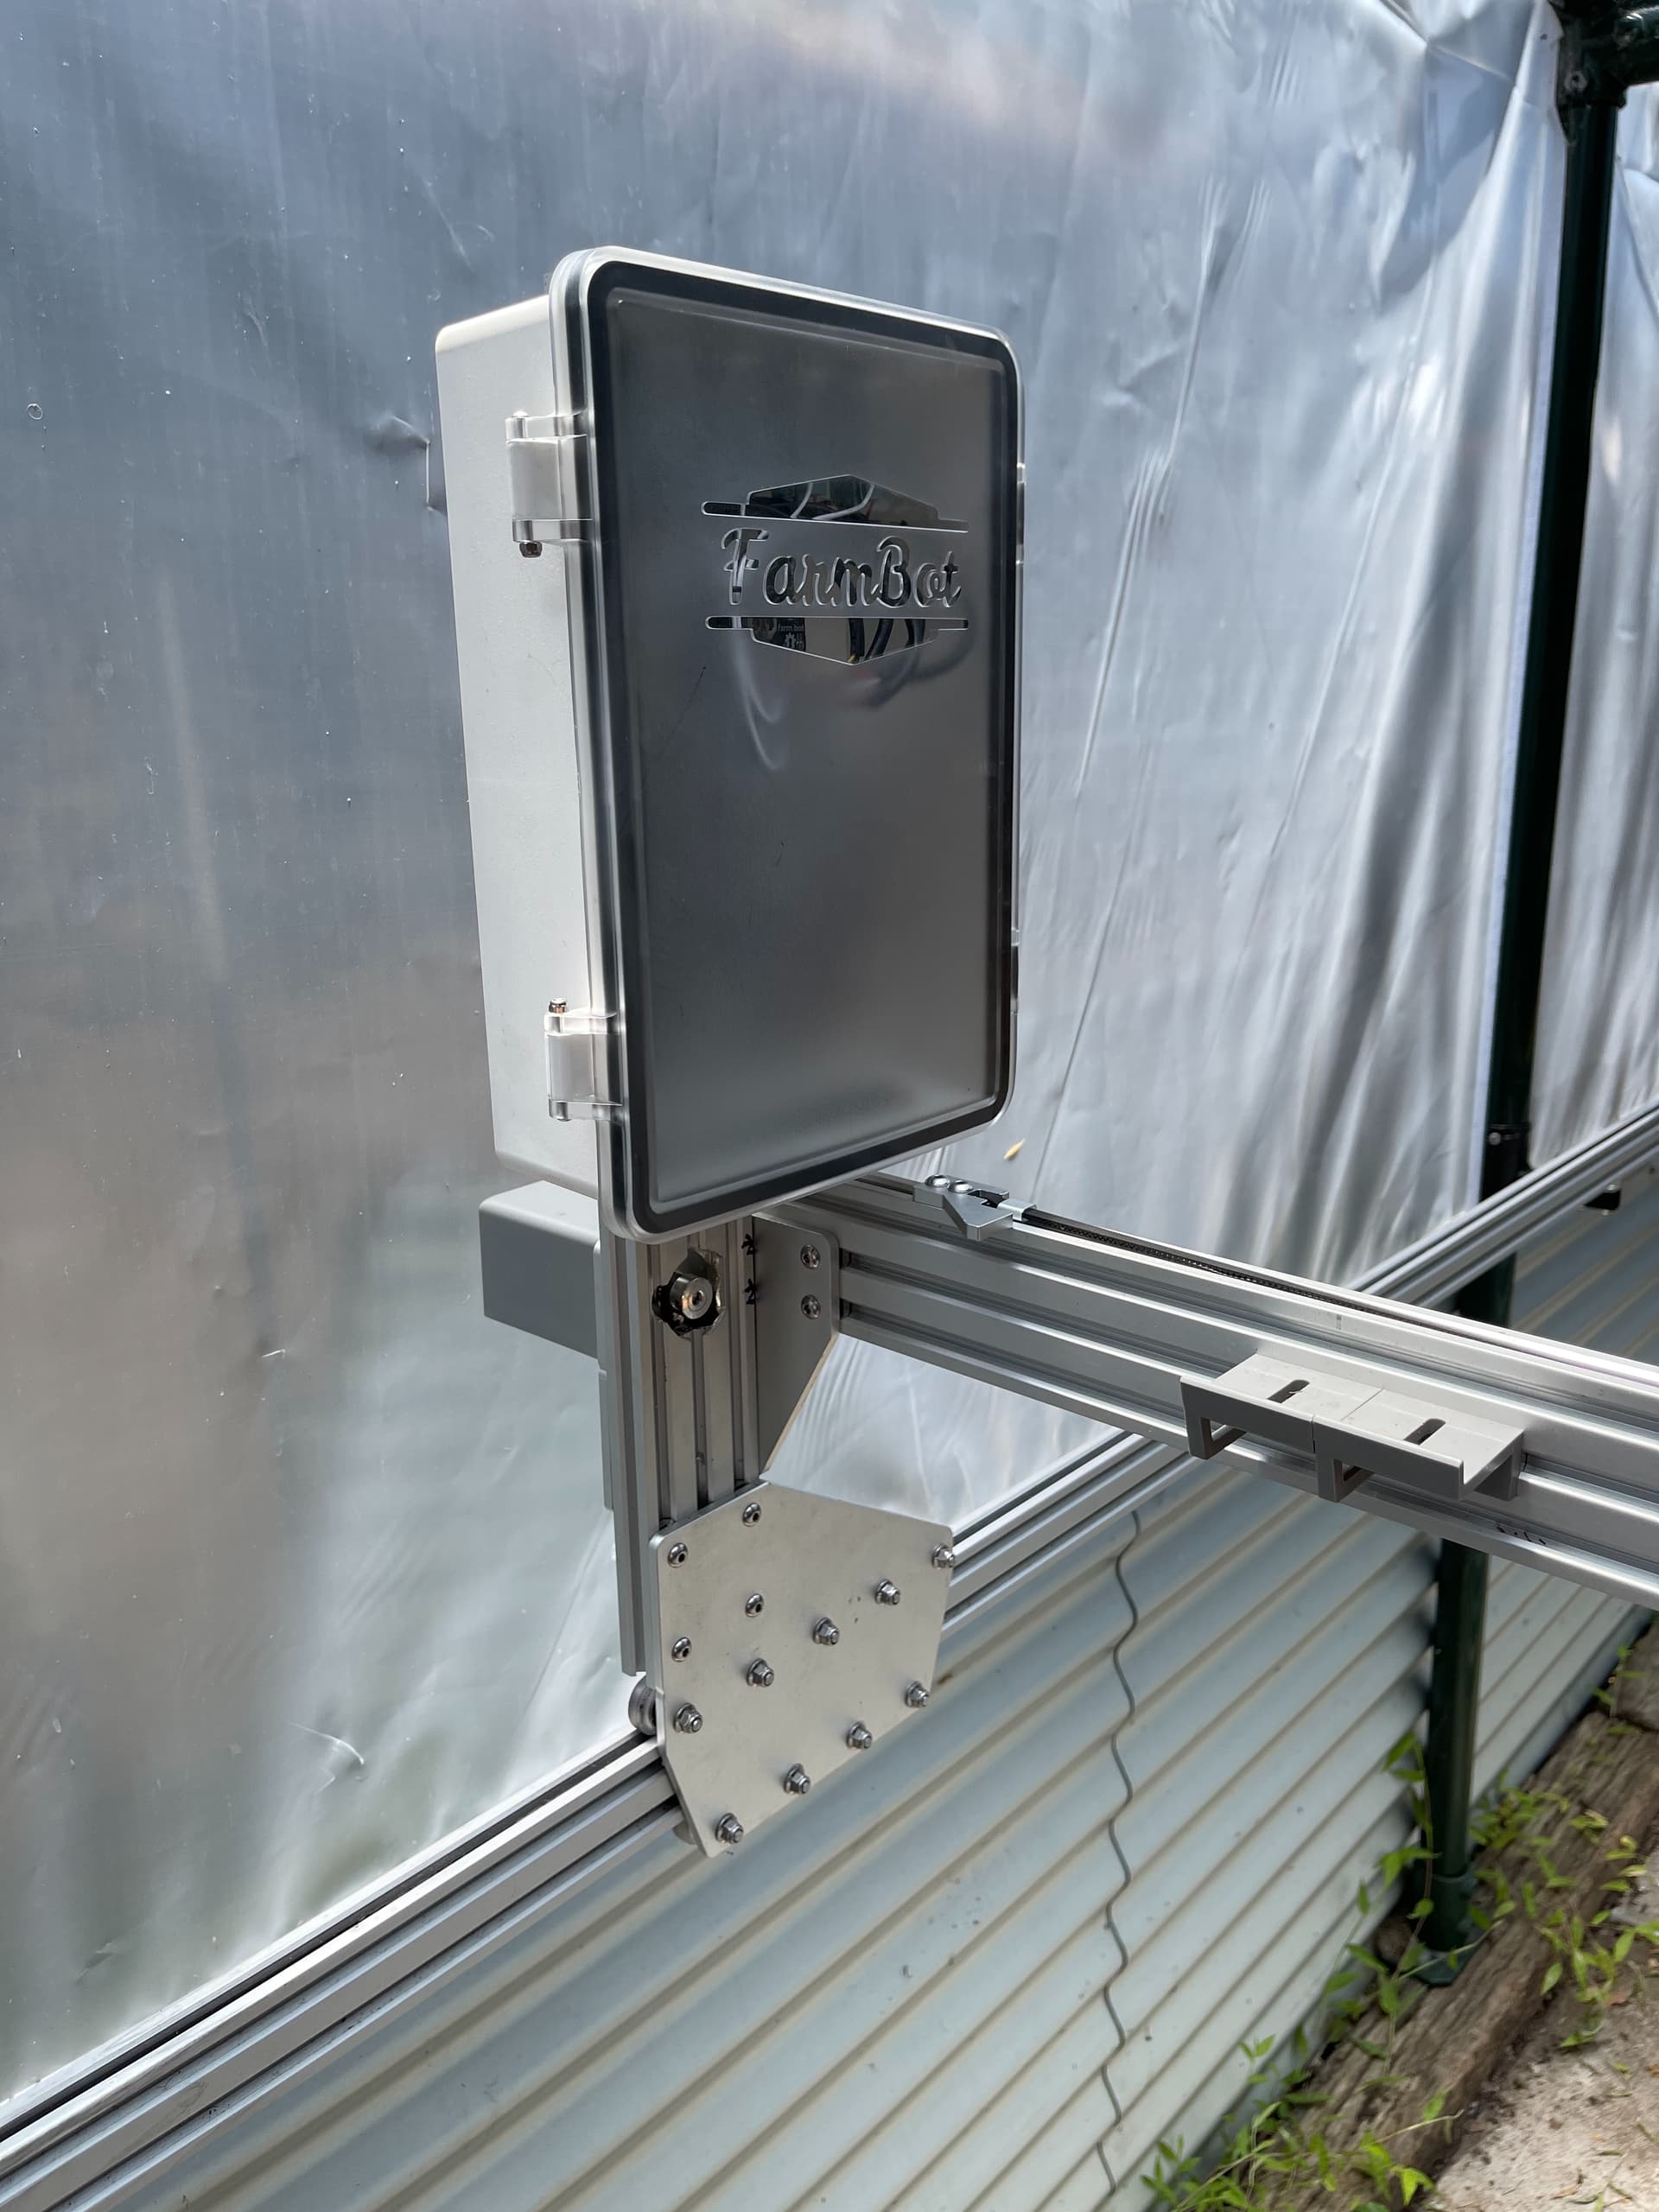
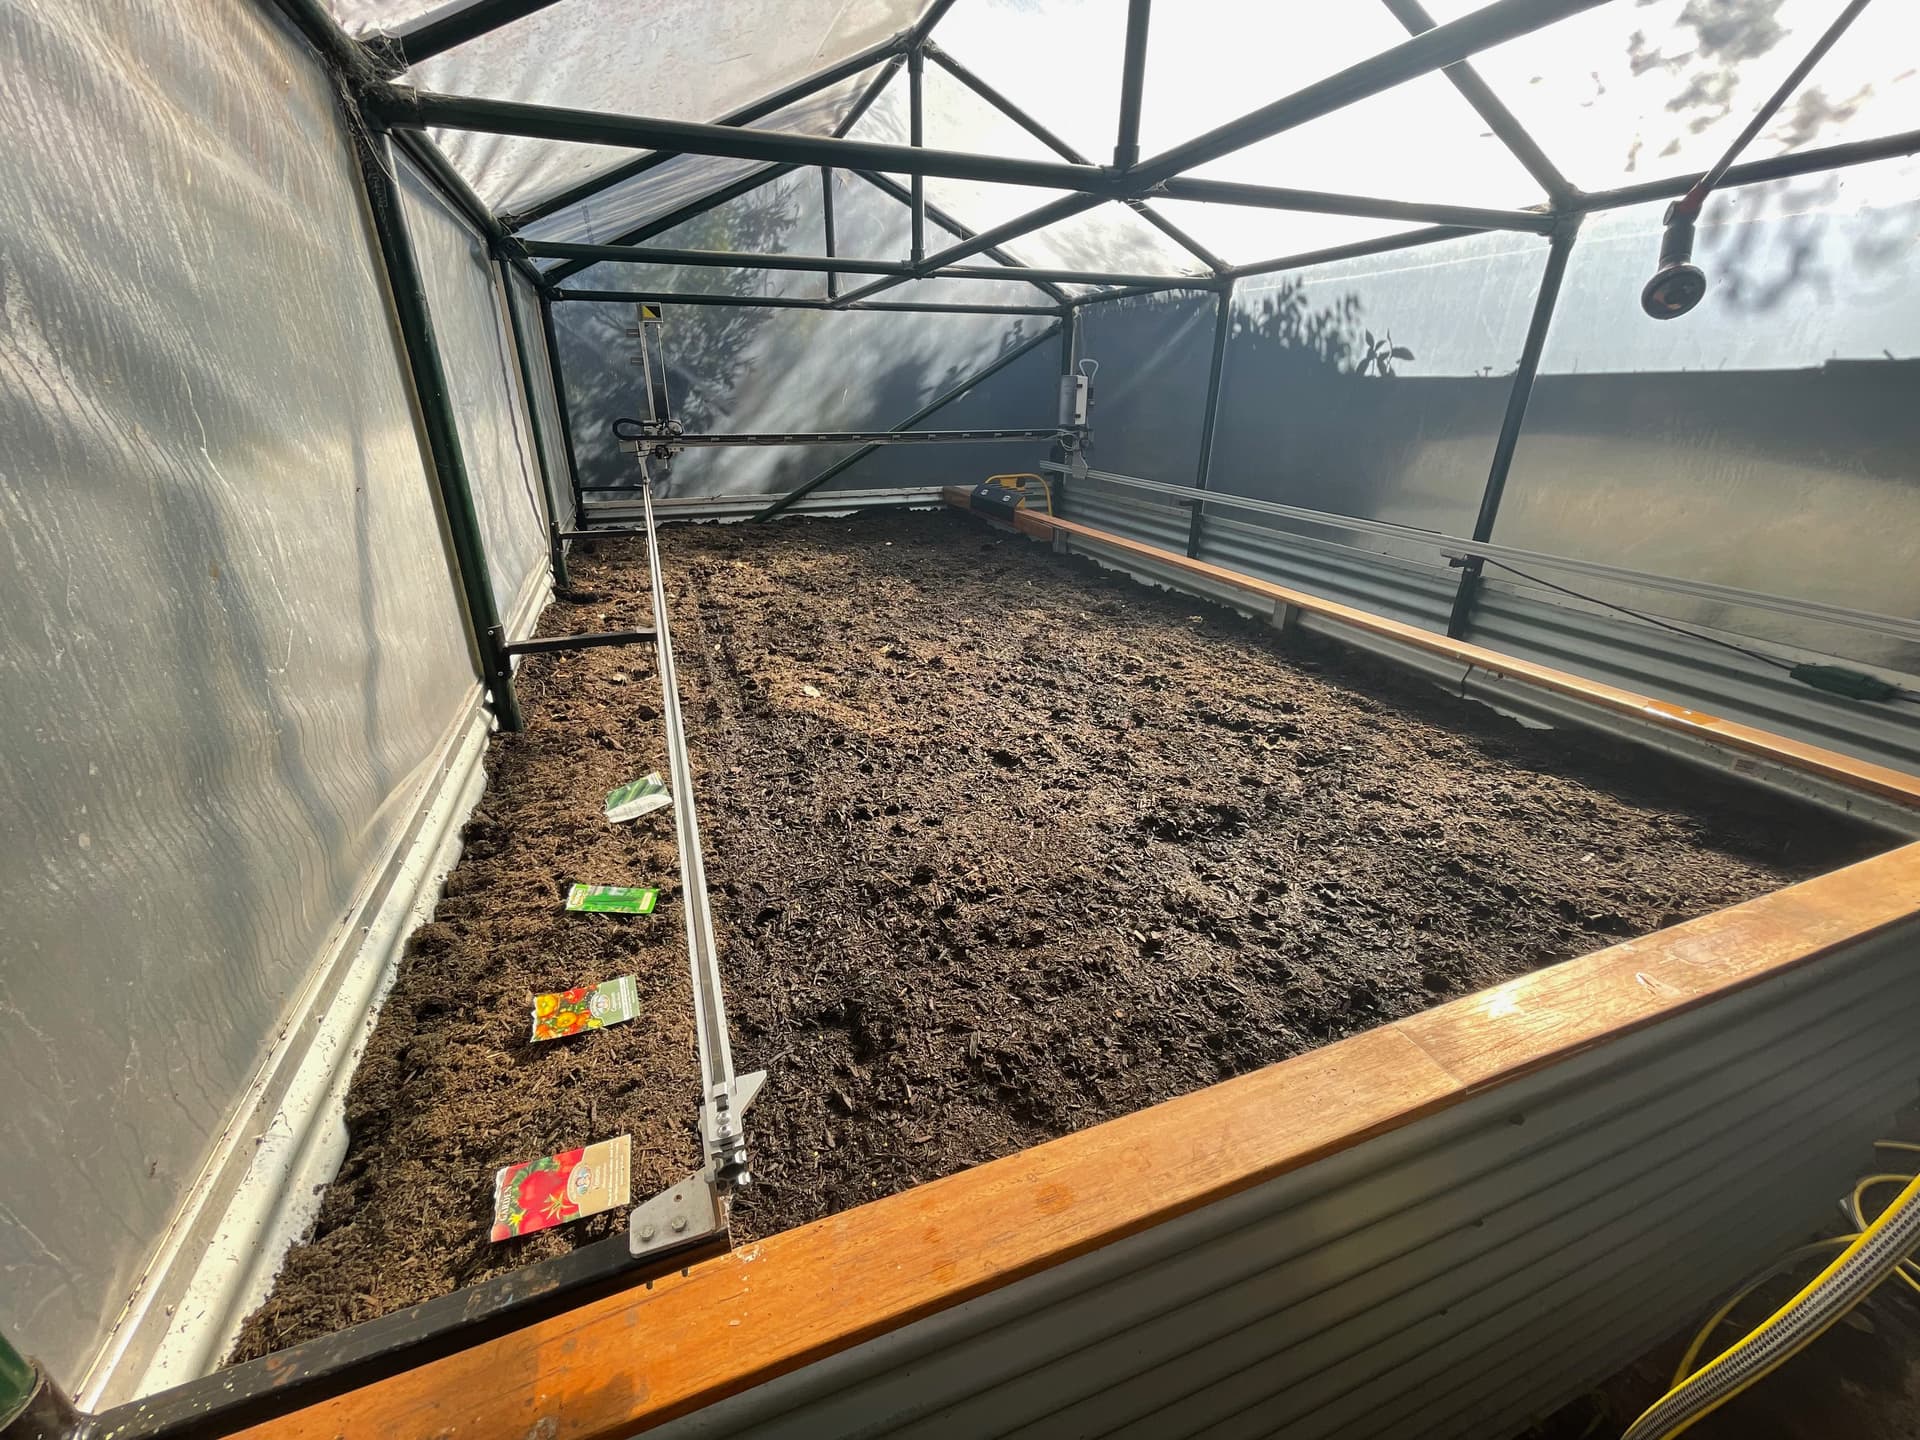
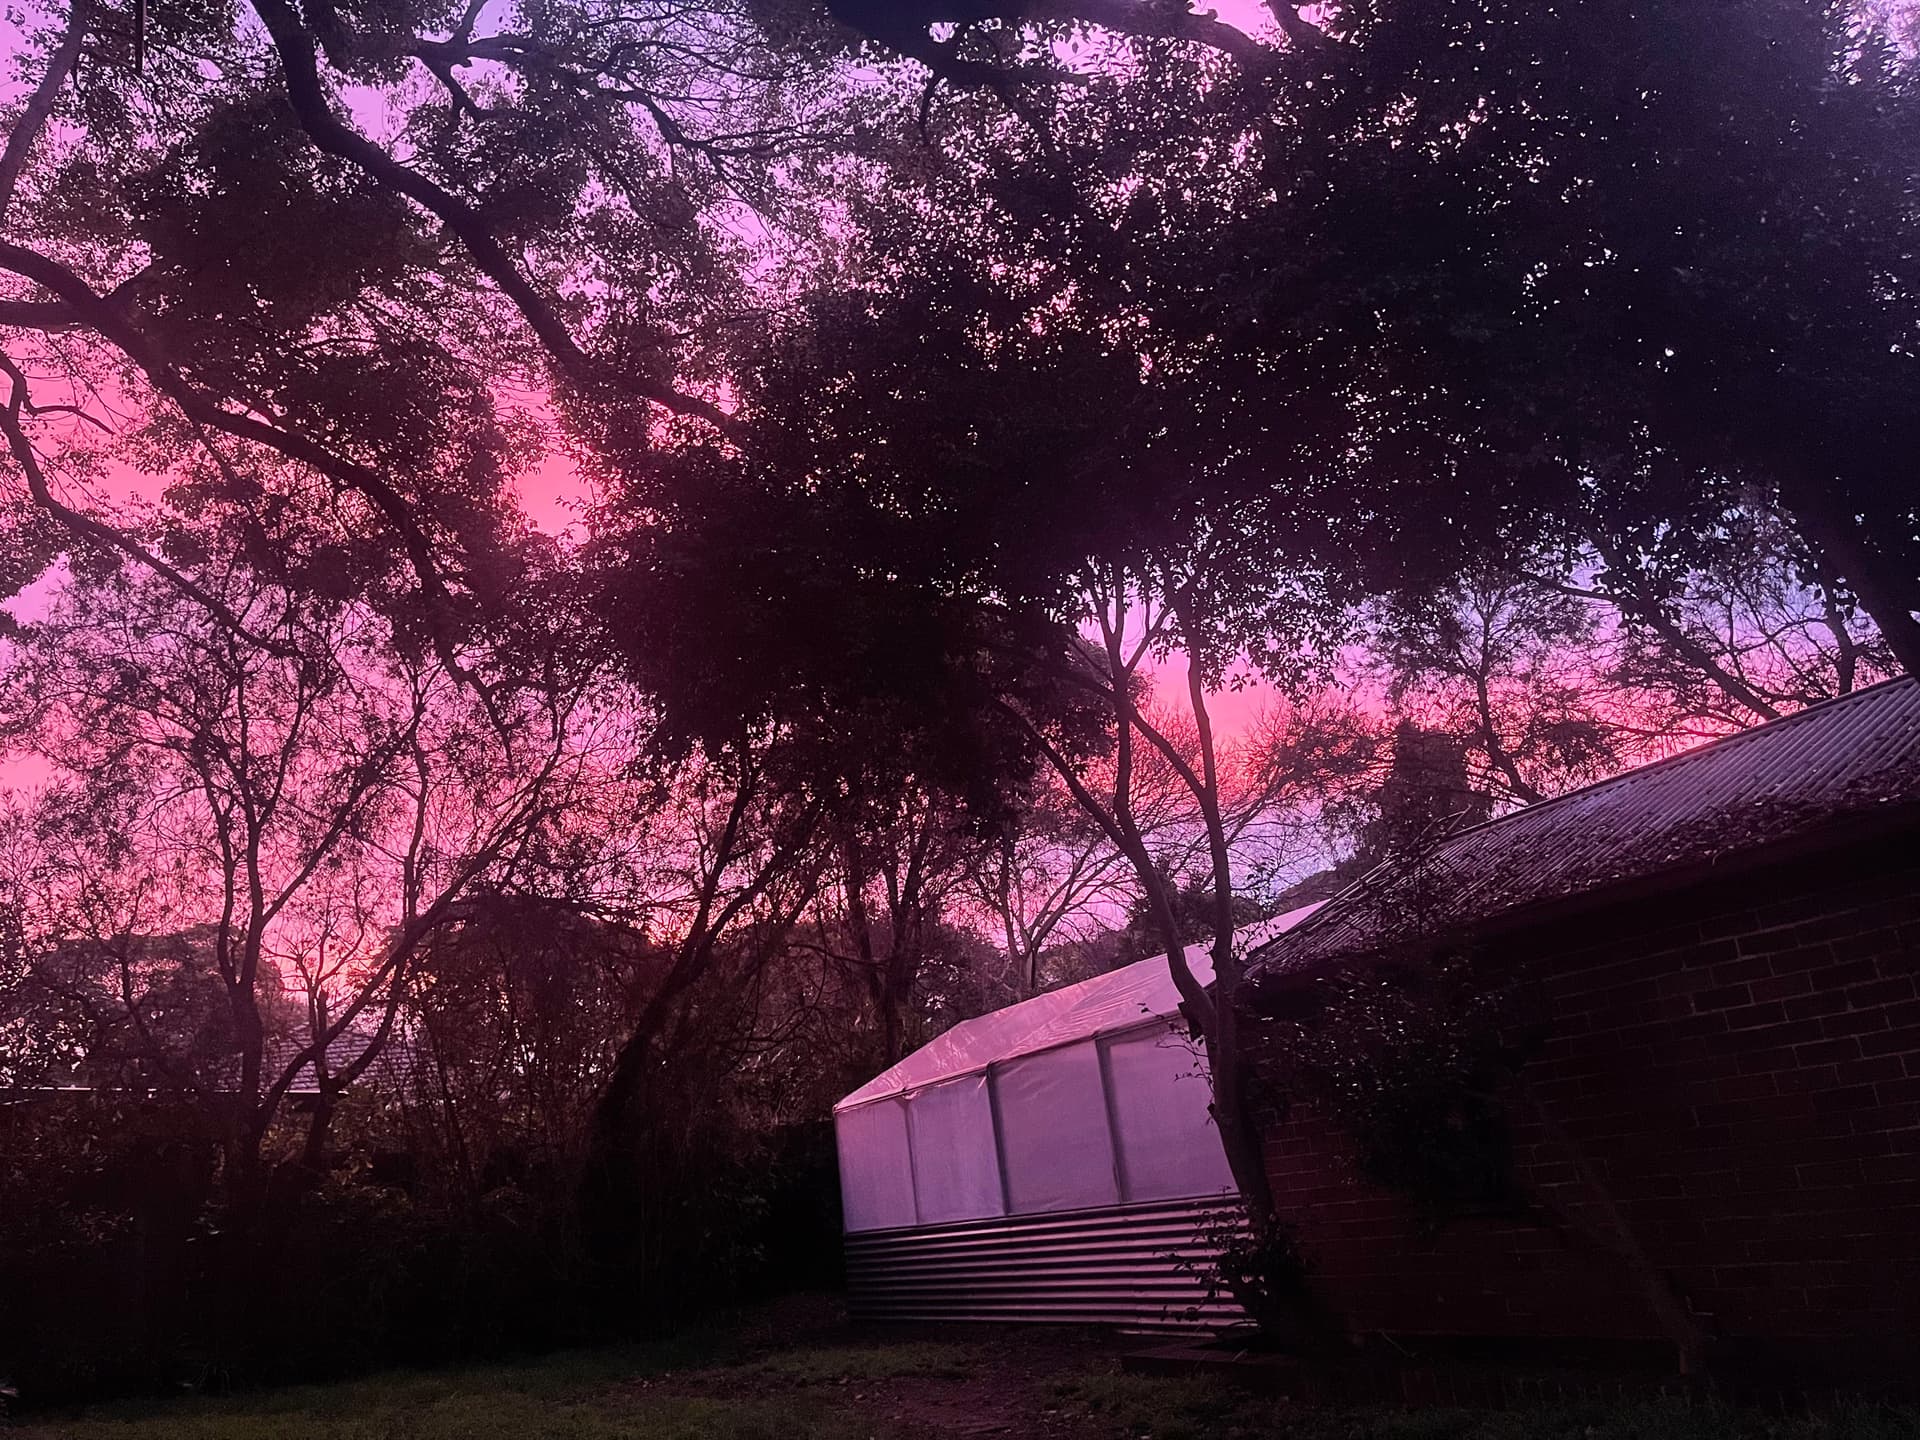
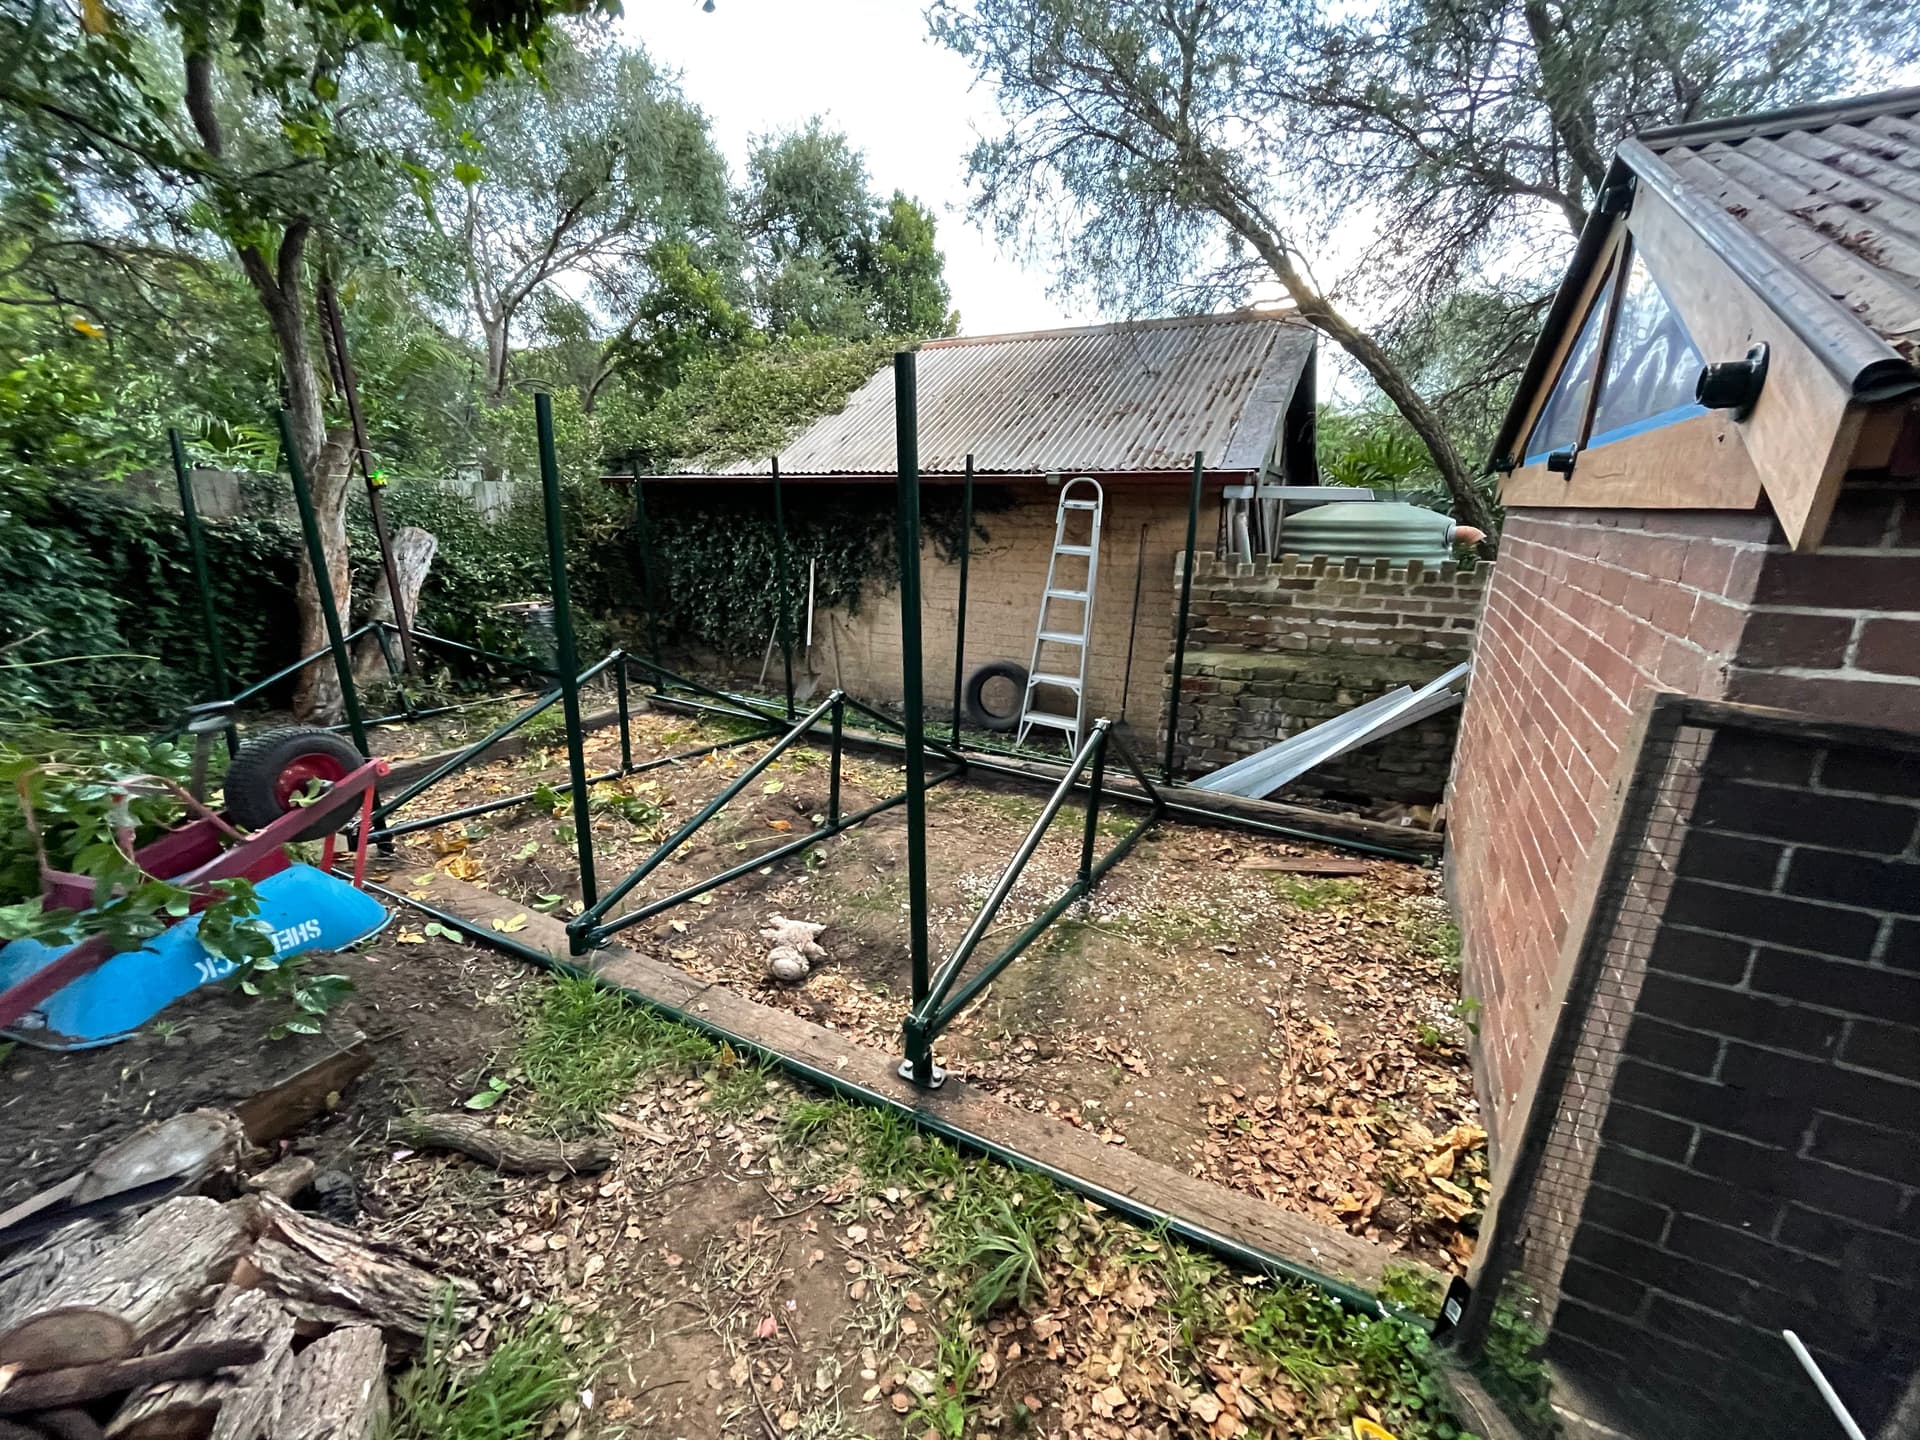
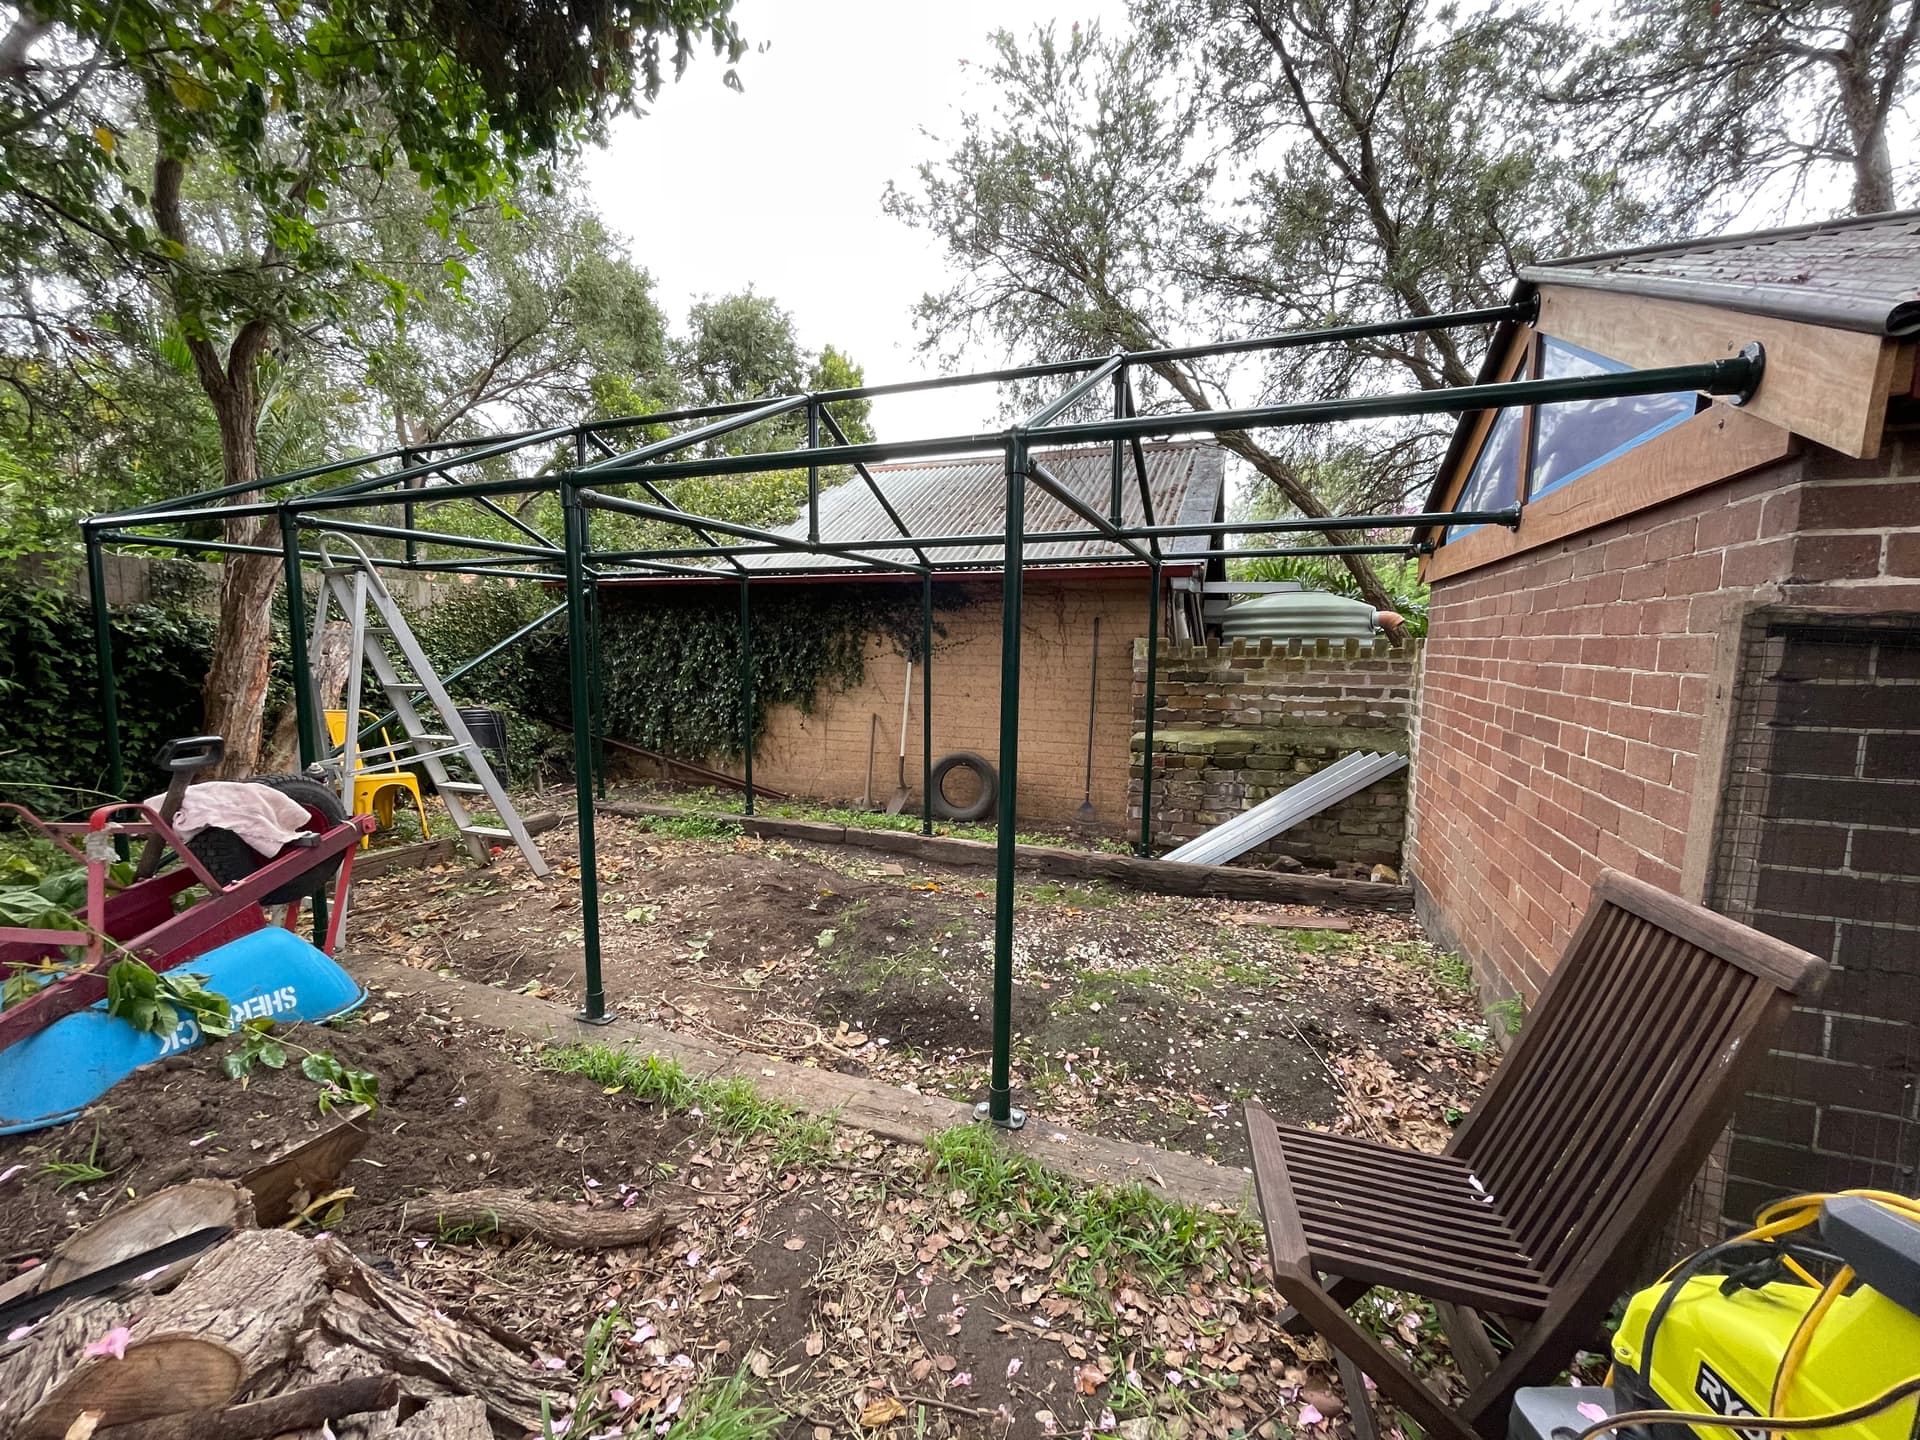
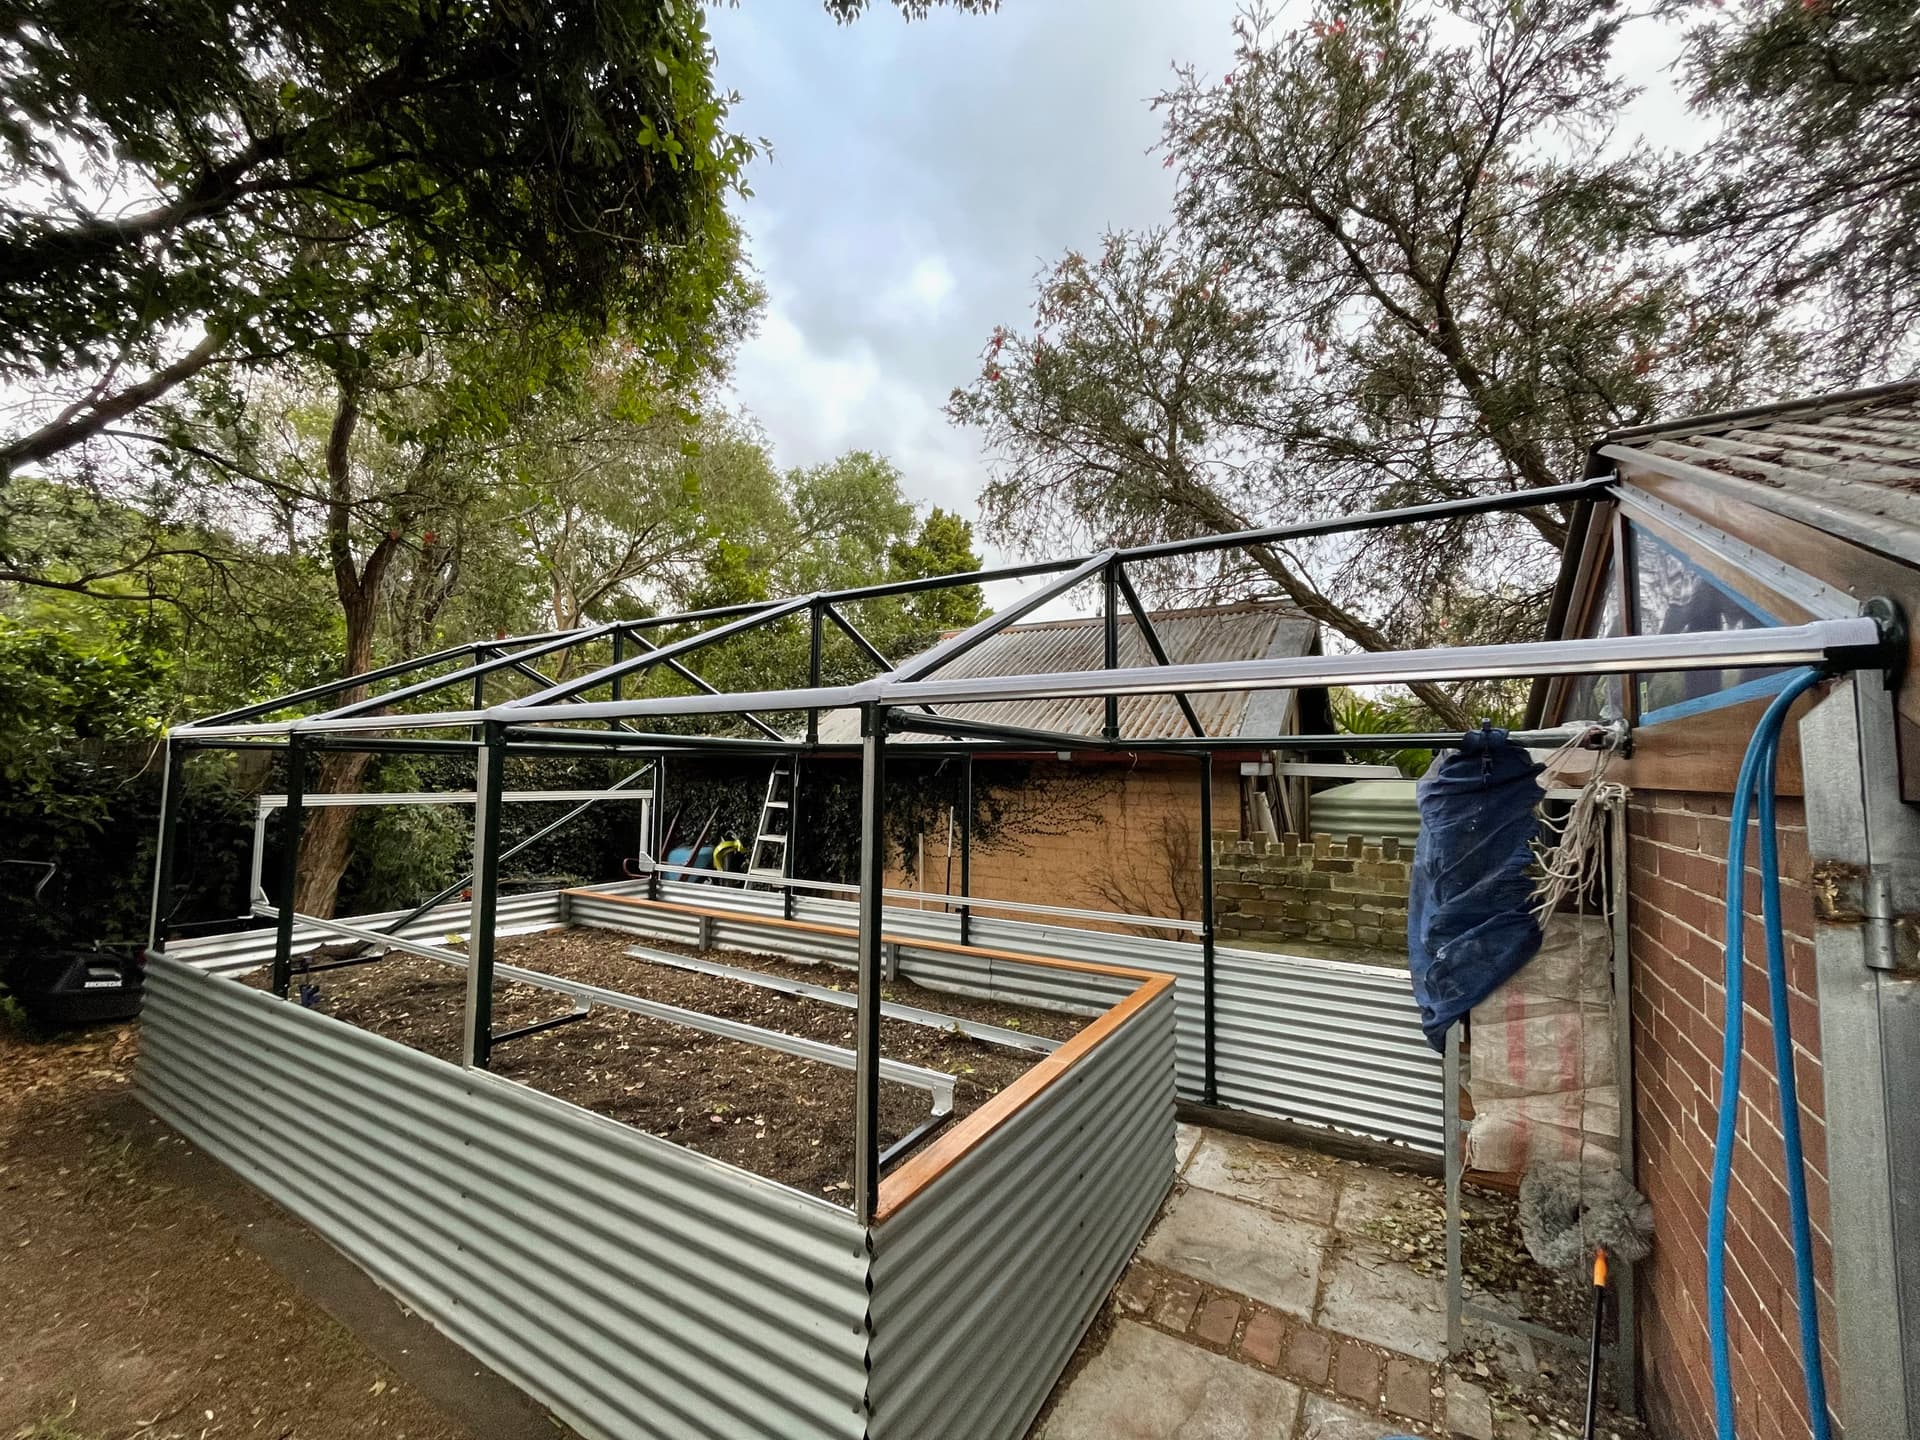
We have installed our Farmbot Genesis XL in a greenhouse. Since we could not reach the screws of the X-axis so well from the outside, we mounted some things the other way around.
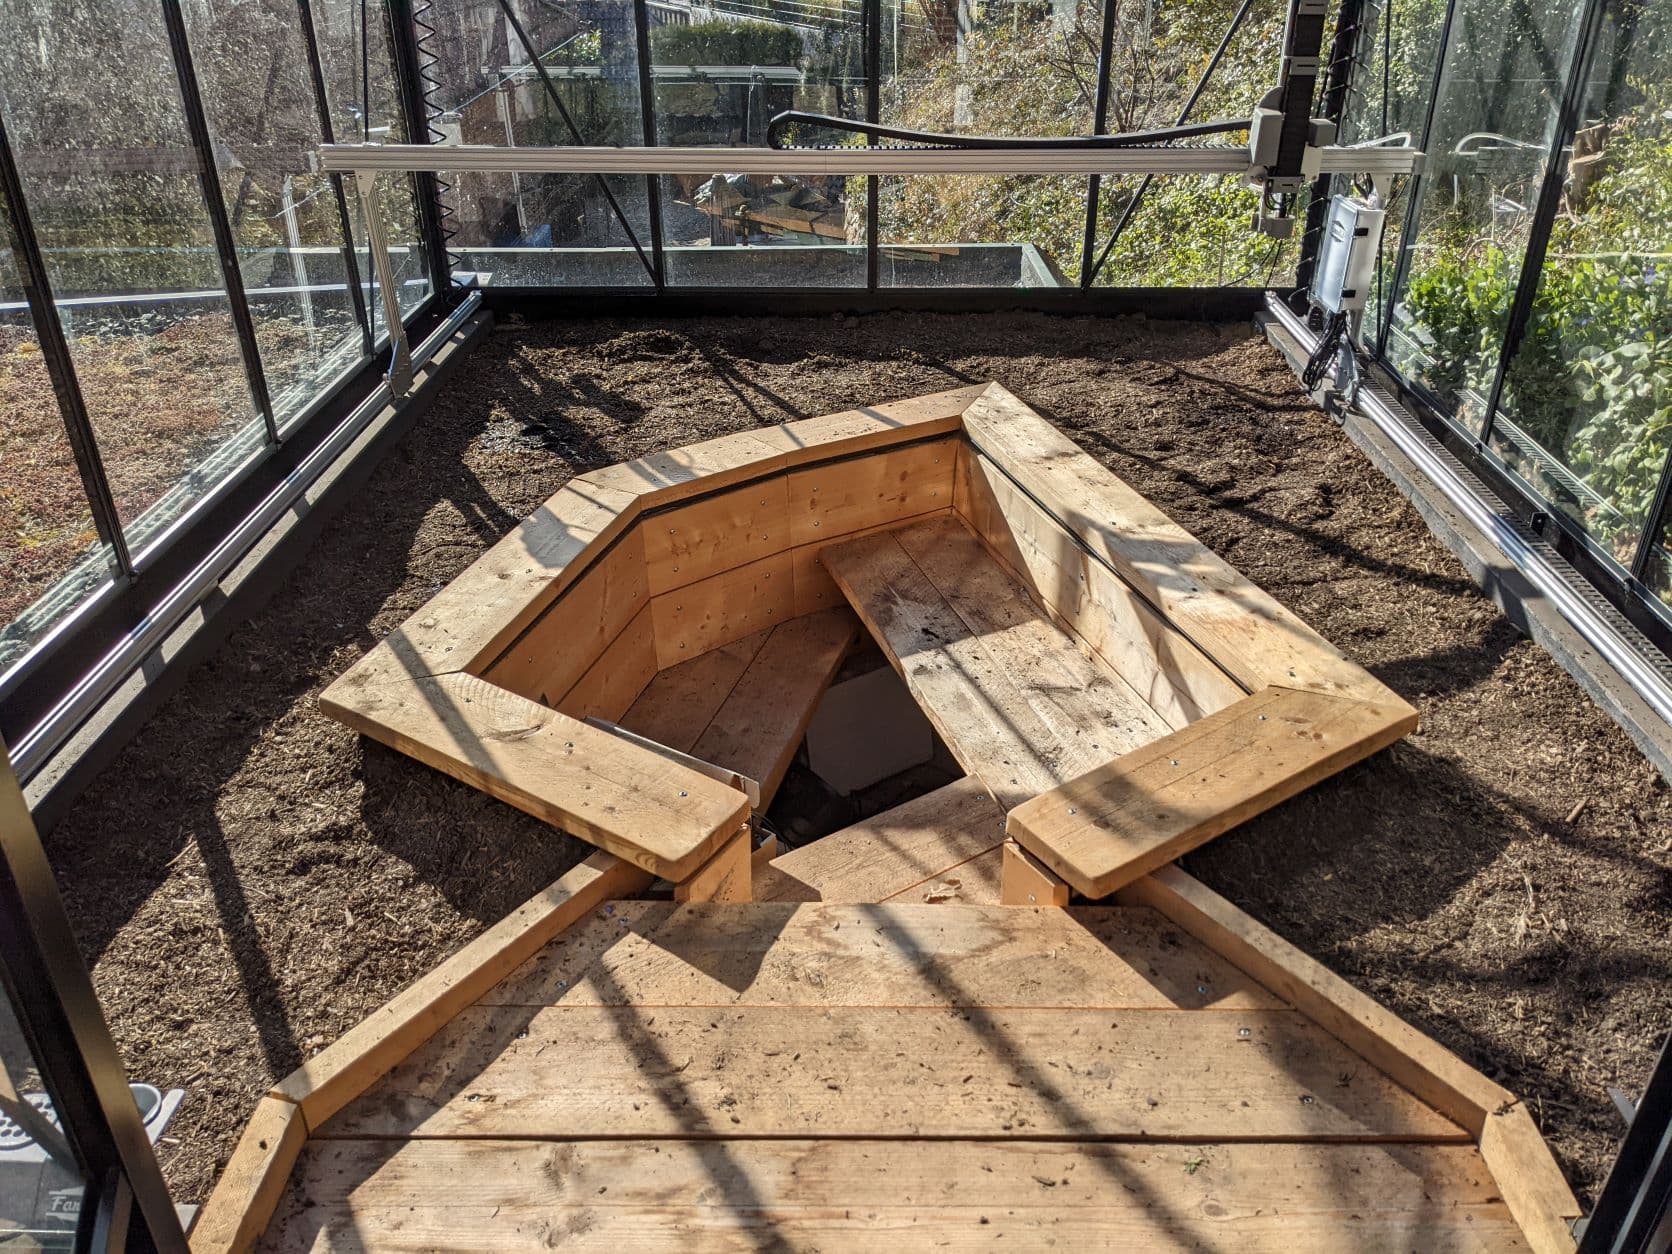
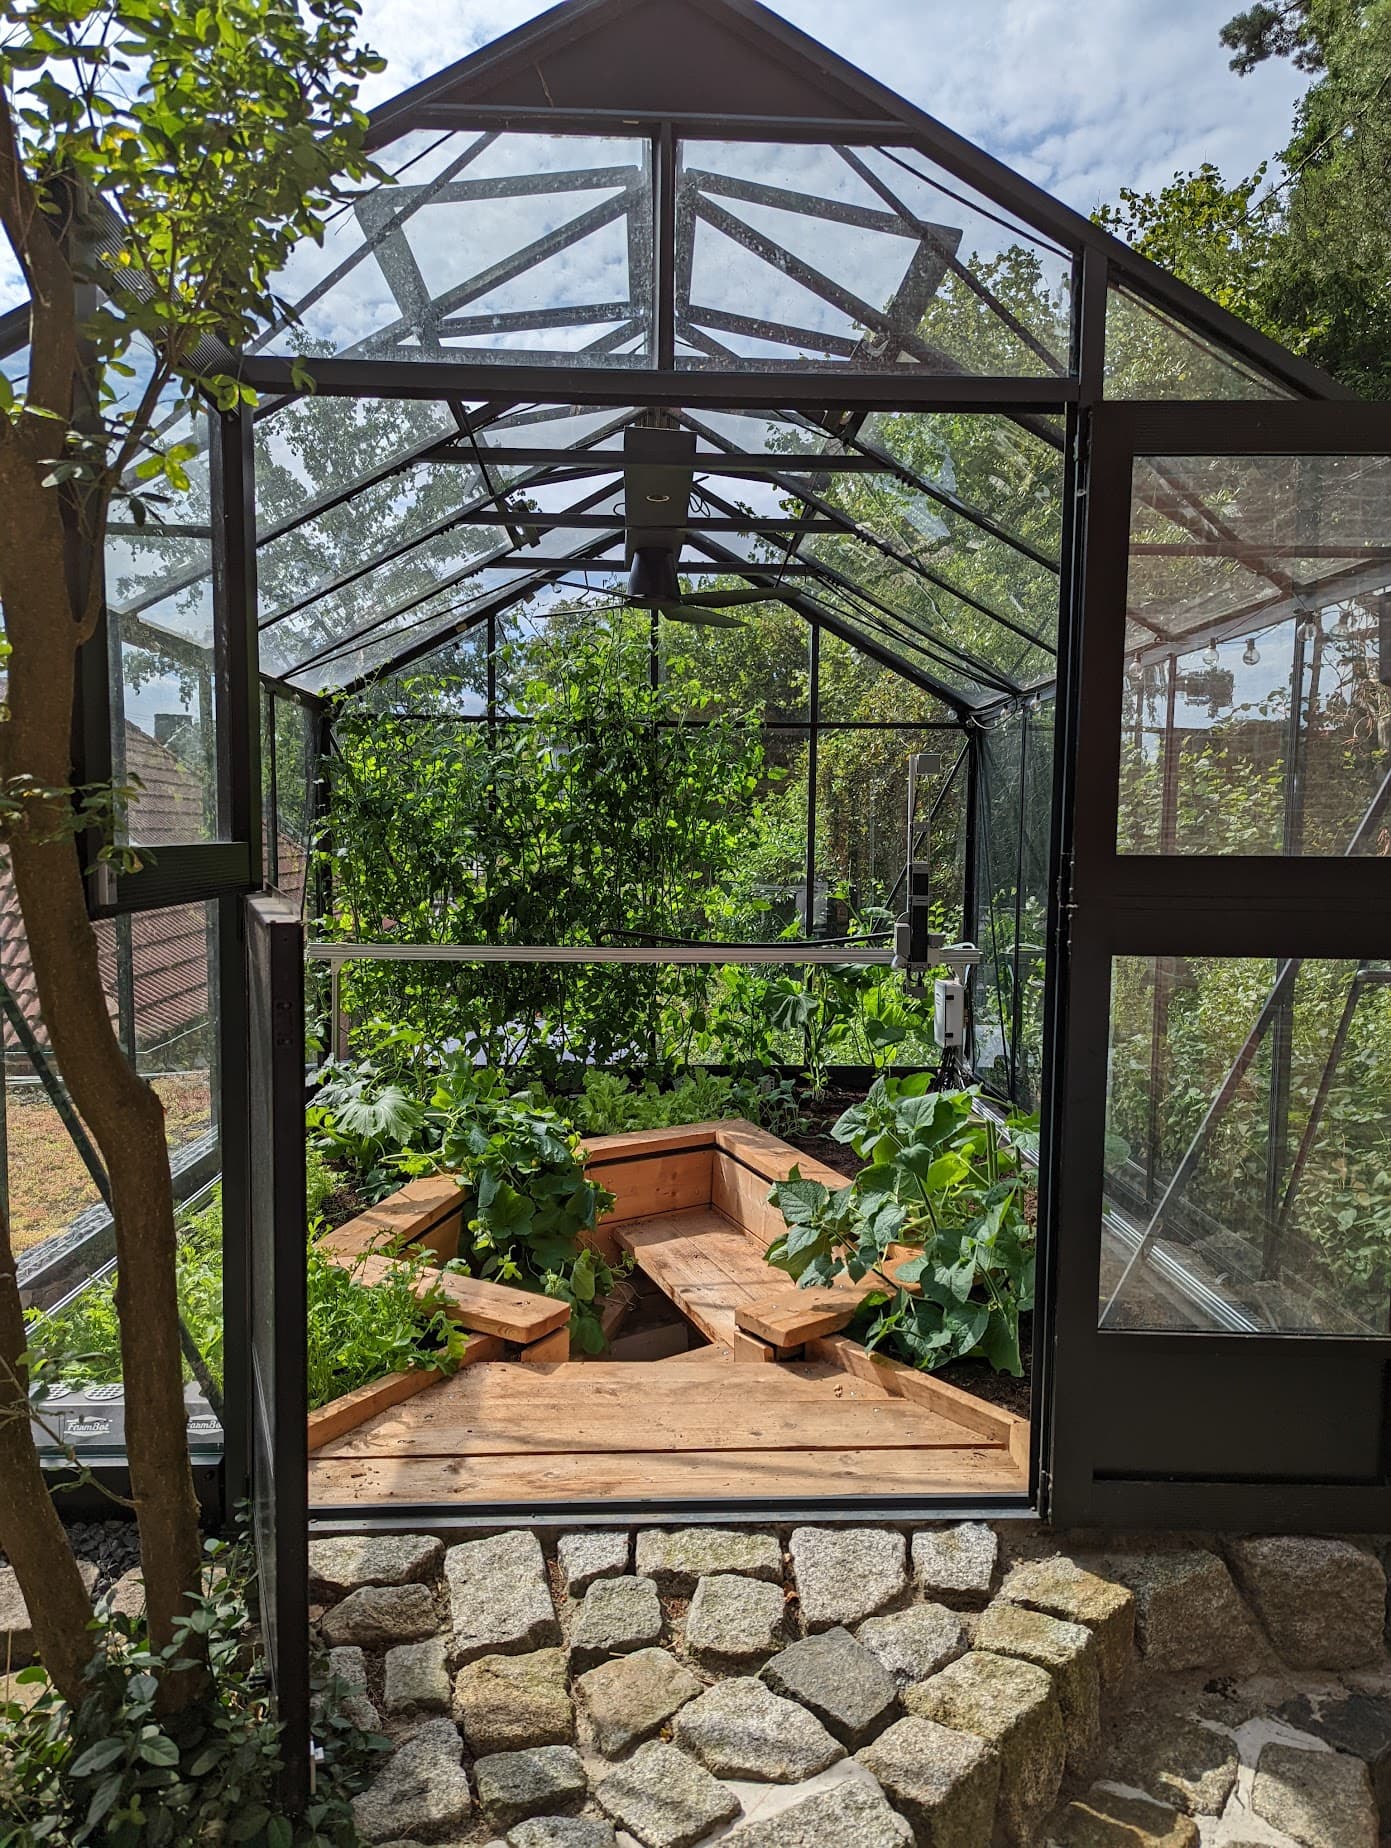
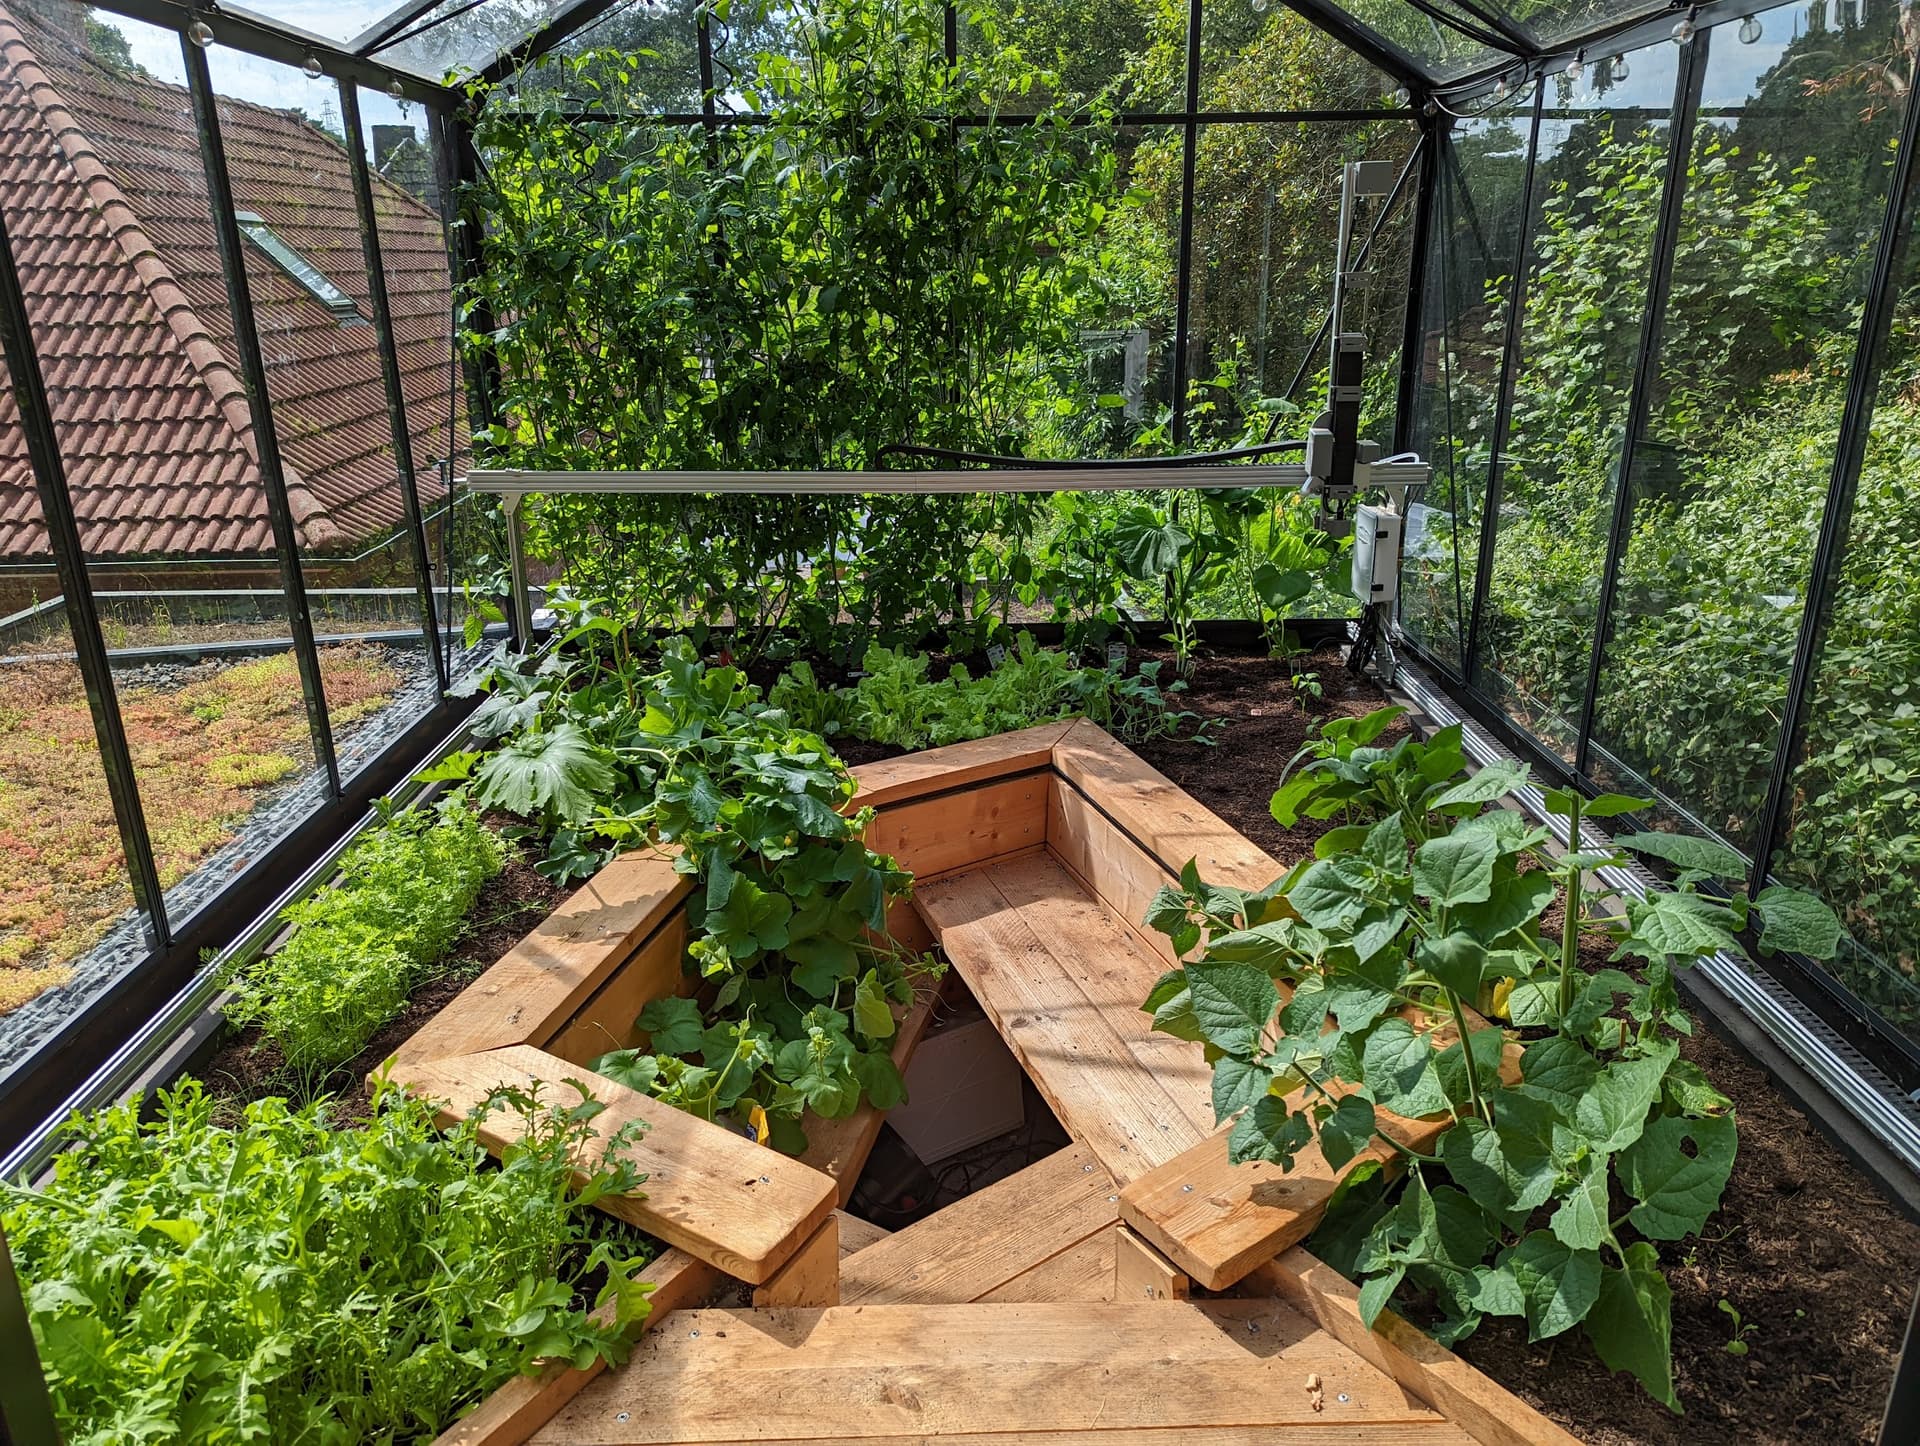
My wife also wanted to sit and “chill” in the Greenhouse, so we added wooden benches and installed them below the ground level so the farm bot could drive over them.
Construction phase:

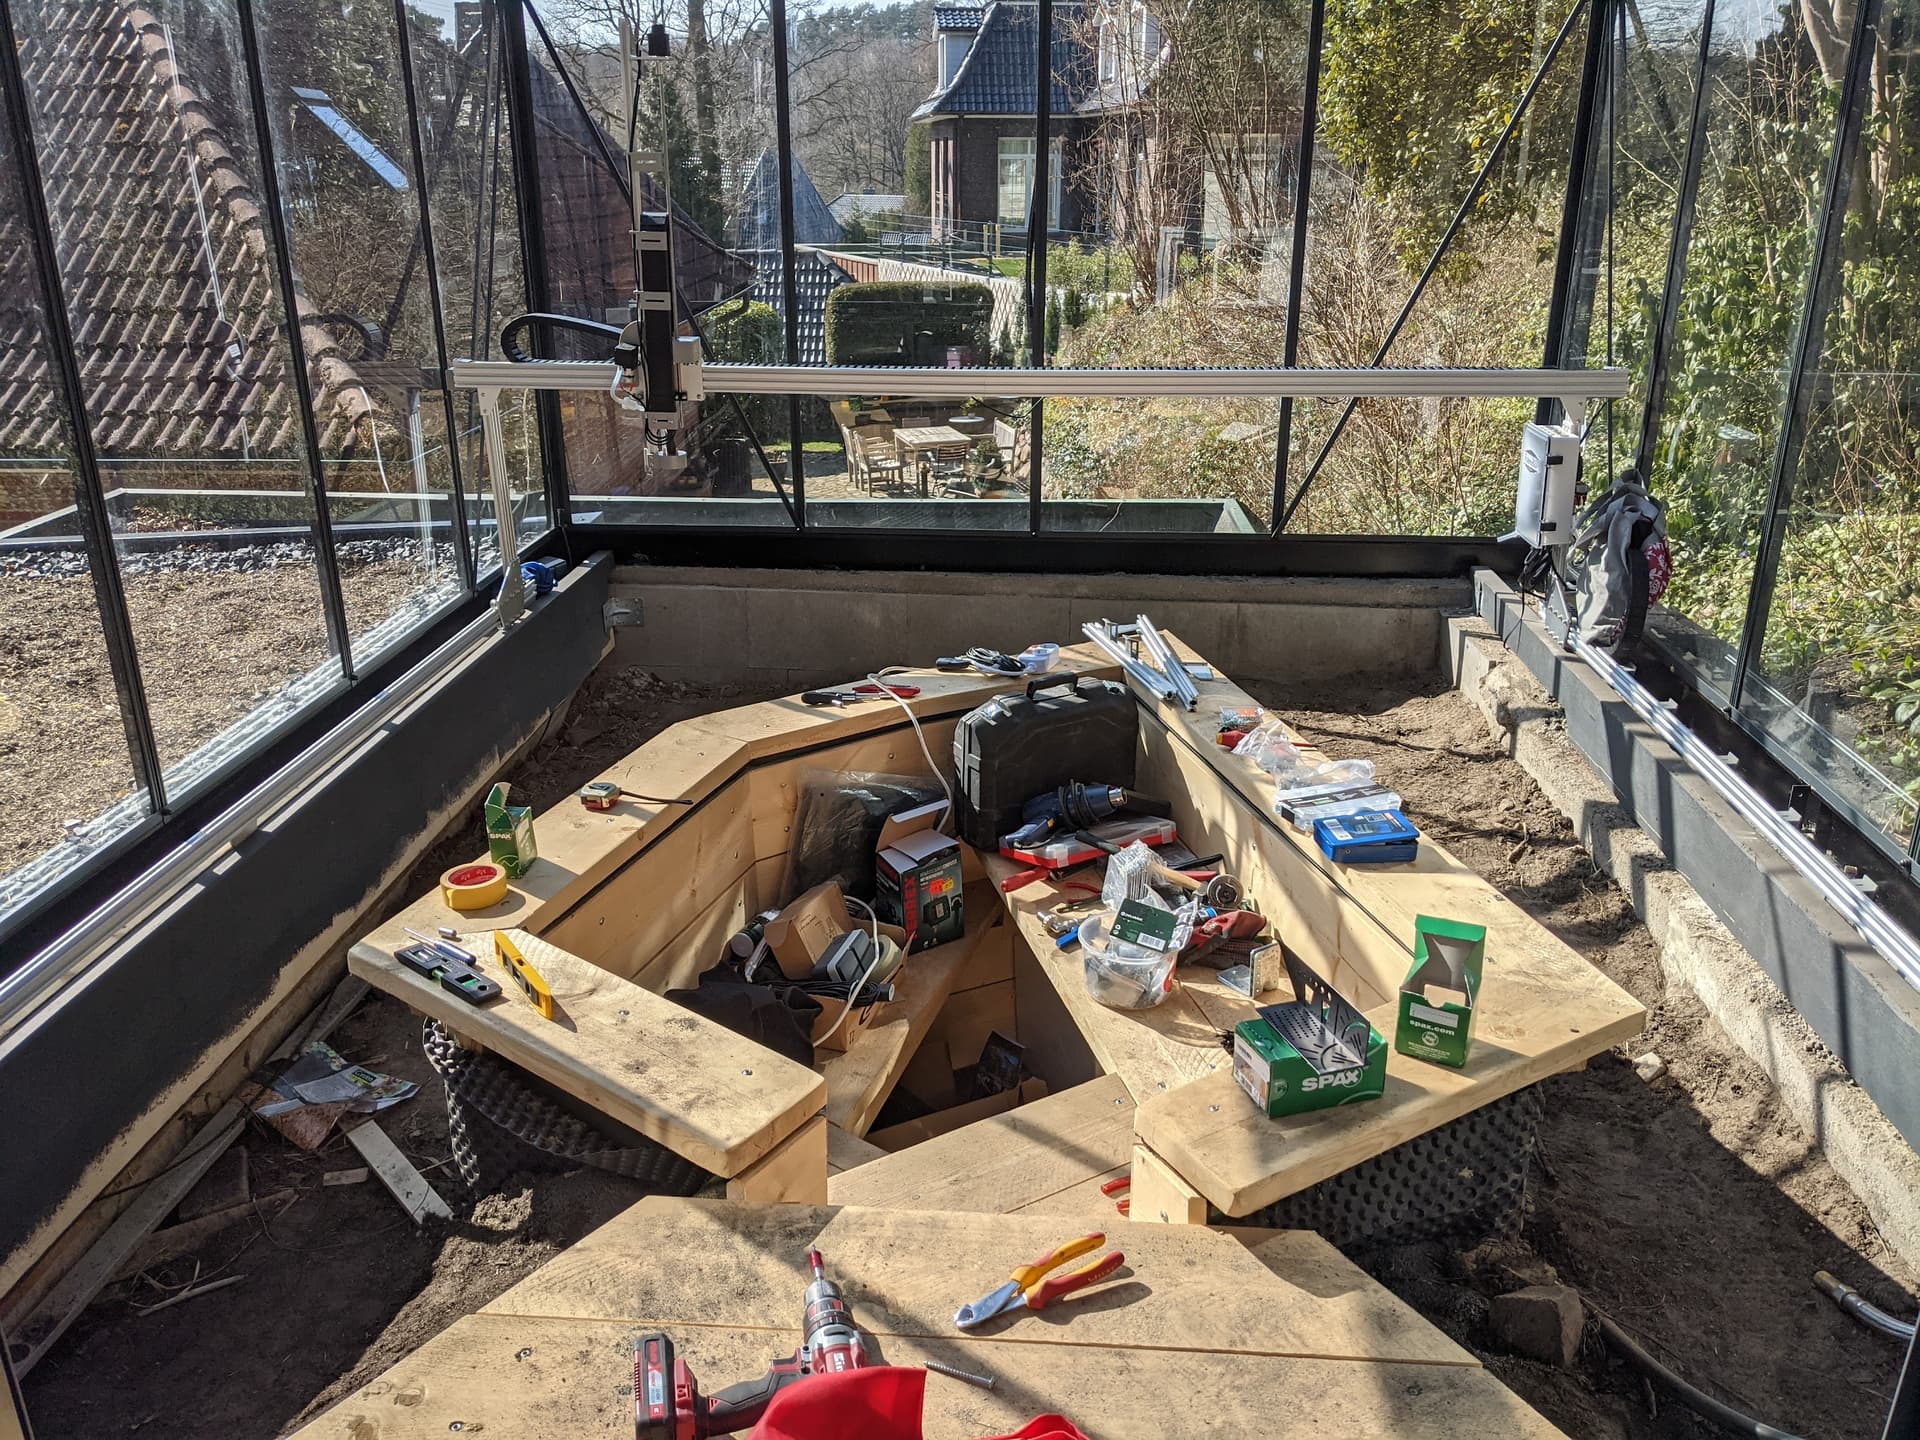
Contruction ready:
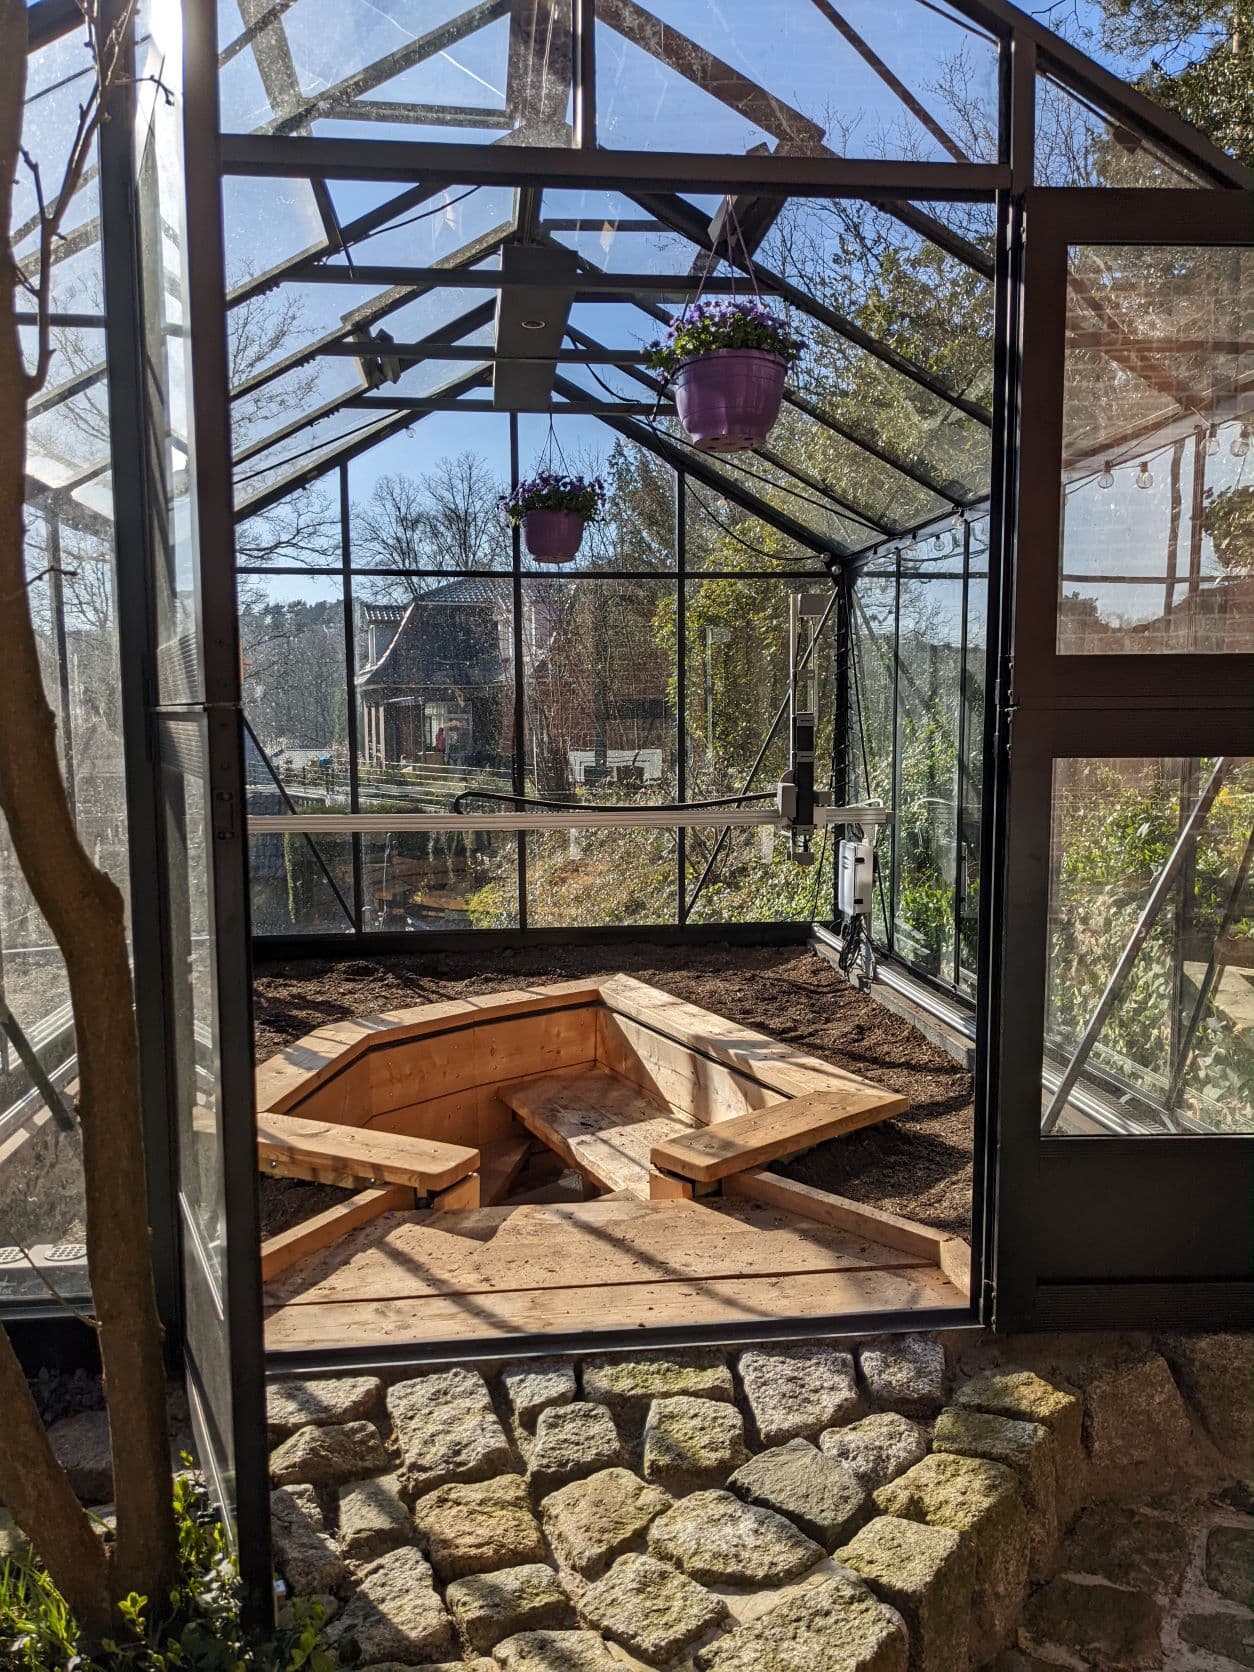

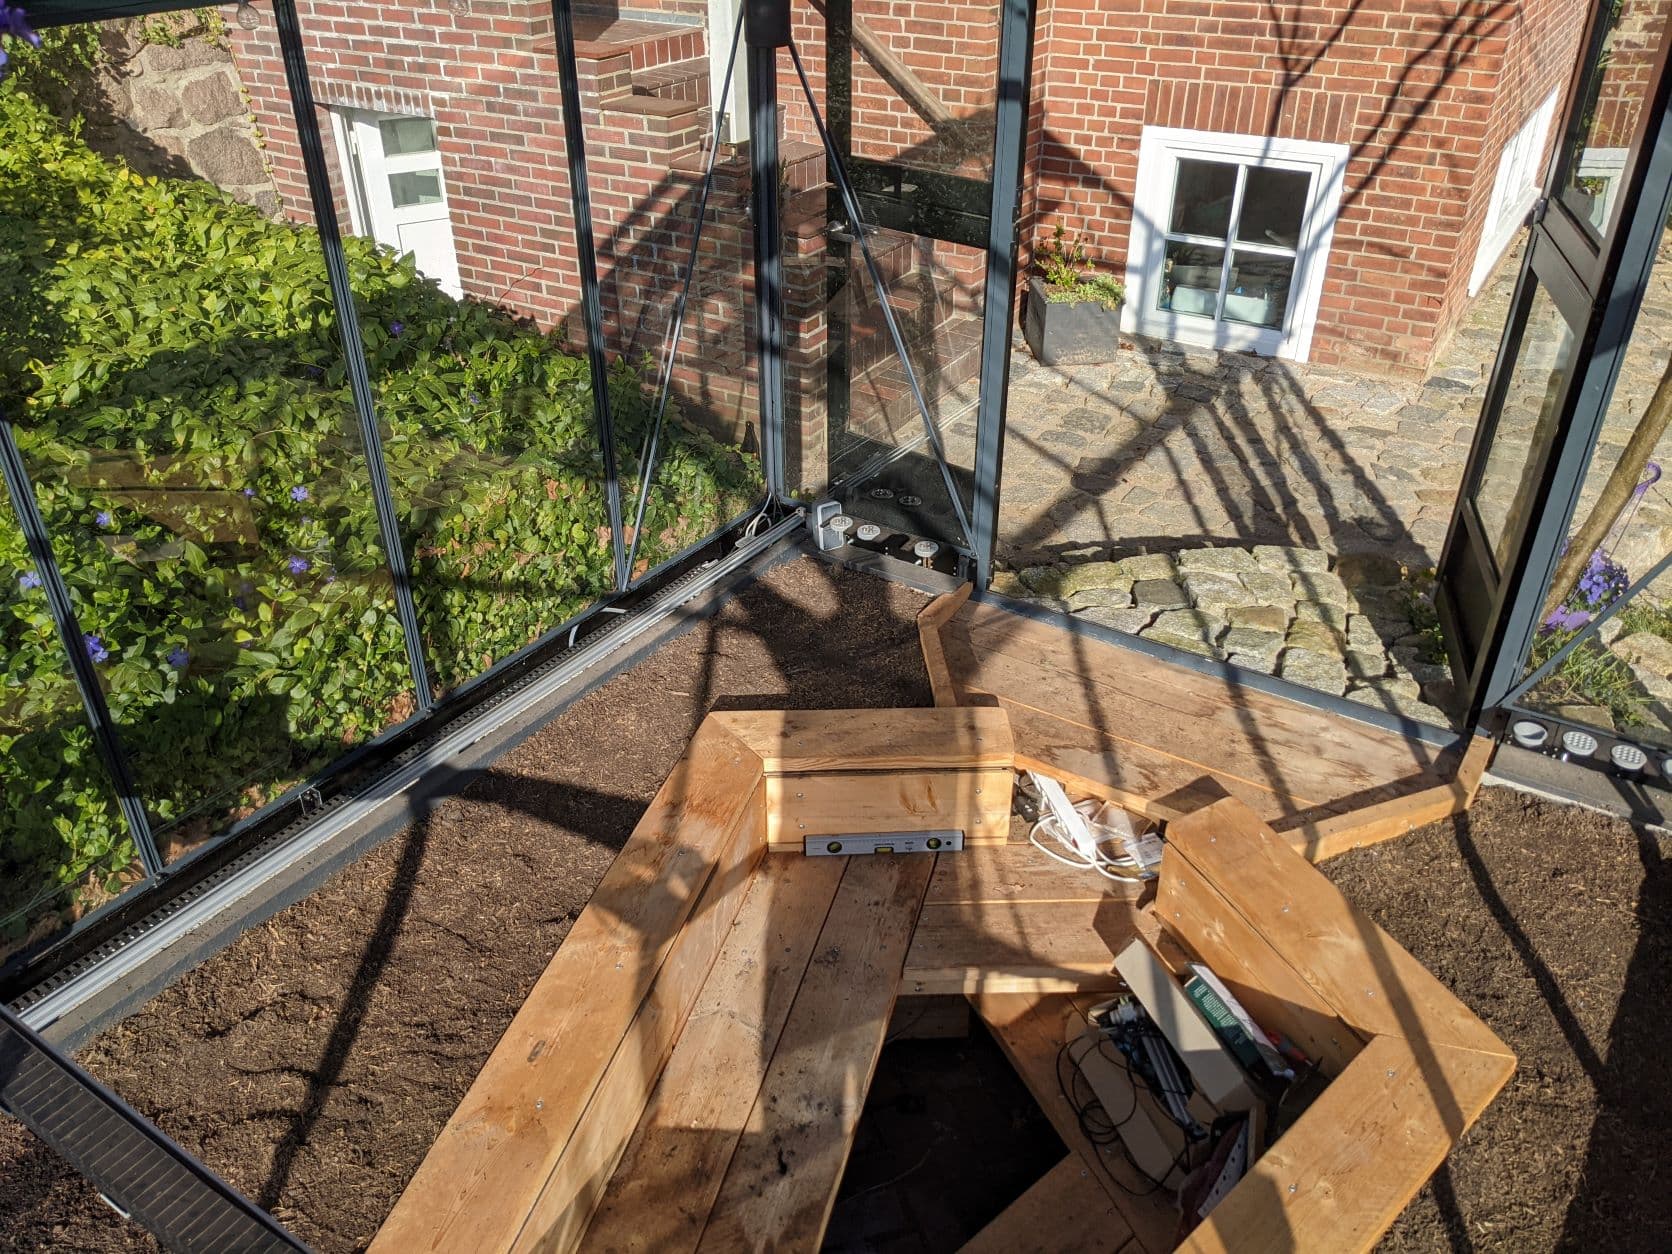
On the ceiling I have an 8k camera, a fan and motorized window openings, so that when it’s too warm, the windows open automatically and the fan sucks out the warm air.
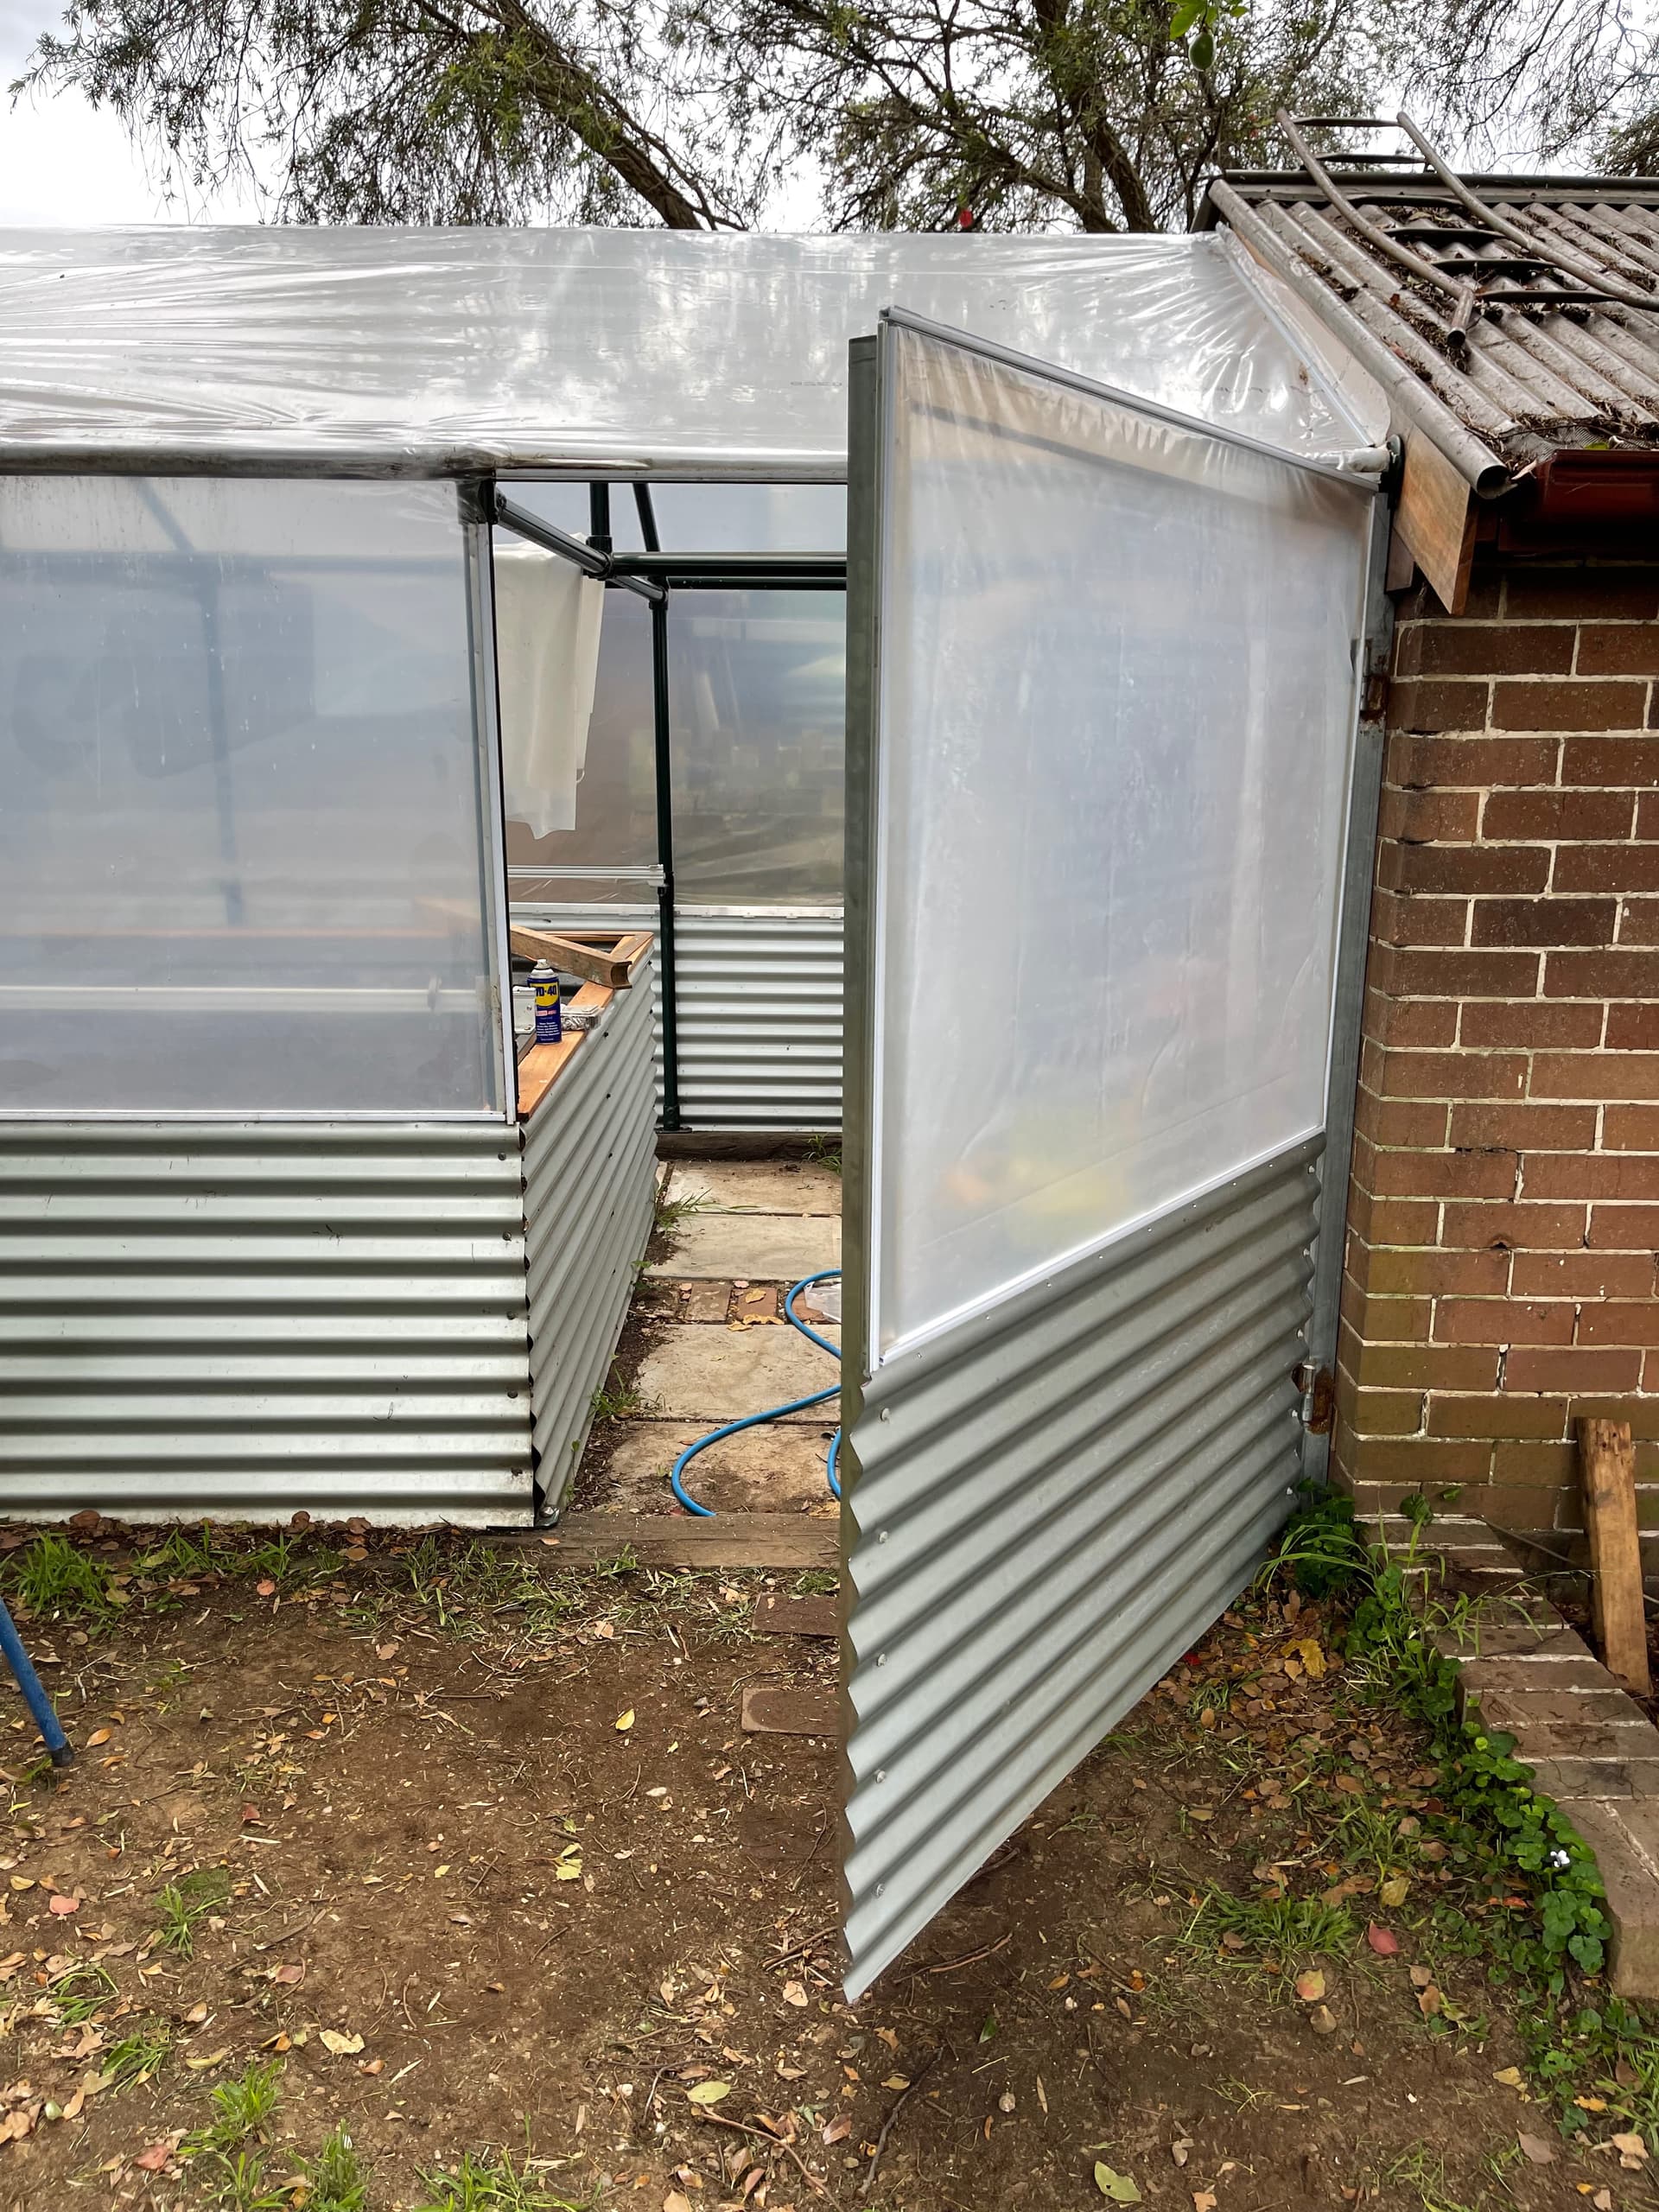
A few months later it now looks like this…
11 Likes
Wow, very impressive!!
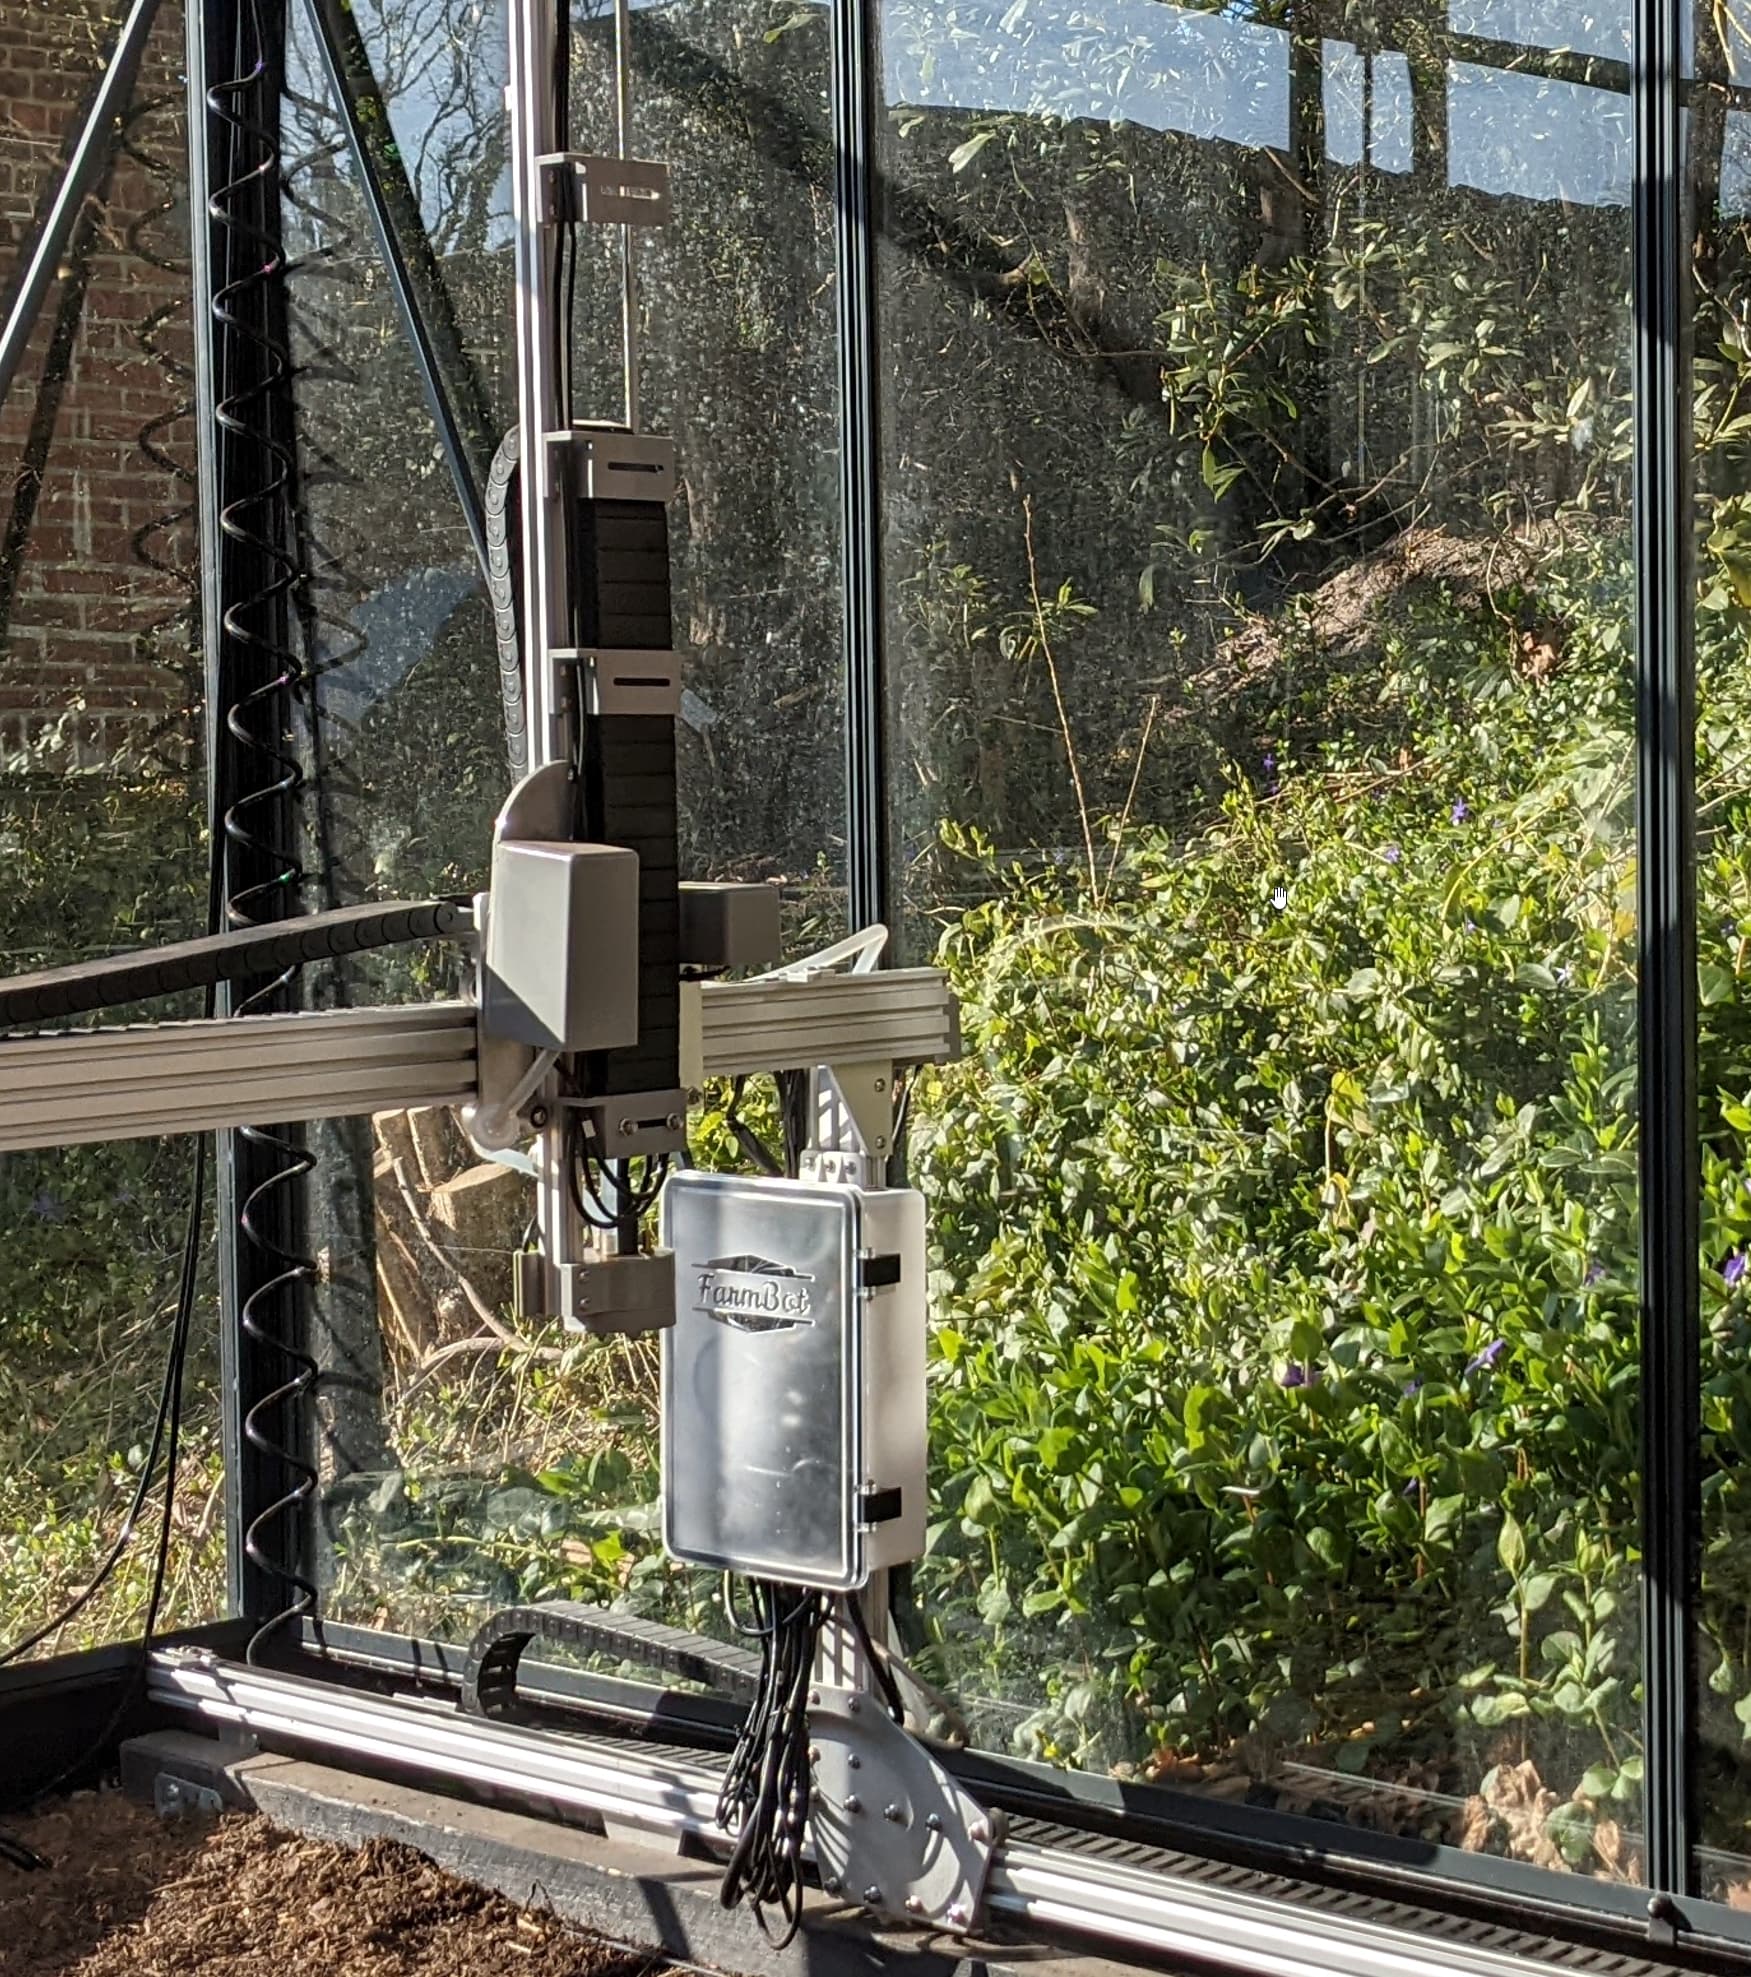
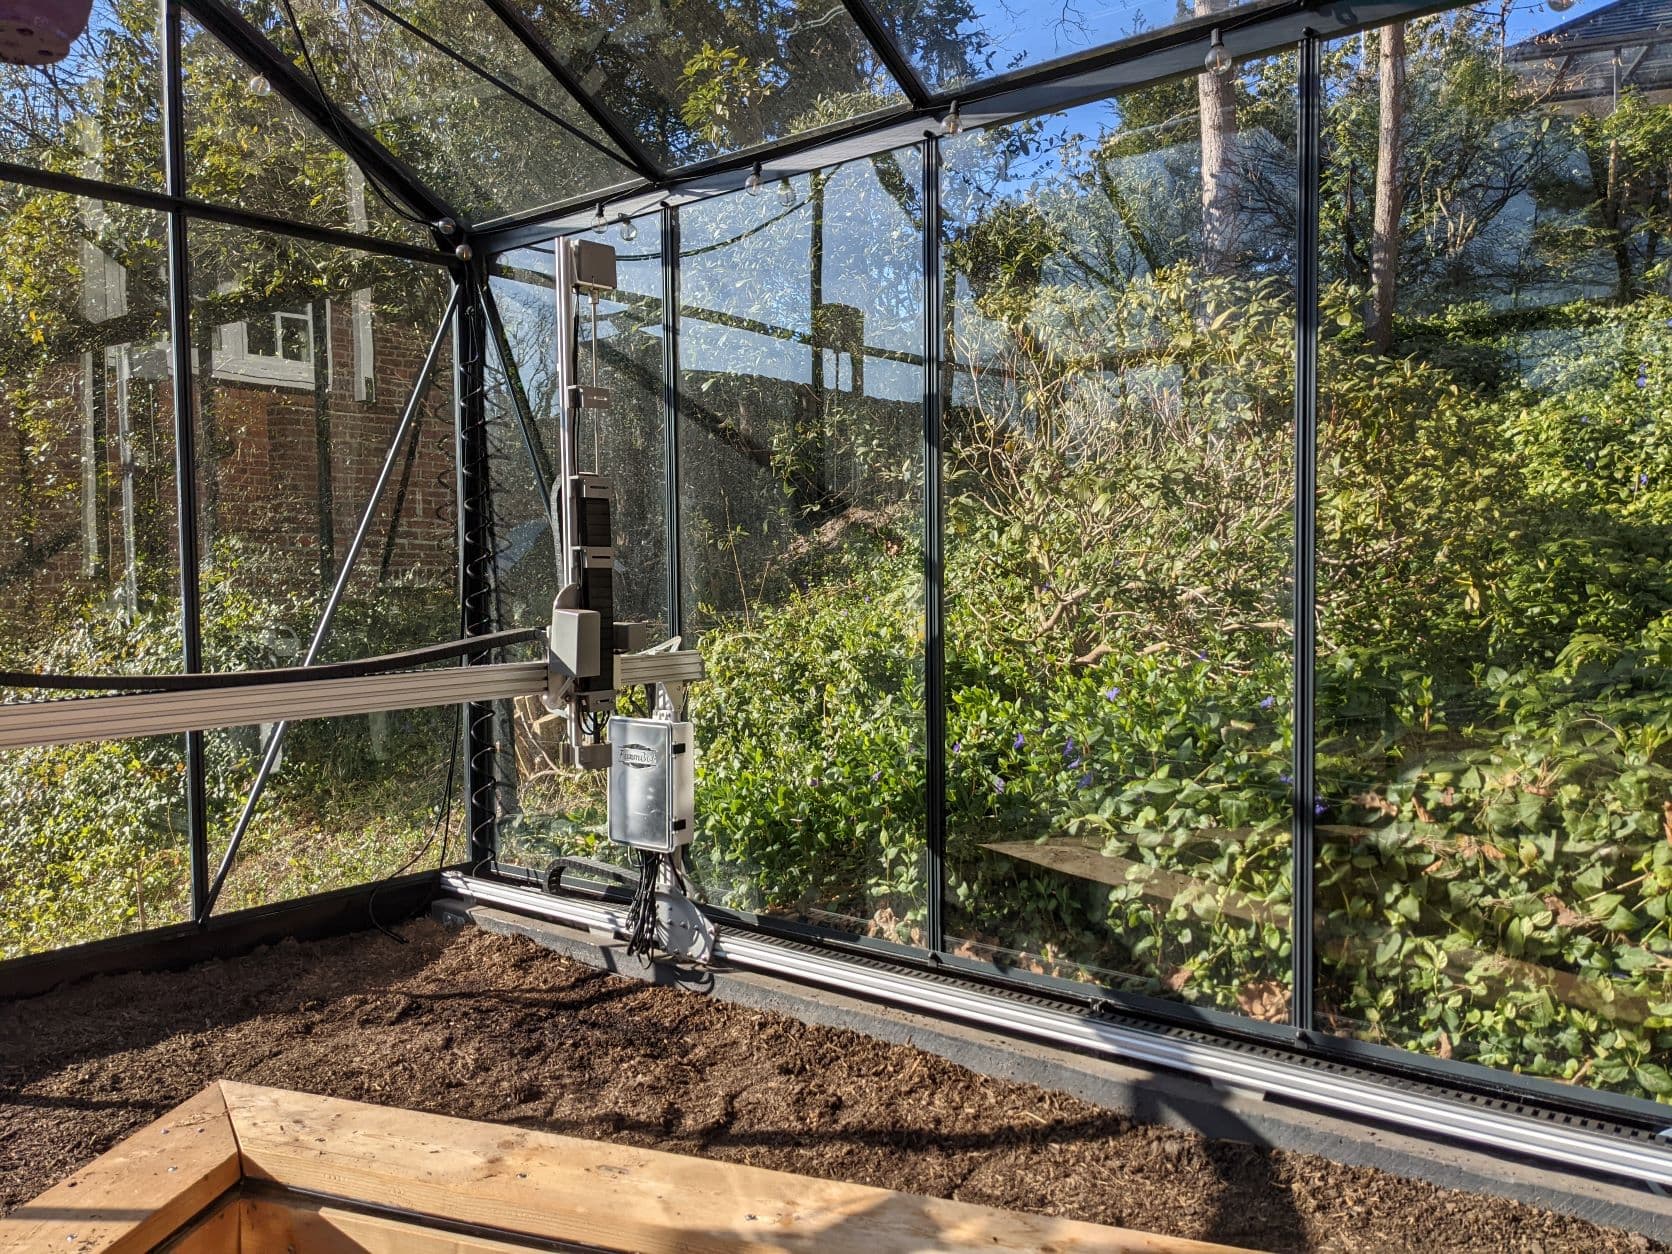
We had less height in our greenhouse so I needed to cut a hole in the upright to clear the motor axle and thread the belt, and put the electronics box above the Y axis beam (which was lower to alow maximum crop clearance with the low greenhouse roof beams). There’s an access walkway down the north wall (no light there anyway, our neighbour’s garage is adjacent), two of the panels on the south wall are removeable and the space outside the rails is for climbers on the south and west walls, we have a routine to water their roots.
6 Likes
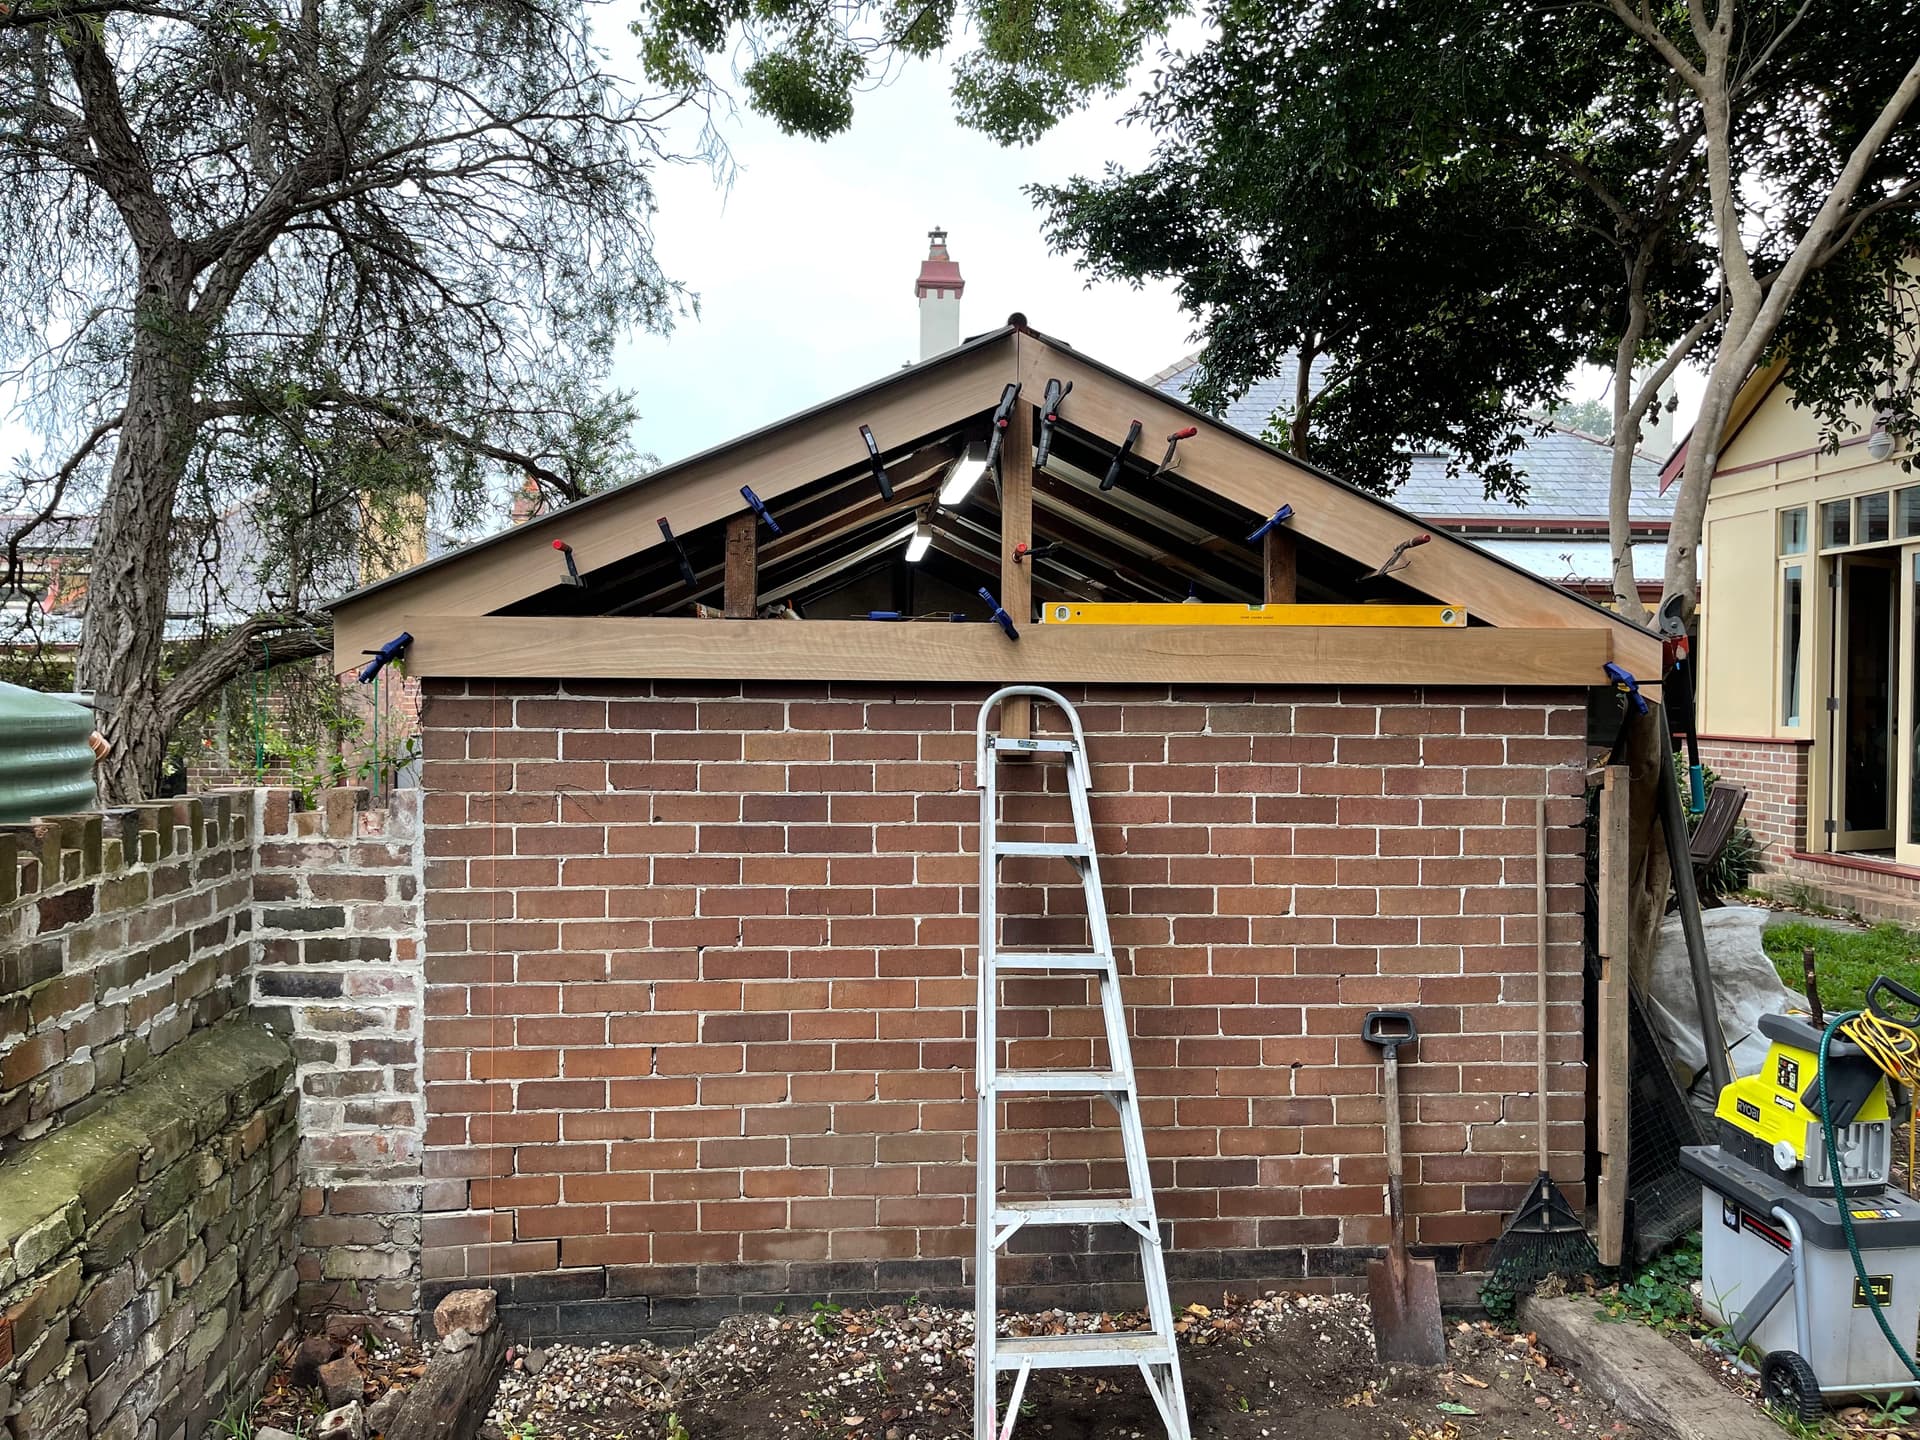
@CaptMel - I absolutely love your raised bed. Do you have any detailed photos of it being constructed? I’d love to build one like it for my XL?
(Sorry I just realised this wasn’t a question to me, but I’ll leave the answer anyway)
Hi CaptMel,
Everything was built referenced to the greenhouse frame (and a laser leveller which was super helpful) because the robot is mounted on the greenhouse uprights. All the roof trusses were assembled on the wooden gable frame before it was bolted to the back of the garage so that I was sure they were the same size.
You can see a sort of crucifix hanging from a roof frame in one of the pictures - this is how I positioned the 50x50 hollow steel uprights for the raised bed walls relative to the greenhouse frame before fixing them in position with quick set concrete.
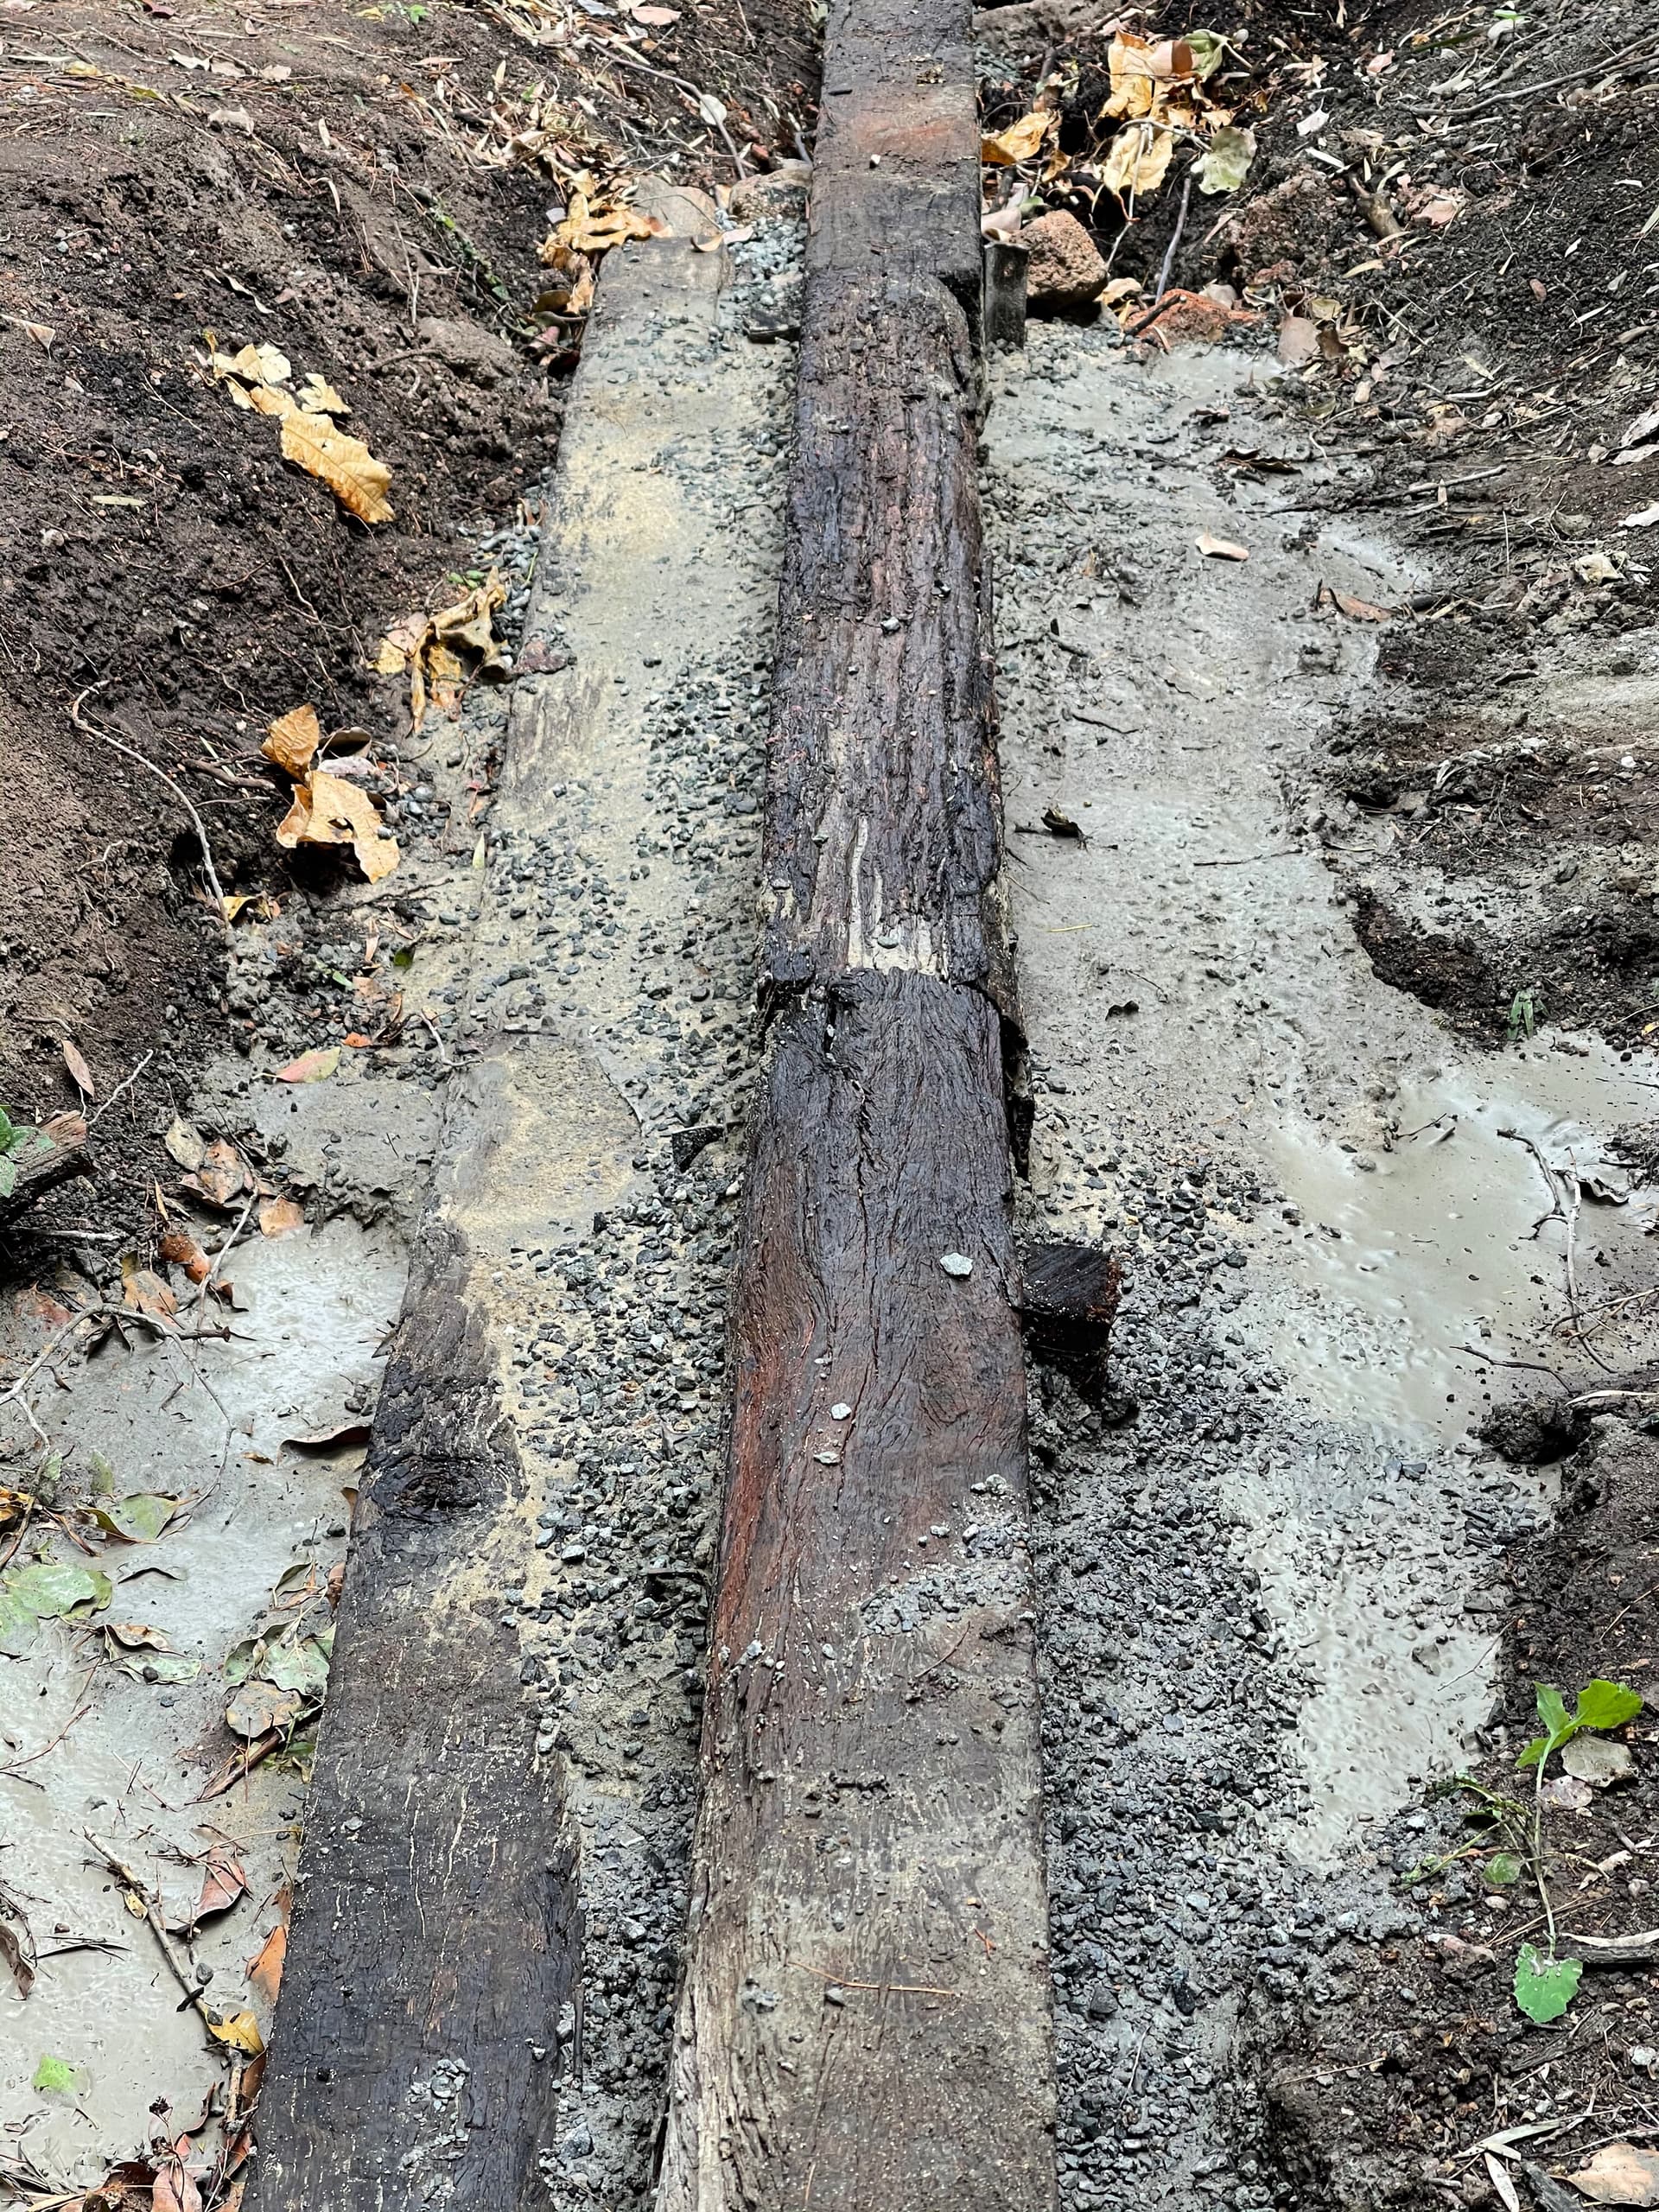
The walls are Colourbond corrugated zinc roofing (an Australian brand) - top edges aligned by laser level and the bottoms trimmed to match the slight slope of the foundation. They’re attached to the uprights with self drilling metal roofing screws.
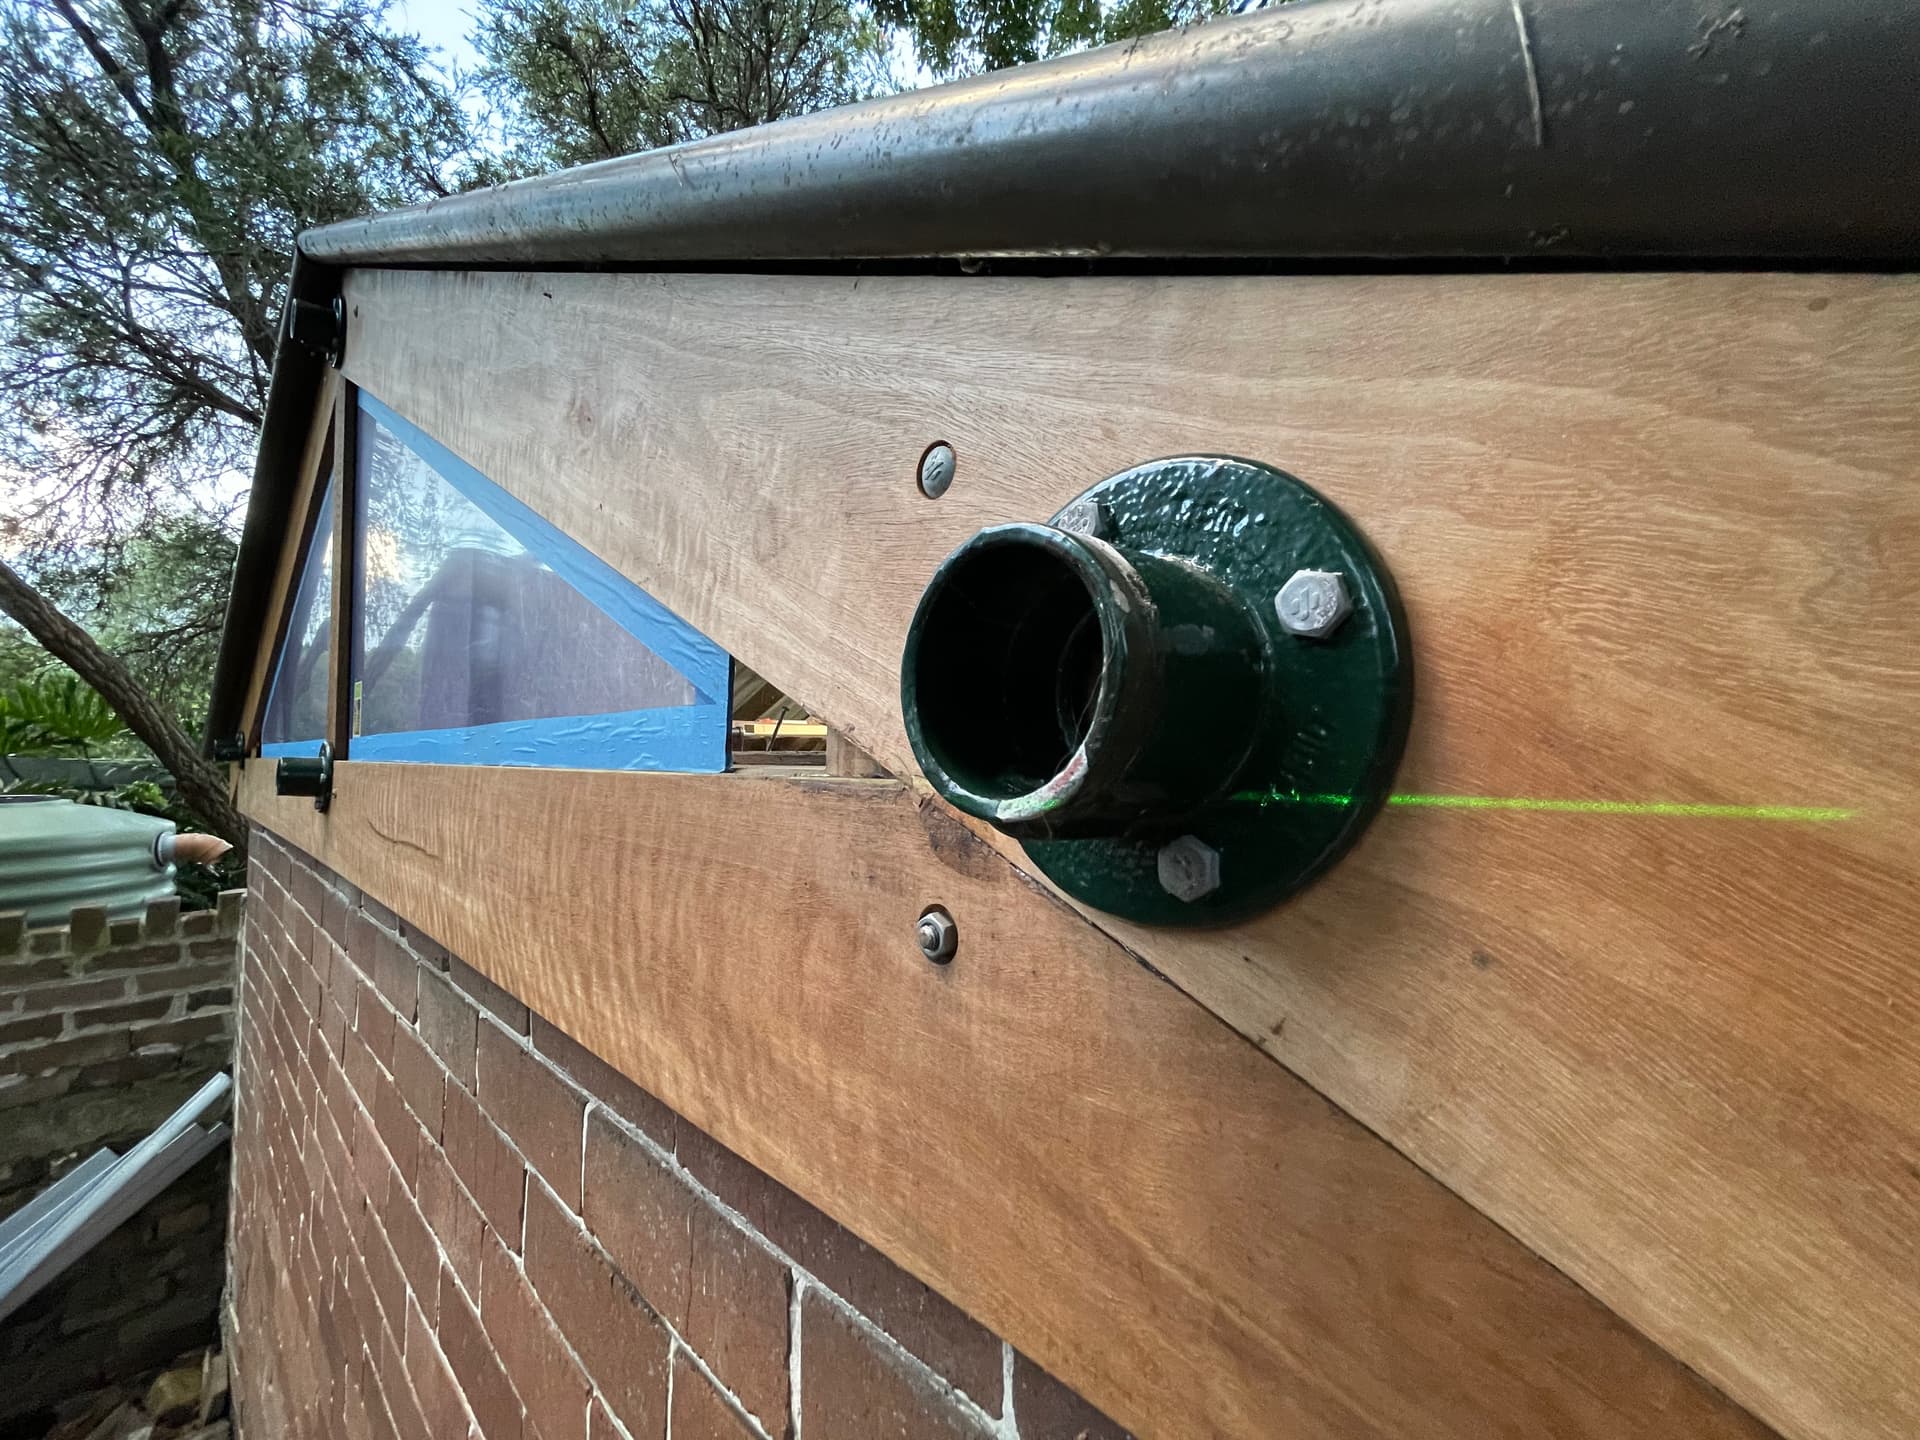
The wooden rail on the top of the raised bed wall is spotted gum, an Australian hardwood. I made plugs to hammer into the top of the steel uprights - they are rebated so that the top is the outside size of the upright and the bottom bit fits inside the upright, so the plugs can’t fall into the upright. The rails have a stepped lap joint with a square cut out of the lower hidden lap for the plug, then glued the lap and the plugs together with thickened epoxy in a single glue run. All the wood was then epoxied and a clear coat varnish went over that for UV protection.
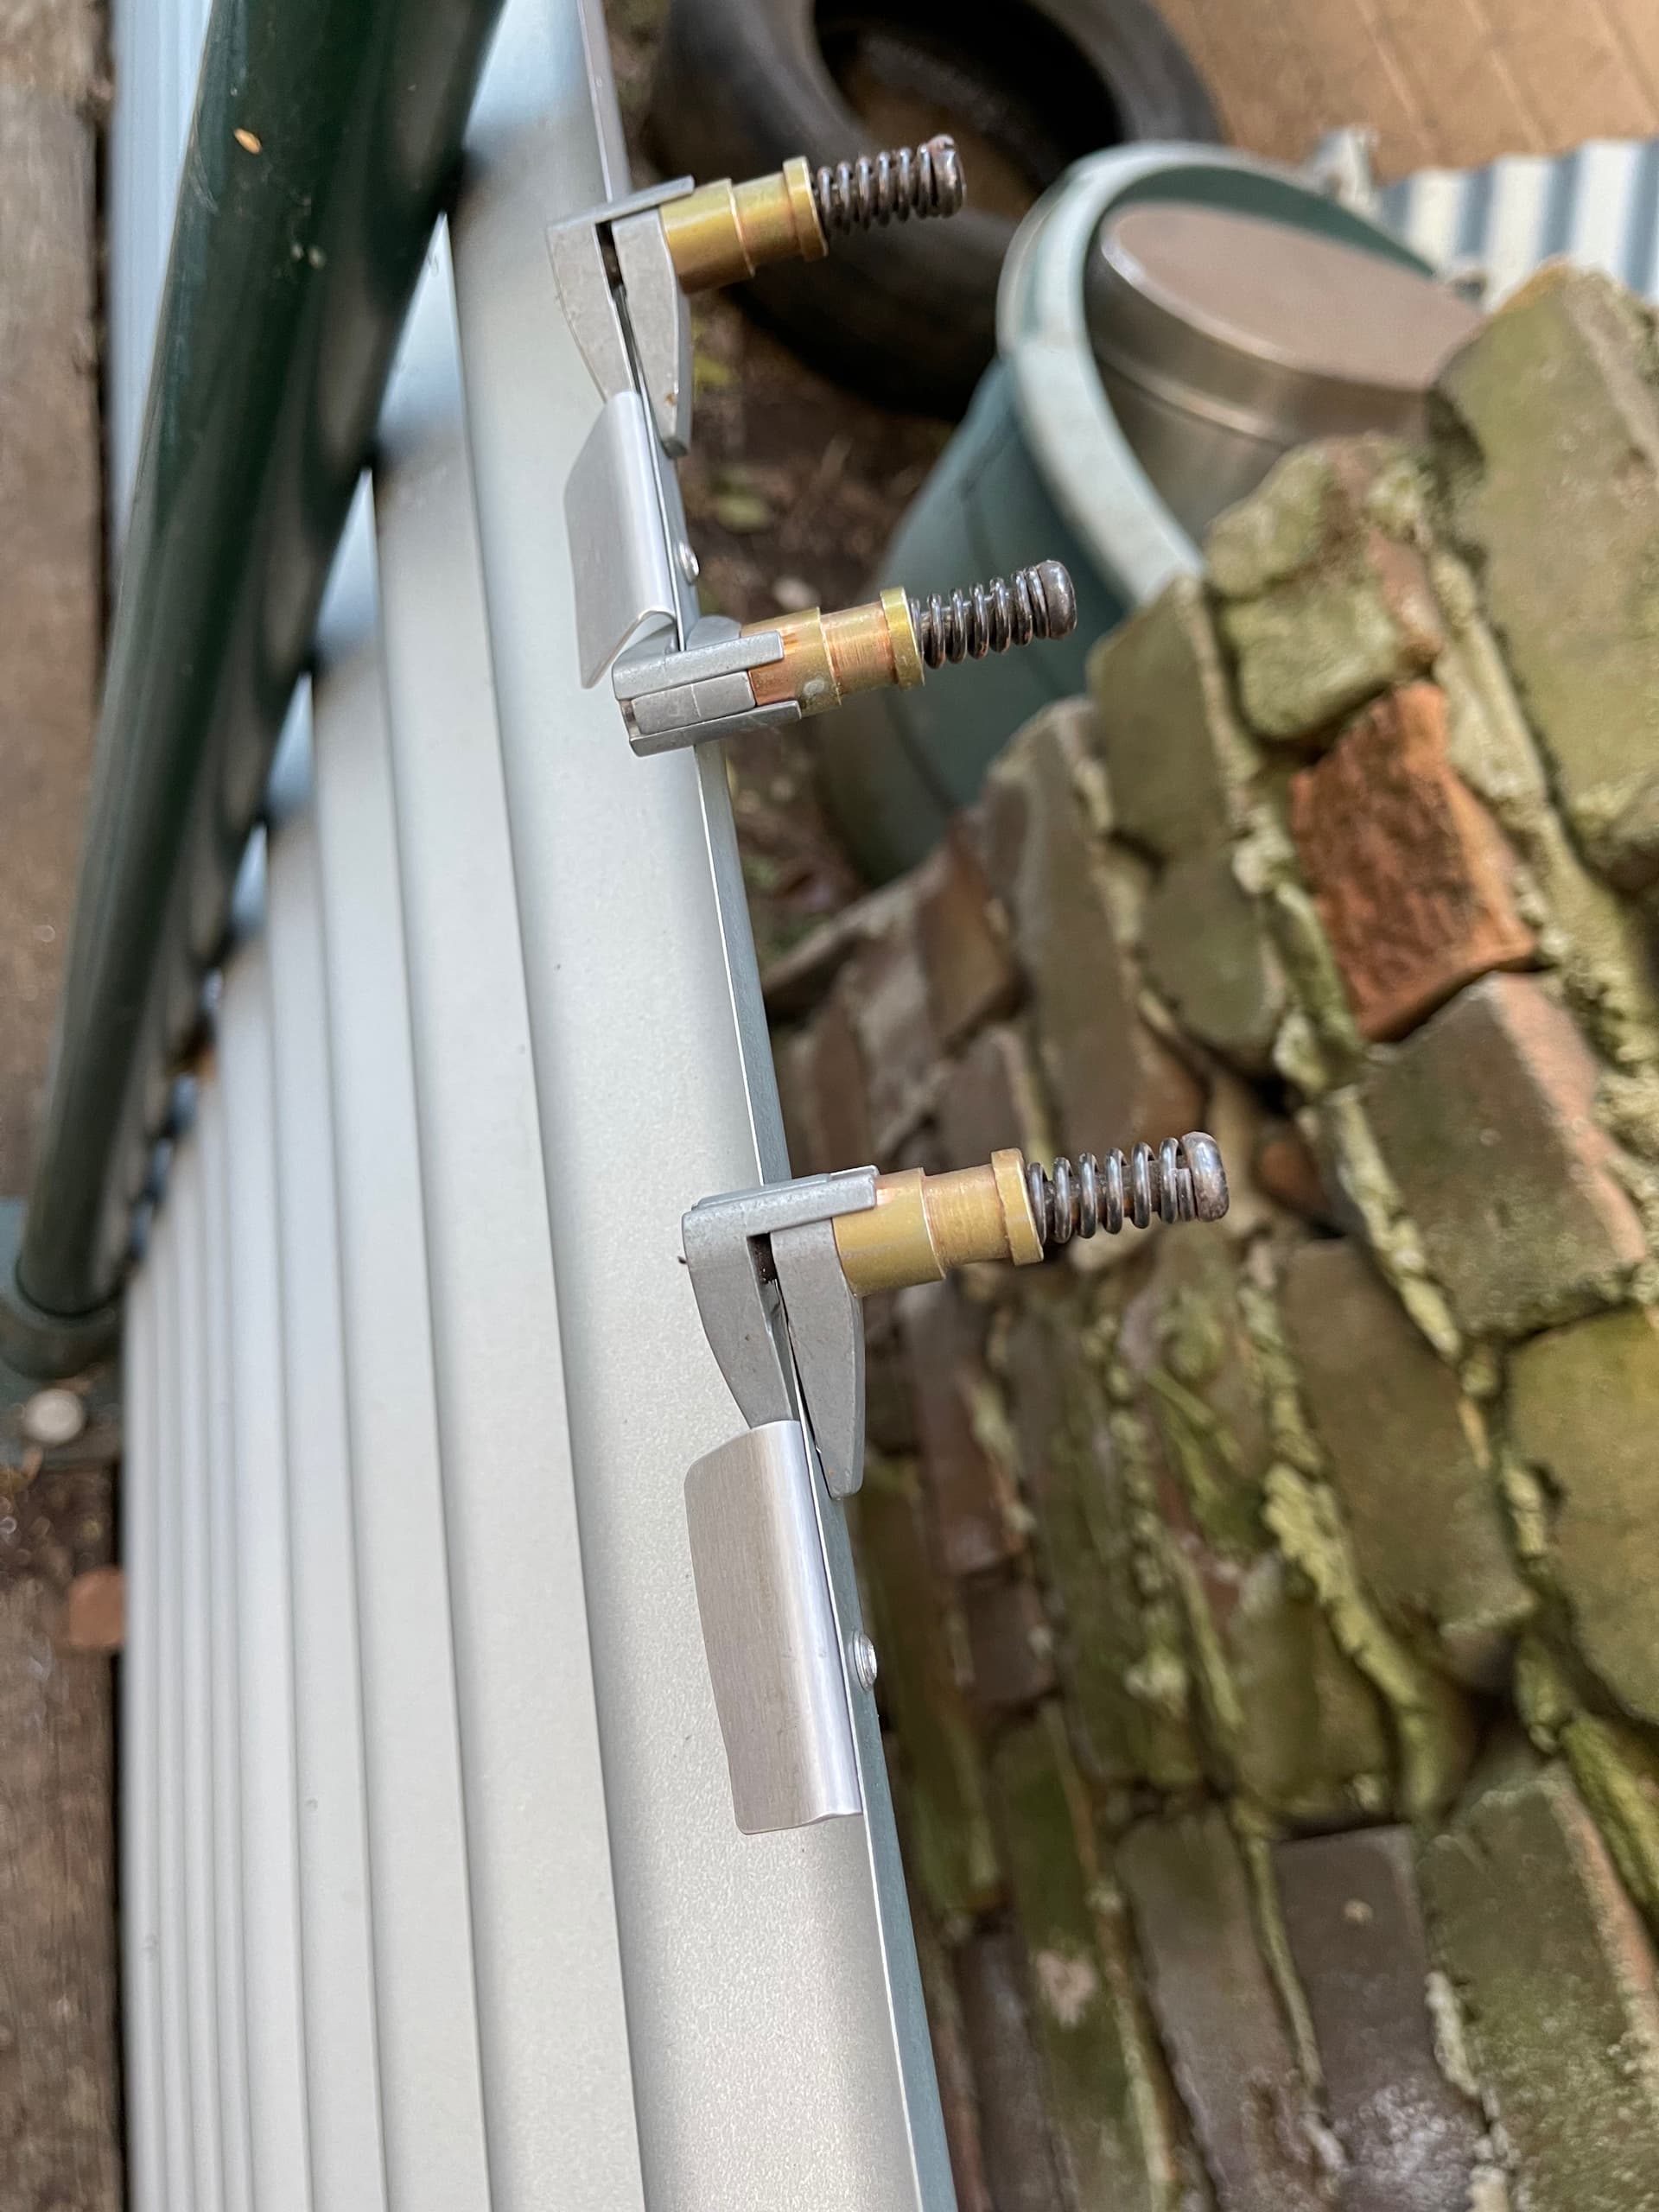
The commercial greenhouse covering system is from https://redpath.com.au/ who are I think a New Zealand company - they were nice people to deal with. The system works well once you develop a bit of an industrial sensibility in how hard to whack stuff to put it together :-).
There was a finicky job attaching the greenhouse film holder aluminium extrusion to the top edge of the walls. I bent lots of little upside down "V"s and riveted one side to the corrugated steel and the other to the flange on the extrusion - as a sometimes aircraft homebuilder I have a lot of aluminium and rivets lying around.
The rail supports are welded (horribly, hiding this is what thick paint is for) from some 25x25 hollow square steel and steel tube segments, screwed to the uprights.
Hope that helps, happy to answer questions but don’t want to overly monopolise this thread.
Cheers,
Robin


5 Likes