currently my tool verification pin no. 63 (?) is always responding with 1 in pin mode 0, even if the tool is removed; what would be the best way to debug? How does this work? Is the jumper always connected to 5V or is only 5 V applied to the pin when reading pin no. 63?
I did read the documentation @Gabriel. The question is what causes or what could cause the read pin 63 to issue 1 instead of 0? Where should I begin debugging? You info wasn’t very helpful…
On my unit the screw heads (on the tool) didn’t quite make contact with the tool holder screw heads, so I had to raise them with nuts/washers. It’ll vary depending on how you build the tool head and how much slack you allow for the springs on the tool holder to operate.
I also binary coded my tools so that I know which tool I have That way I won’t accidently try watering with the seeder tool loaded.
With nothing connected the pin reads as 1. When the tool is connected it shorts the tool read pin to GND, so it should then read as 0. So it looks like your tool isn’t making contact with the tool head pins.
I’ve used 3 pins for coding the tools, and set a different ‘code’ for each tool. There are plenty of spare pins so may as well use them for something useful, having gone to the effort of wiring them all up in the tool head.
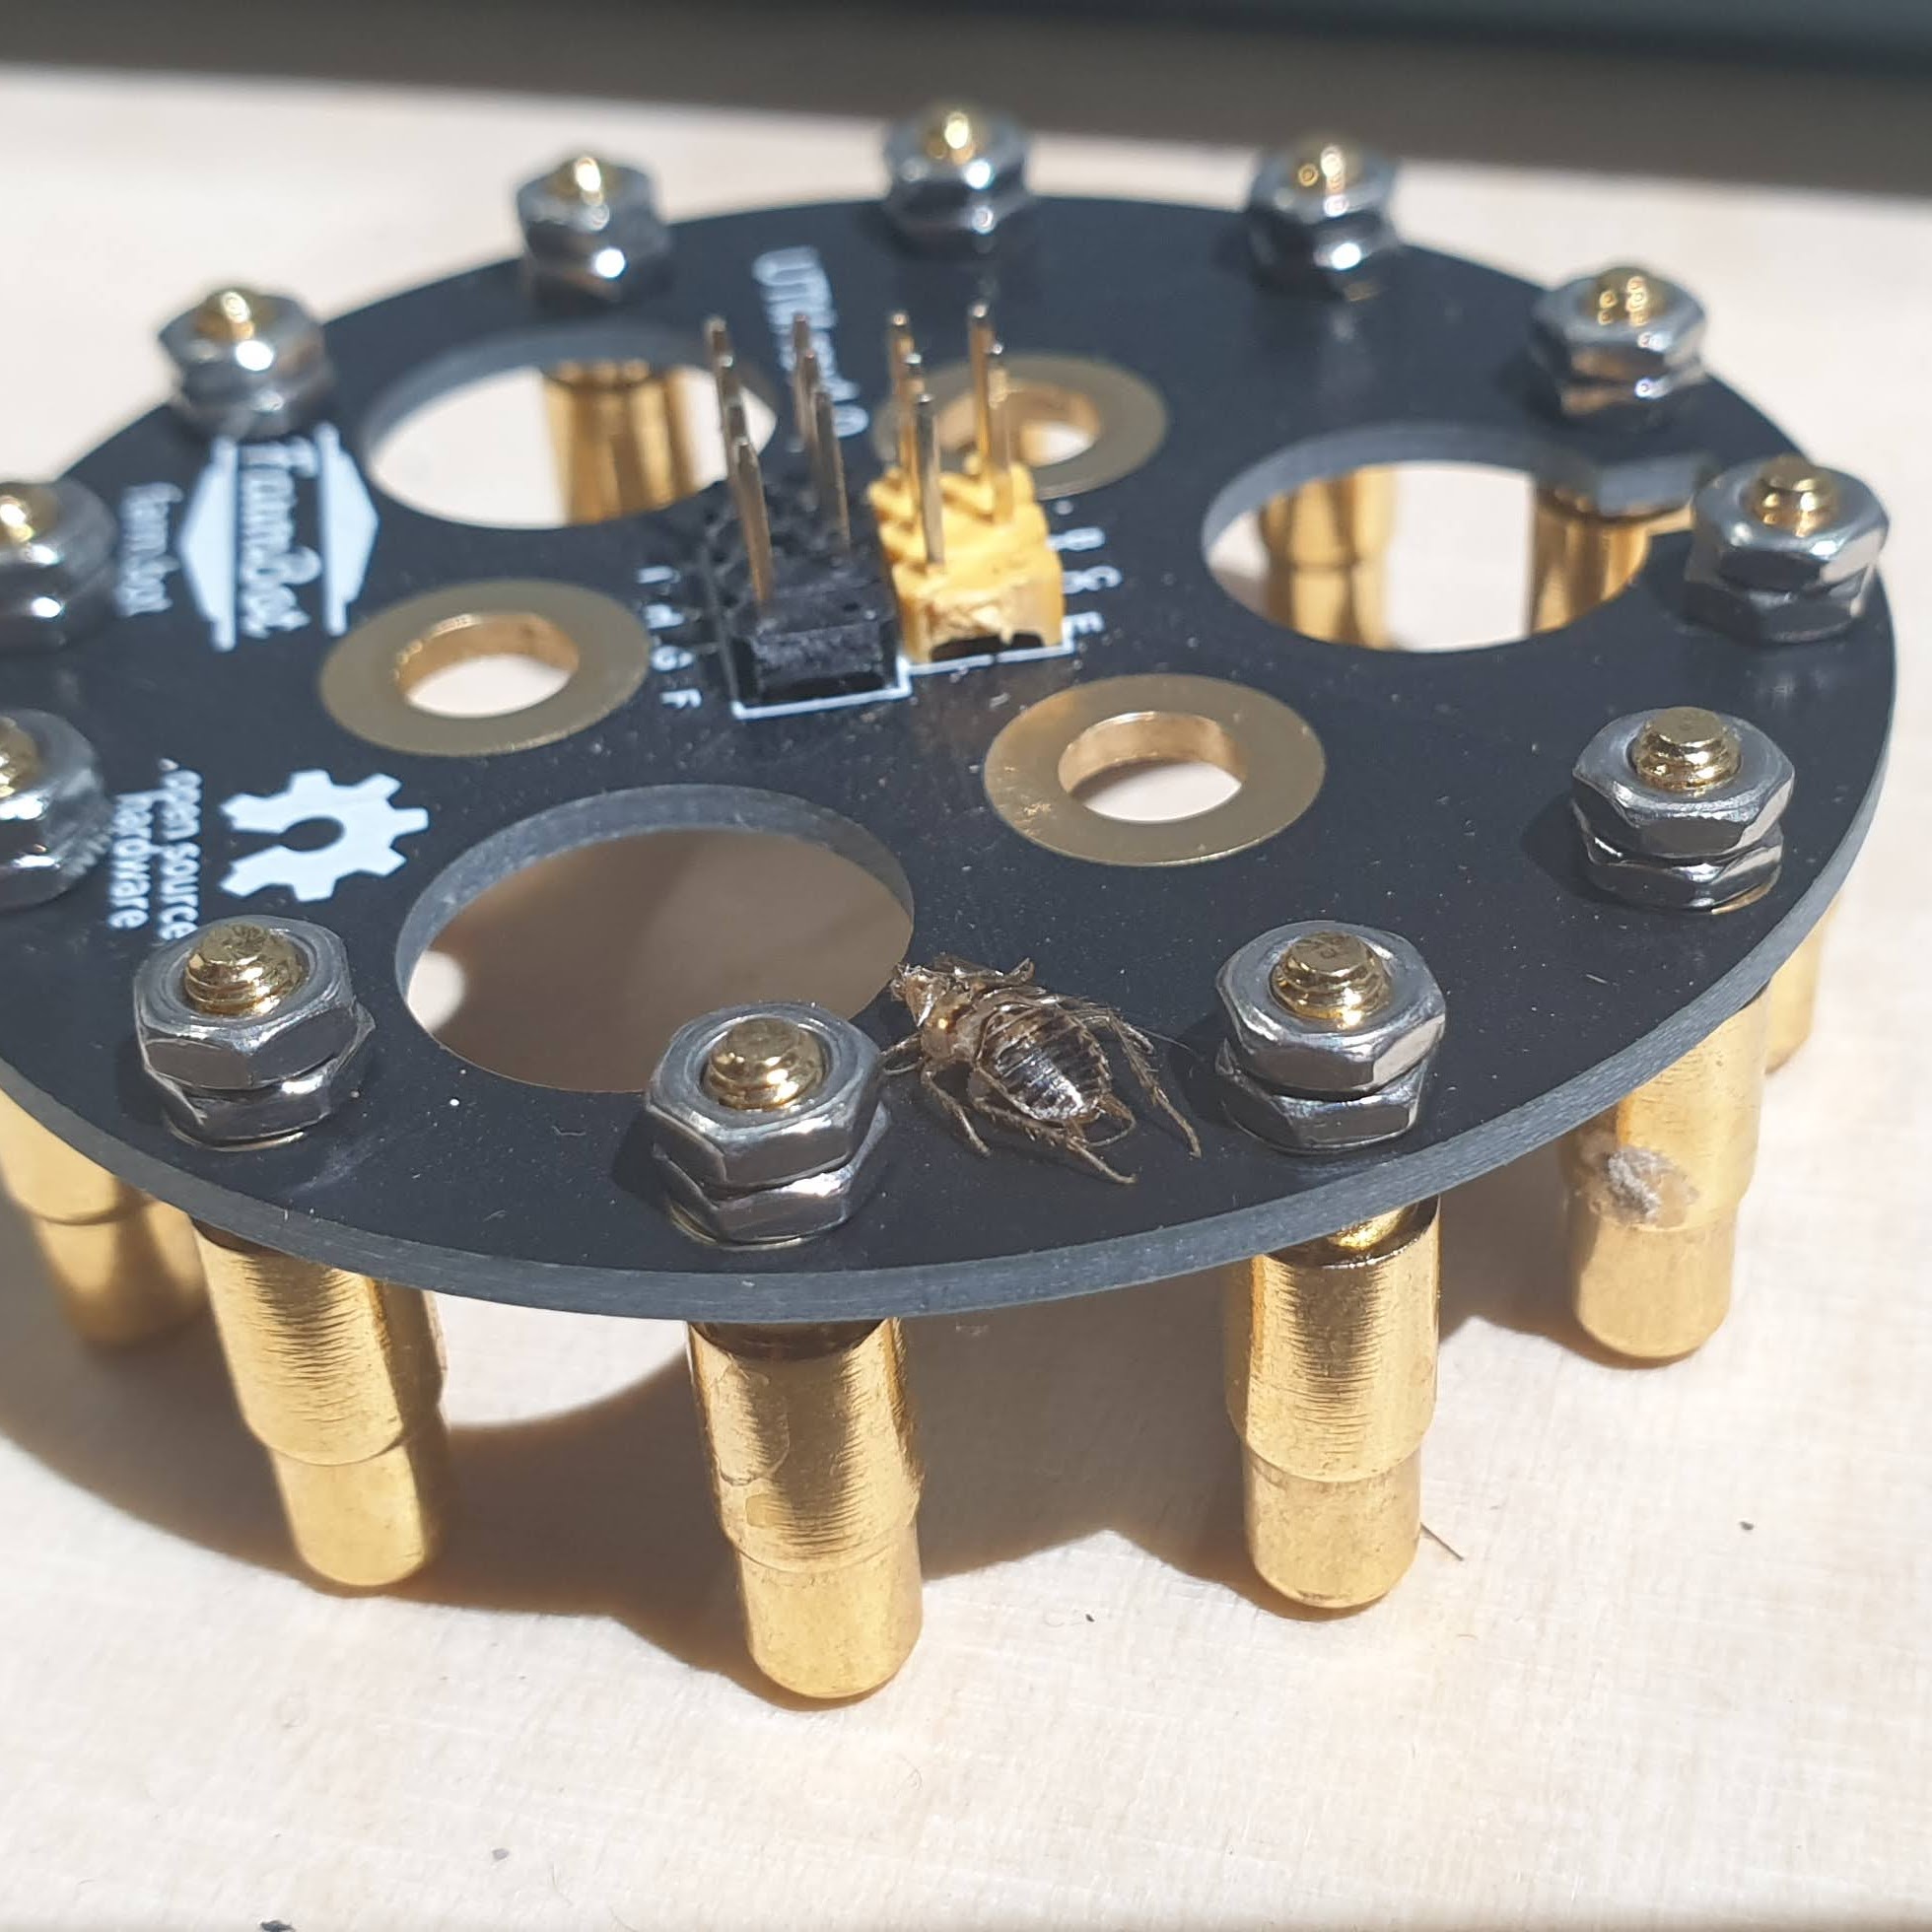
Hey @Loveny could verify it today as I brought the bot indoors to upgrade and test during winter month; the connection between screw on the stationary utm part and incoming wire was broken; I couldn´t see it and it took me some time to figure out, but I solved it. The electrical connection on the UTM needs definitely improvement this is not repeatable and well done at all!
Hi @Klimbim, yes the UTM is a great design, but poorly executed. Connecting wires to screws with a cable tie is a joke, I used solder eyelets, so soldered the wire onto the tag and then attached the eyelet to the screw with two nuts.
But I’m not using my UTM much and considering removing it completely. I have the water tube plumbed into a dedicated watering head (shower head) attached to one side of the UTM. I plan to do the same with the seeder, that way the dodgy tube connections can be avoided. The seeder has the metal needle hanging down, so I’d just remove that when not seeding, and otherwise leave the needle holder in place attached to one side. At the moment I don’t see the need for any other tools (for my purposes, which is just growing vegetables!).
I might add another watering tube and attach a misting head to it, for watering delicate seedlings, I find the drenching from the shower head is pretty hard on some plants.
But that is from an electrical point of view a critical construction as well, because you will need to have the contact via ring to nut to screw which you normally at least to via the screw head… but nevertheless of course better than via a cable tie and contact through pressure…
I like the concept of the UTM but I guess the electrical connections must and should be upgraded. If you consider reading values for the moisture sensor this will depend on the resistance between the screw head and the utm removable counter part, not a reliable solution…
In their defense, I think the tie-wraps are a great solution for people with no soldering skills (me). The tools needed to build the entire Farmbot are supplied and no soldering required. I agree it’s a bit flimsy, but it does work. Anyone with soldering skills can simply do that instead.
Hi @Loveny
I like your idea of the pin coding. I would like to test in sequences if the right tool is mounted, so I can decide if the tool is already mounted or if i need to change the tool.
But how do you access this info in the web app, the program logic ther is quite limited. Can you give me a sample how you “decode” the pin coding in the app?
Thx
Markus
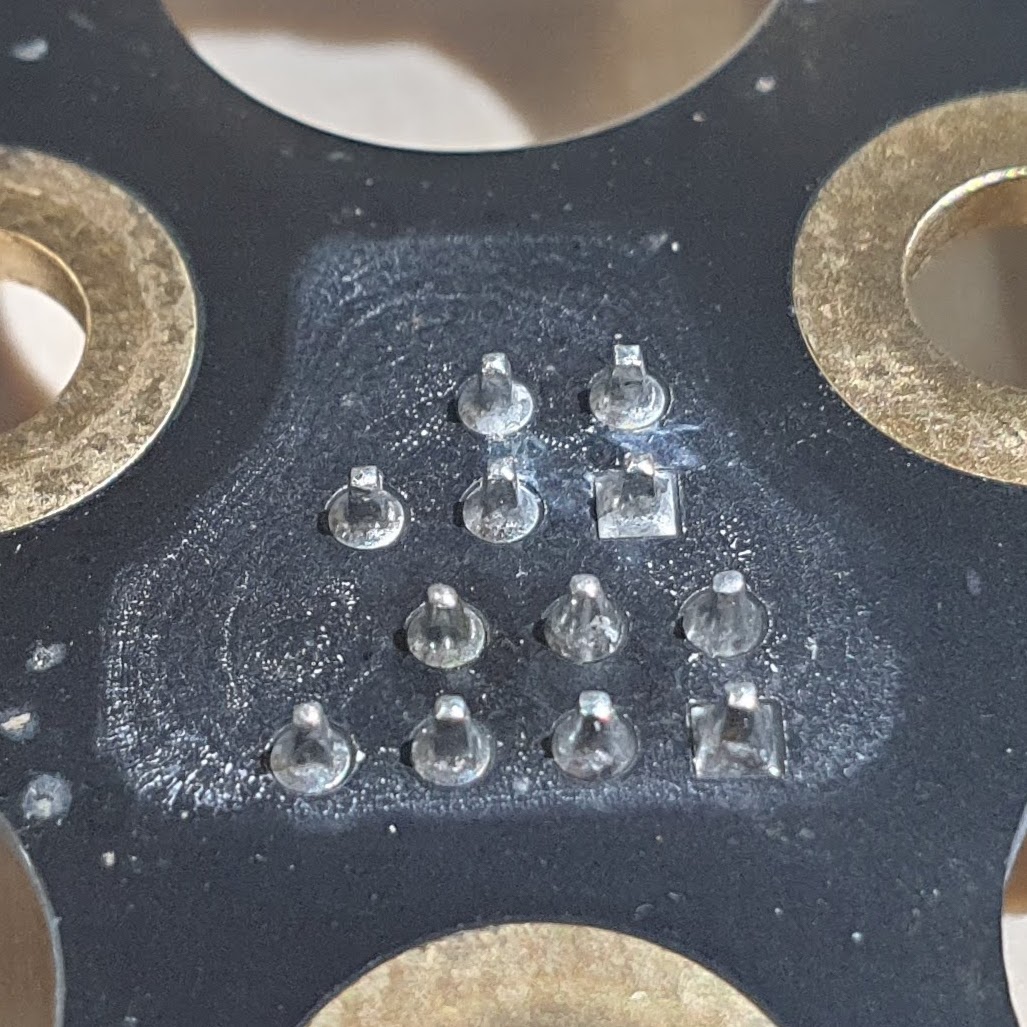
My problem with tool verification is that the contact pins in the UTM are not very reliable at being springy. The screw binds in the hole and gets stuck so it does not make contact with the mounted tool. (particularly B and C). If anyone has any tips or tricks to keep the pins springy or has a better alternative than the screws, I would like to hear about it.
the same here. the connectivity is degrading since some weeks… ally my sequences are not running properly anymore because i use the tool verification often…
I have the old design tool head (v1.2 bot). To make the pins more responsive, I cannibalized springs from unused pins and doubled them up in pins A,B,C,D to increase the force. That seems to be working quite well. Tool verification (on and off) is working well.
I have had the same issue and tried many different things (washers, aluminium foil, etc.). The readings from my soil sensor (when I could get them) were also becoming more and more erratic.
Today, I finally took the time to change the UTM altogether and I’m back at a 100% detection rate. Next step: trying to find out what is wrong with my previous UTM…

 That way I won’t accidently try watering with the seeder tool loaded.